To avoid guessing, start by knowing your projector’s throw ratio, which compares the distance to the image width. For short-throw options, measure your room and multiply the desired image width by the throw ratio to find the exact placement. Ultra-short-throw projectors require even closer distances, calculated similarly but with smaller ratios. mastering these calculations guarantees a crisp, correctly sized picture every time—continue exploring to perfect your setup with confidence.
Key Takeaways
- Use the throw ratio (projector distance ÷ image width) to calculate exact placement without guesswork.
- Measure your desired screen size and multiply by the throw ratio to determine precise projector distance.
- For ultra-short-throw, ensure the distance is less than 2 feet using the specified low throw ratio.
- Confirm projector specifications for the recommended distance range to achieve optimal image clarity.
- Adjust projector placement based on calculations to prevent distortion and ensure proper focus without estimation.
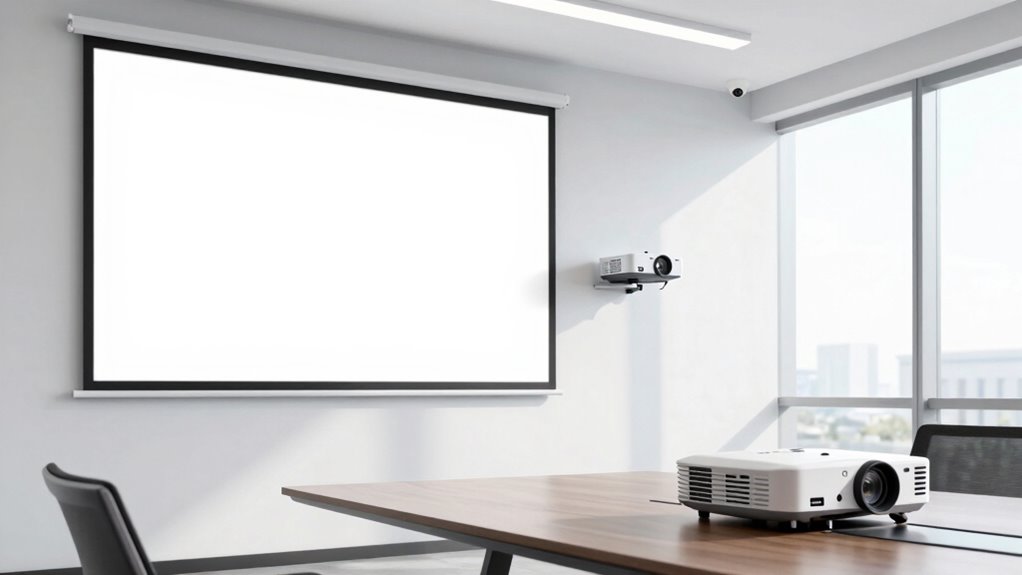
What Is Throw Distance and Why Does It Matter?
Understanding throw distance is essential because it determines how far your projector can be placed from the screen to produce a clear, well-sized image. A projector’s brightness impacts how vibrant your picture appears, especially in well-lit rooms, making proper placement vital. If the projector is too close or too far, the image may be blurry or distorted, affecting overall clarity. Screen resolution also plays a role; higher resolutions demand precise positioning to maximize image sharpness and detail. Knowing the ideal throw distance helps you avoid guesswork, ensuring your projector delivers bright, crisp visuals without compromising size or quality. Proper placement optimizes both brightness and resolution, giving you a better viewing experience and avoiding the frustration of misaligned images. Additionally, understanding innovative cloud server solutions can enhance your overall technology setup by providing secure and sustainable data management options. Furthermore, considering the contrast ratio of your projector can significantly influence the perceived quality of your images, especially in dark viewing environments.
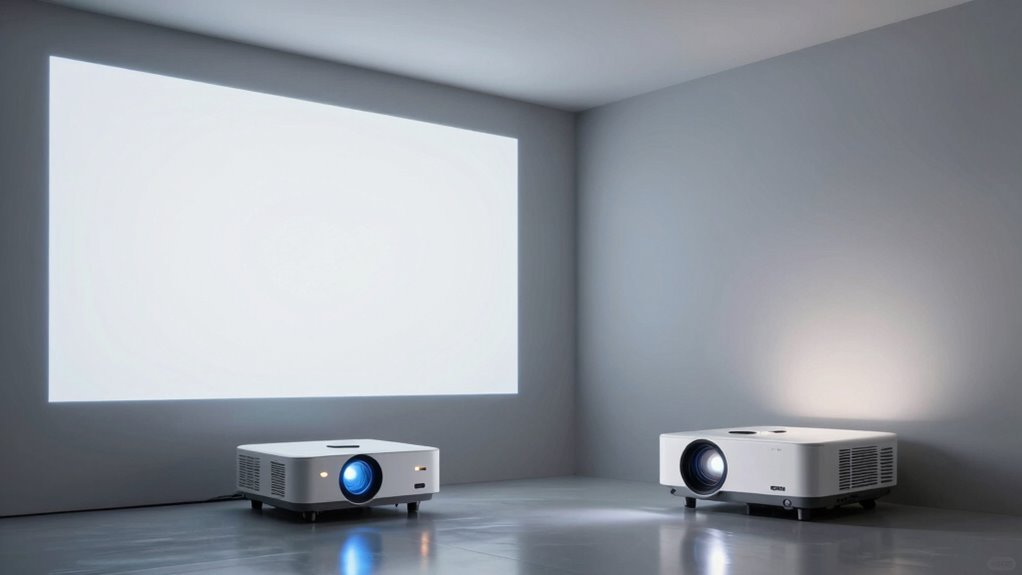
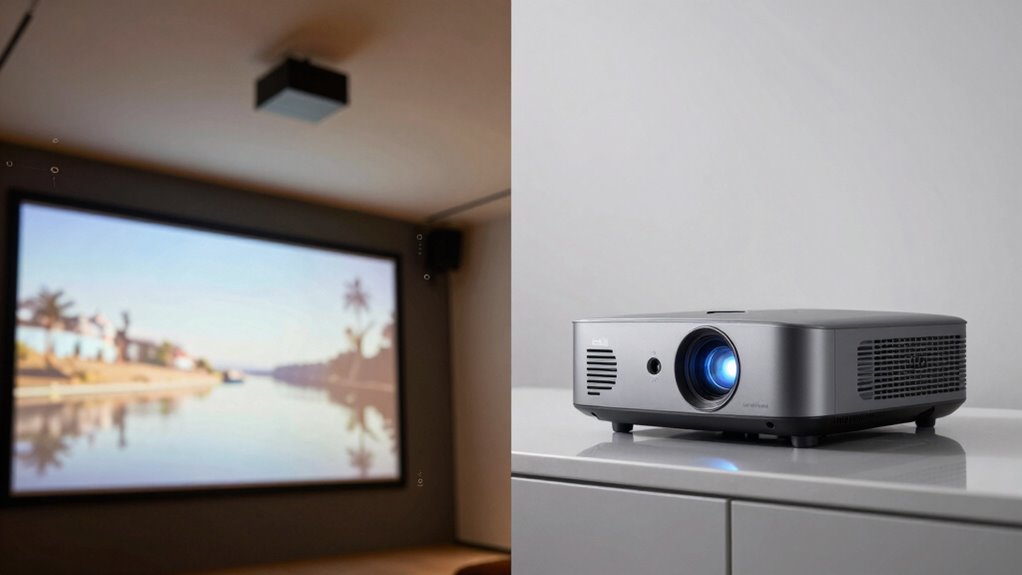
How Do Short-Throw and Ultra-Short-Throw Projectors Differ?
Short-throw and ultra-short-throw projectors are designed to be placed very close to the screen, but they differ considerably in how close that needs to be. Short-throw projectors typically need a distance of 3 to 5 feet, whereas ultra-short-throw models can be as close as 1 foot. This affects projection angles and mounting heights: ultra-short-throw projectors often have steeper angles and require lower mounting heights to avoid shadows. Here’s a quick comparison:
| Feature | Short-Throw | Ultra-Short-Throw |
|---|---|---|
| Projection Distance | 3–5 feet | Less than 1–2 feet |
| Mounting Height | Moderate to high | Low, close to the screen |
| Projection Angles | Moderate | Steeper |
| Ideal for | Medium-sized rooms | Small rooms or tables |
Understanding these differences helps you choose the right projector for your space.
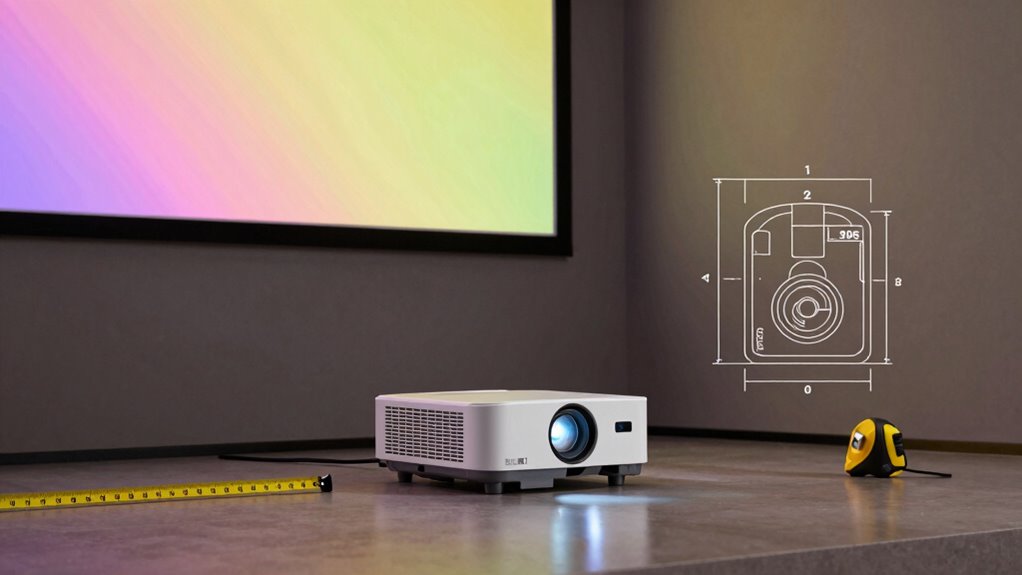
How to Calculate Throw Distance for Your Room Setup

Calculating the right throw distance for your room guarantees your projector fits perfectly and delivers the best image quality. To do this accurately, start with your projector’s specifications and the size of your screen. Proper projector calibration ensures the image aligns correctly with your screen, while screen calibration helps maximize image clarity and color. Measure your room’s dimensions carefully, then use the projector’s throw ratio to determine the ideal distance from the projector to the screen. Adjust your setup based on these calculations, ensuring the projector is positioned correctly for optimal focus and image size. Taking the time to calibrate both your projector and screen ensures sharp visuals and avoids distortion, making your viewing experience seamless and professional.
What Factors Affect Throw Distance Accuracy and Image Quality?
Ambient lighting can wash out the image, reducing clarity and contrast, so controlling your room’s light levels is key. The quality of your lens and screen also directly impacts the sharpness and color accuracy of the projected image. Understanding how these factors influence throw distance helps you optimize both accuracy and picture quality. Additionally, being aware of HARTSBURG NEWS can provide insights into the latest technology trends and expert recommendations for home theater setups. Maintaining proper projection calibration ensures the best possible image performance regardless of environmental conditions. Proper measurement techniques are essential to accurately determine the ideal throw distance for your specific setup, especially when considering environmental factors that may affect image quality. Knowing how to account for market fluctuations in the Gold IRA sector can also help you make more informed investment decisions.
Ambient Lighting Impact
Lighting conditions in your environment play a crucial role in determining both the accuracy of throw distance calculations and the overall image quality. Ambient lighting can wash out the projected image, making details harder to see and potentially skewing distance measurements. Bright ambient lighting reduces the perceived contrast and sharpness, demanding a higher projector brightness to compensate. If your room is too bright, even a powerful projector might struggle to produce a clear image, leading to inaccuracies in placement and size. Conversely, controlled lighting enhances image clarity, allowing for more precise throw distance calculations. To optimize performance, confirm ambient lighting levels are manageable and select a projector with sufficient brightness suited for your environment, minimizing the impact of external light on image quality and accuracy. Additionally, light pollution can further diminish contrast and image sharpness, making it essential to control ambient lighting for optimal viewing conditions. Proper lighting control strategies can significantly improve both image clarity and measurement accuracy.
Lens and Screen Quality
The quality of your lens and screen substantially influences both throw distance accuracy and image clarity. High-quality lens quality ensures minimal distortion and sharp focus across the projected image, making your setup more precise. A superior lens helps maintain consistent image size at the desired throw distance, reducing guesswork. Similarly, the screen material plays a critical role; materials designed for ideal light reflection and minimal glare enhance brightness and contrast. Choosing the right screen ensures the projected image remains clear and true to color, even at different distances. Poor lens quality or low-grade screens can cause blurriness, color inaccuracies, and distortions, compromising both image quality and throw distance accuracy. Investing in quality lens and screen materials ensures your projector performs reliably, delivering sharp visuals consistently.
How to Use Manufacturer Specs to Find Your Perfect Projector Placement
Understanding your projector’s throw ratio helps you determine how far it needs to be from your screen for a clear image. Measure your available space carefully to guarantee your setup fits within the manufacturer’s specifications. By calculating the ideal placement using these specs, you can achieve the best image quality without guesswork. Additionally, home‑tech understanding of your projector’s features can improve your overall viewing experience. Knowing how throw ratio calculations work enables you to optimize your setup for both size and clarity, ensuring a seamless entertainment environment. Being aware of odor indicators, such as the scent of spoiled ground beef or ear wax, can also help prevent health issues related to improper setup or maintenance of your equipment. Proper equipment maintenance further enhances your viewing experience by reducing potential issues caused by dust or mold buildup. Regularly verifying equipment calibration can help maintain optimal image quality over time.
Understanding Throw Ratio
When selecting a projector, knowing its throw ratio is essential for determining the right placement. The throw ratio is a simple ratio that compares the distance from the projector to the screen with the width of the image. For example, a throw ratio of 1.5:1 means the projector needs to be 1.5 feet away for every foot of image width. Understanding this helps you calculate projection angles and avoid image distortion. If the projector is placed too close or too far, the image may become skewed or blurry. By using manufacturer specs, you can precisely position your projector to achieve ideal image size without compromising clarity. This knowledge ensures your setup is both functional and visually correct, saving you time and preventing costly adjustments later. Additionally, understanding the throw ratio helps ensure your setup is adaptable to different room sizes and shapes.
Measuring Your Space
To accurately position your projector, start by measuring your available space and consulting the manufacturer’s specifications. Pay close attention to projection angles, which influence how the image will fit on your screen or wall. These specs will tell you the ideal distance range for your projector model, helping you avoid stretching or squishing the image. Additionally, consider your mounting options—ceiling mount, tabletop, or wall—since each affects placement and projection angles. Knowing your space’s dimensions ensures you select the right model and placement height. By understanding these specs, you can plan your setup confidently, ensuring the projector fits well within your room’s layout and achieves maximum image size without guesswork. Understanding placement is key to avoiding common setup mistakes and optimizing your viewing experience.
Calculating Optimal Placement
Once you have your projector’s specifications, you can determine the best placement by calculating the ideal distance from the screen. Start by considering the projection angle recommended by the manufacturer, which affects image size and clarity. Measure your mounting height carefully; this influences the projection angle and overall image alignment. To find the most suitable distance, use the projector’s throw ratio and adjust based on your desired image size. Keep in mind that a steeper projection angle may require closer placement, especially with ultra-short-throw models. Proper mounting height ensures the projector is aligned correctly, avoiding keystone distortion. Combining these factors helps you pinpoint where to place the projector for a sharp, well-proportioned image without guesswork.
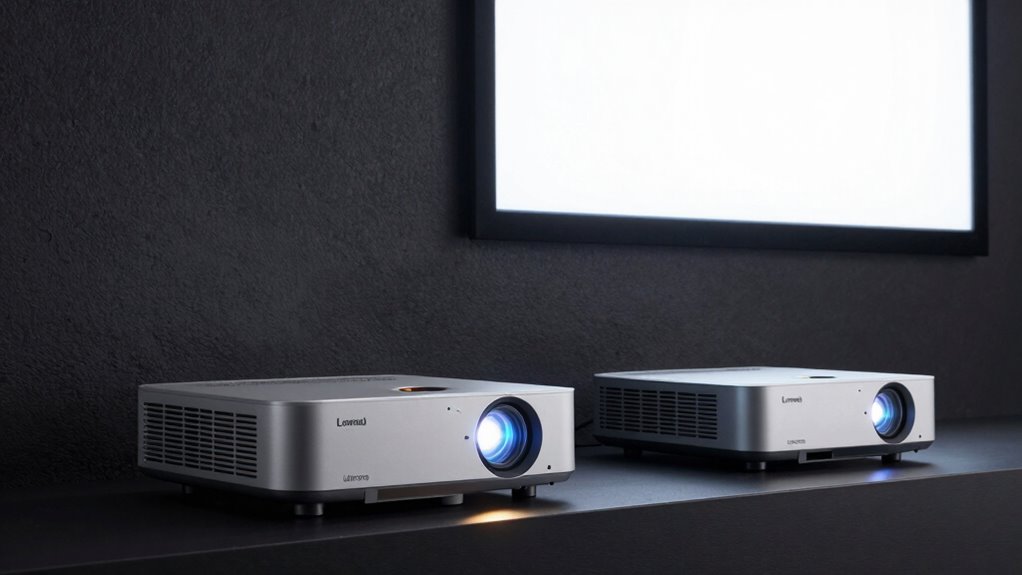
Practical Examples: Setting Up Short-Throw and Ultra-Short-Throw Projectors
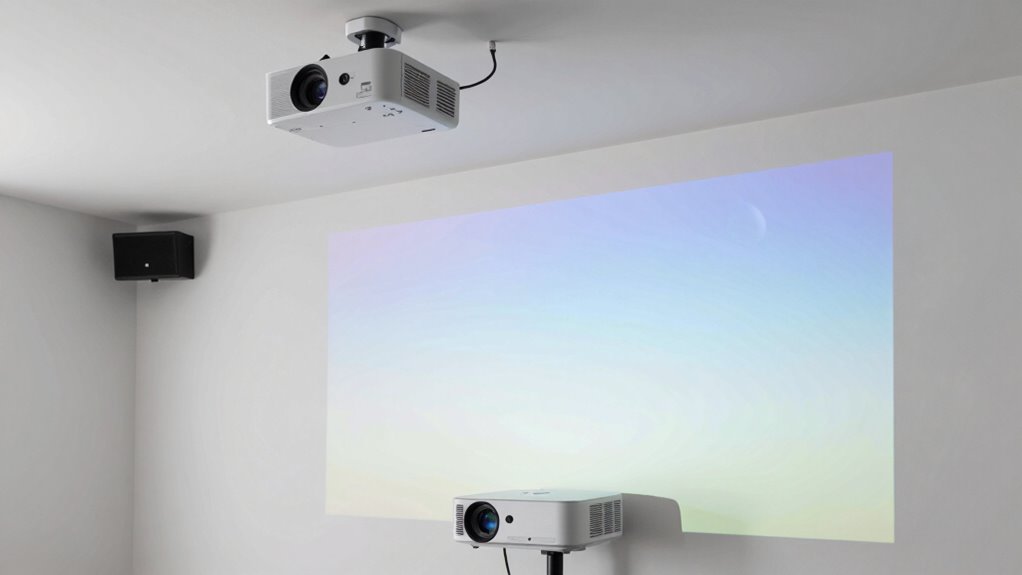
Setting up short-throw and ultra-short-throw projectors requires careful measurement of the distance between the projector and the screen. First, determine the ideal projection angle to guarantee a clear, undistorted image. Next, consider the mounting height, which influences both image size and keystone correction. To visualize, imagine:
- Positioning the projector close to the screen for a large image with minimal space.
- Adjusting the mounting height to align the lens with the center of the screen.
- Ensuring the projection angle maintains a straight-on view, avoiding distortion.
- Verifying the distance matches the projector’s specified throw ratio for sharp, focused images.
- Understanding the science of optics helps optimize image clarity and minimize distortion during setup.
Following these steps helps you achieve excellent image quality and avoid common setup issues.
Common Mistakes When Calculating Throw Distance and How to Avoid Them
Many people make errors when calculating throw distance, which can lead to blurry images, keystone distortion, or an improperly sized projection. One common mistake is neglecting the impact of projection angle and wall color. A steeper angle can distort the image, and a dark wall absorbs light, reducing brightness. To avoid these pitfalls, consider these factors carefully. Additionally, understanding the importance of visual storytelling can help in planning an optimal setup for engaging presentations.
Tips for Measuring and Optimizing Your Projector Setup

To achieve the best image quality, you need to measure and optimize your projector setup carefully. First, determine the ideal mounting height to ensure the projector’s lens aligns with your screen’s center, preventing distortion. Next, evaluate the projection angle; a steep angle can cause keystone distortion, so adjust the mounting height to keep the lens level or slightly tilted. Then, use a level or laser to confirm your projector’s position, avoiding skewed images. Finally, test the image size and focus at your intended throw distance, making small adjustments to optimize clarity. Visualize your setup as: 1) the projector hanging at the correct height, 2) the lens aligned with the screen’s center, 3) the projection angle minimized, and 4) the image sharp and proportioned. Proper setup measurement ensures your projector performs at its best. Additionally, understanding your throw distance math can help you select the right projector and placement for your space.
Frequently Asked Questions
How Precise Is the Manufacturer’s Throw Distance Specification?
The manufacturer’s throw distance specifications are generally quite precise, but you should consider installation tolerances. These specs are based on ideal conditions and may vary slightly due to factors like room temperature, projection surface, and setup. Always follow the manufacturer’s guidelines closely, and allow for small adjustments during installation to ensure ideal image size and clarity. Remember, slight deviations from the specs won’t usually impact performance considerably.
Can Room Size Limitations Affect Projector Placement Accuracy?
Room size limitations can definitely affect your projector placement accuracy. Limited space reduces room flexibility, making it harder to position the projector at the ideal throw distance. Obstacles like furniture or fixtures also complicate obstacle management, potentially blocking the projection path or causing distortion. To get the best image quality, you need to carefully assess your room’s layout, ensuring enough space and clear sightlines for ideal placement.
Are There Differences in Image Quality Between Short-Throw and Ultra-Short-Throw?
Think of your projector as a painter’s brush—closer distance means finer detail. Short-throw and ultra-short-throw projectors typically deliver similar image quality, but ultra-short-throw models often excel in color accuracy due to advanced lens technology. However, image resolution remains comparable. Your choice impacts how vivid and sharp your images appear, with ultra-short-throw projectors often offering better performance in limited spaces, ensuring your visuals are crisp and true to life.
How Do Ambient Light Conditions Influence Throw Distance Effectiveness?
Ambient lighting greatly influences your throw distance effectiveness. Bright rooms can cause glare and wash out the image, making it harder to see clearly, especially with ultra-short-throw projectors close to the screen. To improve image quality, use ambient lighting control and glare reduction techniques like curtains or anti-glare screens. Adjust your projector’s settings accordingly, and consider room lighting to guarantee ideal visibility and sharpness, regardless of throw distance.
What Tools or Apps Can Help Measure Throw Distance Accurately?
You can use measurement apps like MapMyRun or dedicated calibration tools to accurately measure throw distance. These apps utilize your phone’s camera and sensors to provide precise readings, helping you determine ideal placement for your projector. Calibration tools, such as laser distance meters, also offer high accuracy and are easy to use. Combining these tools ensures you set up your projector correctly, maximizing image quality and minimizing guesswork.
Conclusion
Now that you know the precise math behind throw distances, you can set up your projector perfectly every time—no more guessing, no more blurry images! Imagine transforming your room into a cinematic paradise with flawless picture quality, just by mastering these calculations. Don’t settle for wobbly images or missed moments—take control, get it right, and experience the breathtaking clarity you deserve. Your ultimate home theater is just a perfect setup away—go make it happen!