
To control reflections on glossy products inside a light tent, start by choosing the right size and matte, diffuse fabric to prevent harsh glare. Position diffused lights at angles that minimize direct reflections, and use softboxes or diffusers to soften the light. Adjust the height and angle of your lights until glare disappears and reflections are minimized. For more tips on setting up your light tent effectively, keep exploring how to get professional, reflection-free images.
Key Takeaways
- Use diffused, soft lighting inside the tent to minimize harsh reflections on glossy surfaces.
- Position lights at angles away from direct reflection points to reduce glare.
- Incorporate white reflectors or diffusers to evenly distribute light and soften reflections.
- Adjust light distance and angle to control hotspots and prevent strong glare.
- Utilize polarized filters to eliminate polarized reflections and improve image clarity.

SYSCLOUD Photo Studio Light Box, 32"x32" Professional Dimmable Shooting Tent Kit with 210 LEDs Lights & 4 Color Backgrounds for Product Photography
[High-Quality Lighting with Adjustable Brightness] Our 32"x32" light box for product photography features 210 LED beads, with stepless…
As an affiliate, we earn on qualifying purchases.
As an affiliate, we earn on qualifying purchases.
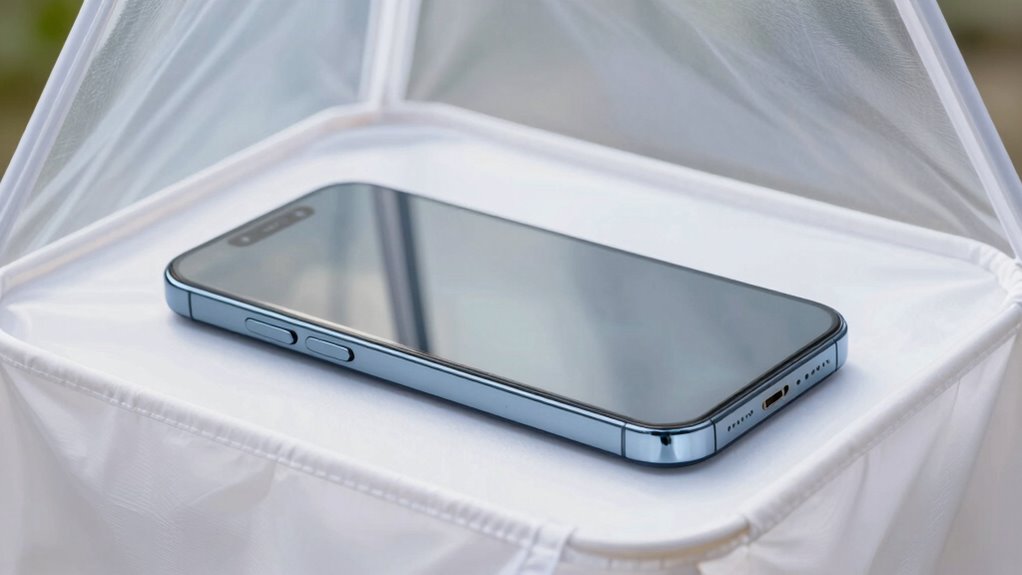
Why Glossy Products Need Special Lighting to Avoid Reflections
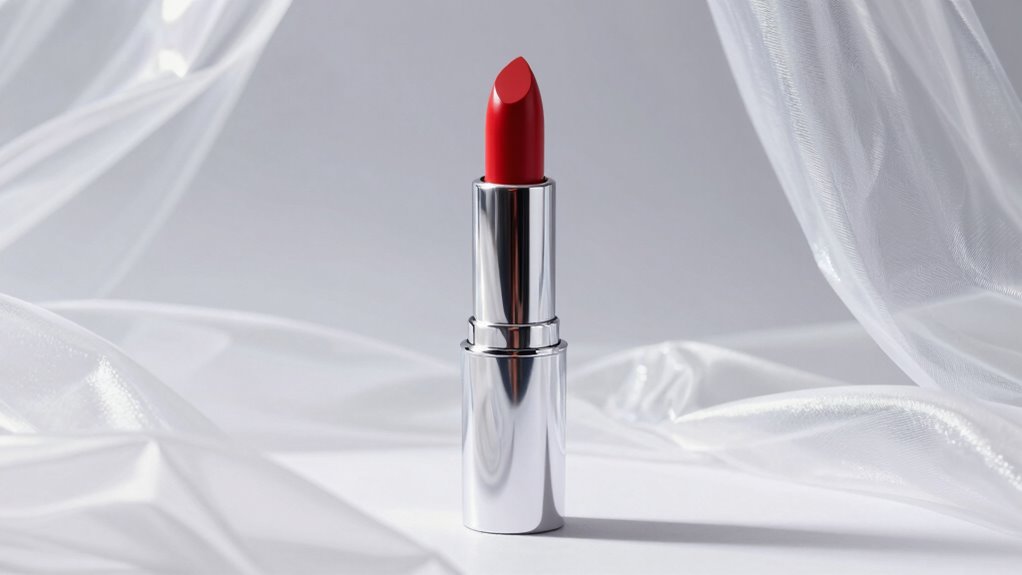
Glossy products tend to reflect light more prominently than matte finishes, making reflections and glare a common problem during photography. These reflections can create diffraction patterns that distort the image and obscure product details. To maintain color accuracy, you need carefully controlled lighting that minimizes unwanted reflections. Free floating lighting setups reduce the intensity of light hitting the surface at harsh angles, preventing glare from overwhelming the shot. Using diffused light sources inside a light tent helps to disperse light evenly, which diminishes diffraction patterns and maintains true color representation. Proper lighting not only improves the clarity of your images but also ensures that the glossy surface’s shine enhances the product’s appeal without causing distracting reflections. Additionally, understanding the product surface characteristics can help tailor the lighting setup for optimal results. Considering lighting angles is crucial to effectively control reflections and highlight the product’s features. Paying attention to lighting techniques can further optimize the process and reduce reflections even more effectively. Incorporating controlled lighting environments is essential to achieving consistent, professional-quality images of glossy products.

RALENO Softbox Photography Lighting Kit, 16'' x 16'' Softbox Lighting for TikTok with LED Bulb (50W | 5500K | 97 CRI | TLCI≥97), Continuous Light for Video Recording & Photography Shooting
COMPACT & DELICATE SOFTBOX: Are you looking for a compact and delicate softbox kit? Then the 16×16-inch softbox…
As an affiliate, we earn on qualifying purchases.
As an affiliate, we earn on qualifying purchases.
Choosing the Right Light Tent Size and Material to Minimize Glare
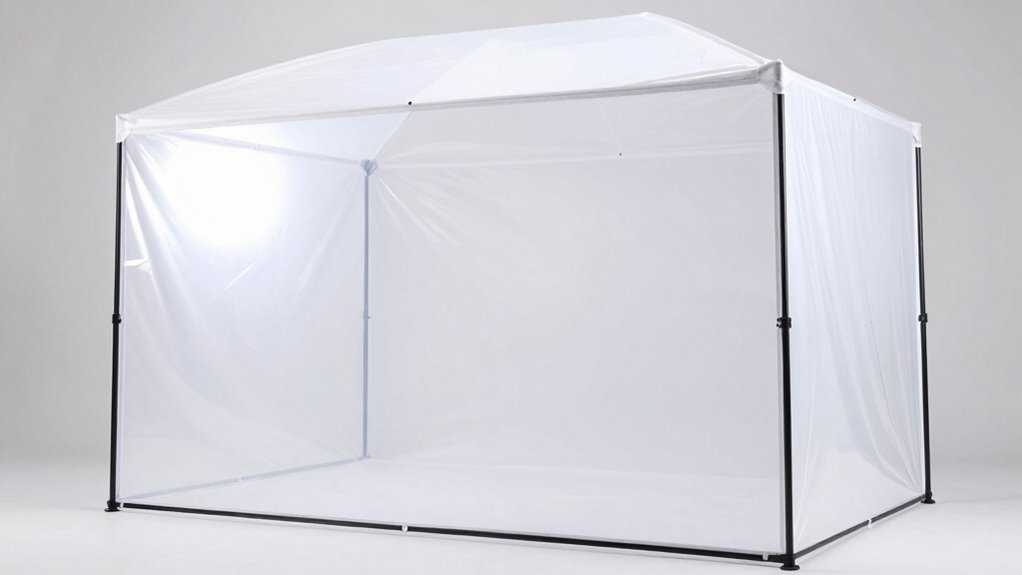
Choosing the right light tent size and material plays a vital role in minimizing glare on glossy products. An appropriately sized tent ensures even light distribution without overwhelming the subject, while the right material reduces unwanted reflections. When selecting light tent materials, opt for matte or non-reflective fabrics that diffuse light effectively. For size selection, consider your product dimensions:
| Product Size | Tent Size Recommendation | Material Suggestions |
|---|---|---|
| Small (jewelry) | Slightly larger than item | Matte fabric for diffusion |
| Medium (gadgets) | 1.5x product size | Non-reflective, opaque |
| Large (furniture) | 2x product size | Light-diffusing fabric |
| Oversized Items | Custom-sized tent | Heavy-duty, matte material |
Using proper size and light tent materials ensures reflections are minimized, giving you a glare-free, professional shot. Proper selection of light tent material can significantly reduce reflections and improve image quality. Additionally, choosing materials with diffusing properties helps scatter light more evenly across glossy surfaces. Incorporating professional lighting techniques can further enhance the reduction of glare on reflective surfaces.

Selens Polarizing Film 2 PCS 7.8×11.8 inches Adhesive Polarized Sheets Linear Polarizing Photography Filter for LCD Screen Repairing & Physics Education
Linear Polarizer:Widely used in photography industry, kinds of LCD screens
As an affiliate, we earn on qualifying purchases.
As an affiliate, we earn on qualifying purchases.
Setting Up Your Light Tent for Even, Reflection-Free Lighting
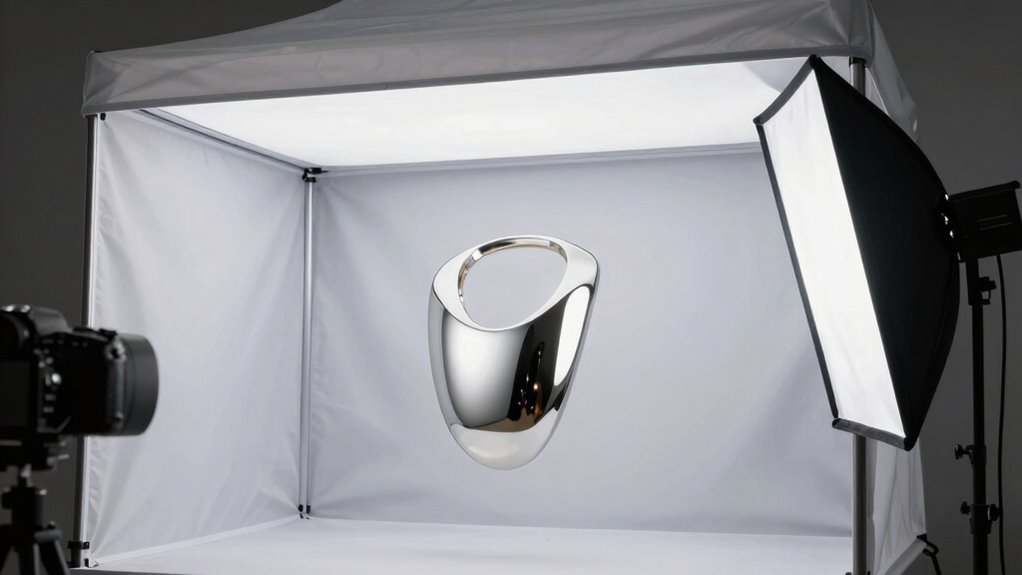
To achieve even, reflection-free lighting inside your light tent, start by carefully positioning your light sources. Use diffused lighting to eliminate harsh reflections on glossy surfaces, creating a soft, uniform glow. Make sure your background setup is clean and seamless, avoiding distractions that can affect the product’s appearance. Proper placement of lights is key: place them at angles that reduce glare, and avoid direct beams hitting the product directly. Consider adding white reflectors or diffusers to spread light evenly. Adjust the distance between lights and the product to prevent hotspots. Additionally, understanding the importance of contrast ratio helps in selecting lighting setups that enhance image depth and clarity. A well-planned background setup combined with diffused lighting produces consistent, reflection-free images that highlight your product’s best features. Incorporating lighting control techniques ensures your setup is optimized for professional results.

Photography Reflector Cardboard, Light Control Board for Studio Photography (1 Pack, 17 x 12 Inch)
VERSATILE DESIGN: Double-sided reflector board with white and black surfaces for precise light control and shadow management in…
As an affiliate, we earn on qualifying purchases.
As an affiliate, we earn on qualifying purchases.
Positioning Lights and Adjusting Angles to Cut Glare
Properly positioning your lights and adjusting their angles is essential for minimizing glare in your light tent. Start by experimenting with the light angle; keep lights at a downward tilt to avoid reflections. Adjust the light distance to control intensity and soften harsh reflections. Moving the lights closer can increase brightness but may create glare, while farther away produces softer light. Use the table below for quick reference:
| Light Positioning Tips | Effect |
|---|---|
| Increase light angle (more downward) | Reduces surface reflections |
| Decrease light distance | Brightens and emphasizes reflections |
| Maintain consistent light angle and distance | Ensures uniform, glare-free illumination |
Additionally, paying attention to lighting setup can help optimize your results and maintain a professional appearance in your product photos. Ensuring proper light placement is also crucial for achieving consistent and high-quality images. Understanding the reflection control techniques in your lighting setup can further enhance the clarity and quality of your photos.
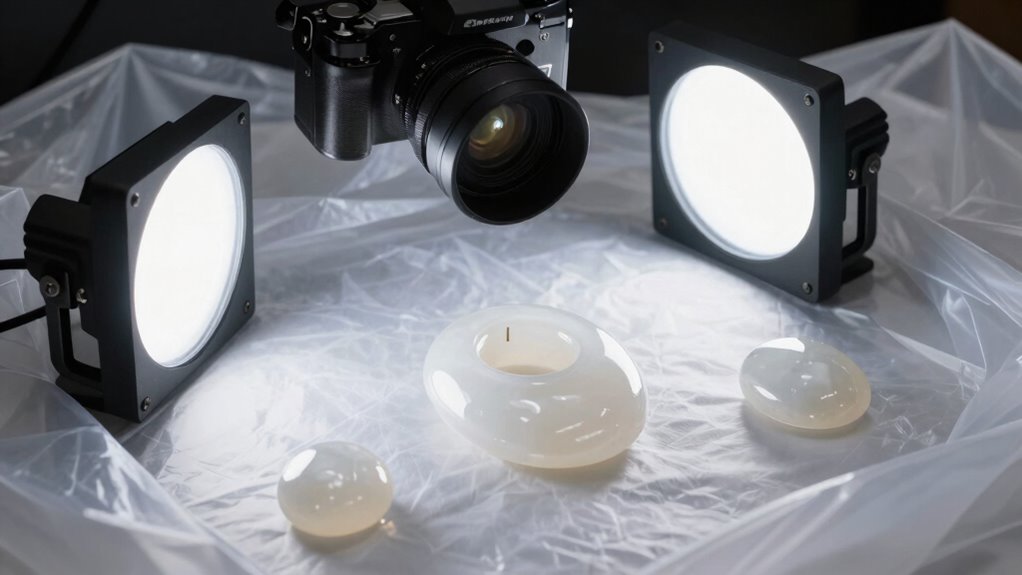
Troubleshooting Reflection Glare and Improving Your Product Photos
Reflection glare can quickly ruin your product photos, but identifying the source of the glare is the first step to fixing it. Start by evaluating your setup: is the light too direct or intense? Using polarized filters can help reduce unwanted reflections by blocking polarized light. Adjusting light diffusion materials, like softboxes or diffusers, softens harsh reflections and creates even lighting. If glare persists, reposition lights or your product to avoid direct reflections. Experiment with angles until reflections diminish. Keep in mind, light diffusion spreads light evenly, minimizing hotspots and glare. Combining these techniques ensures your glossy products look appealing without distracting reflections. Remember, small adjustments can make a big difference in capturing clear, professional images. Additionally, understanding the art of lighting can significantly impact how reflections appear and how effectively they can be controlled. Mastering reflection management is essential for showcasing glossy surfaces in the best light, especially when leveraging knowledge of light behavior to optimize your setup. Developing a solid understanding of light reflection principles can further enhance your ability to control glare and produce stunning product images. Recognizing the impact of surface properties helps in choosing the right techniques to handle reflections on various materials.
Frequently Asked Questions
What Are the Best Light Tent Materials for Reflective Surfaces?
You should choose light tent materials like matte fabric or non-reflective nylon, as they provide excellent light diffusion to reduce reflections on glossy surfaces. These materials are durable and easy to set up, ensuring consistent results. Avoid shiny or reflective fabrics that could increase glare. By selecting the right material, you control reflections effectively, making your product photos look professional and polished without unwanted glare.
How Do Different Background Colors Affect Reflections on Glossy Products?
Changing your background color impacts reflections on glossy products by altering the reflection color and intensity. A white background creates soft, neutral reflections, while black reduces glare and enhances product details. Using colored backgrounds can introduce tinting effects, so it’s essential to contemplate reflection color adjustment to maintain true product colors. Experiment with different hues to see how they influence reflections, helping you achieve the desired look and minimize unwanted glare.
Can Portable Light Tents Effectively Reduce Reflections During Outdoor Shoots?
Did you know portable light tents can cut reflections by up to 80%? They’re highly effective during outdoor shoots because they provide a controlled environment, even with unpredictable outdoor lighting. By creating a portable setup, you can diffuse natural light and reduce glare on glossy products. This way, your images stay consistent, and reflections don’t ruin the shot. So yes, a portable light tent is a smart choice for outdoor photography.
What Camera Settings Help Minimize Glare in Glossy Product Photography?
To minimize glare in glossy product photography, you should adjust your camera’s aperture to control diffraction patterns that cause unwanted reflections. Use a smaller aperture (higher f-stop) to reduce glare and soften reflections, but avoid going too small to prevent diffraction issues. Also, consider using a polarizing filter to further cut down reflections. These steps help achieve clearer, glare-free images that showcase your product’s details effectively.
How Does Post-Processing Influence Reflection Removal in Product Images?
Did you know that over 60% of professional photographers use software correction to improve product images? Post-processing can markedly reduce reflections through editing techniques like spot removal and highlight adjustment. By carefully applying these methods, you control glare and enhance the product’s appearance, ensuring a polished, professional look. Just remember, subtle edits make the biggest impact, so don’t overdo it—balance is key in reflection removal.
Conclusion
Just as a master painter carefully controls light to bring out the true beauty of their work, you can master your lighting setup to showcase glossy products without unwanted reflections. By choosing the right tent, positioning your lights thoughtfully, and troubleshooting effectively, you’ll create flawless, reflection-free shots. Remember, with patience and precision, you can turn your product photos into works of art—capturing the essence beneath the glare, much like a lighthouse guides ships through darkness.