
To test adhesive hooks and tapes without damaging your walls, start by choosing a small, hidden area. Clean the spot thoroughly and let it dry completely. Press the hook or tape firmly for the recommended time, then gently peel or pull to see if it stays secure. Using a dummy object of similar weight can help assess support. Keep these tips in mind, and you’ll discover how to guarantee strong adhesion without harm—more useful techniques are just ahead.
Key Takeaways
- Choose a small, hidden area on the wall to perform the test for minimal visibility.
- Clean the surface thoroughly with a gentle cleaner and let it dry completely before testing.
- Apply the adhesive hook or tape firmly, then wait at least 24 hours to assess initial bonding.
- Gently peel or remove the adhesive to check for residue or damage, using low force.
- Use dummy objects to test weight support without risking damage to your wall.
Why It’s Important to Test Adhesive Hooks and Tapes Before Using Them
Before hanging anything important, it’s vital to test your adhesive hooks and tapes to make sure they can handle the weight and surface. Understanding adhesive chemistry helps you select the right product for your wall type, guaranteeing strong, lasting adhesion. Proper wall preparation is essential; cleaning the surface thoroughly removes dust, grease, and loose paint that could weaken the bond. Skipping this step increases the risk of failure or damage. Testing helps you determine if the adhesive will stick properly without causing damage when removed. It also reveals whether the hook or tape can support the intended weight. Additionally, knowing the adhesive properties of your chosen product can help predict its effectiveness on different surfaces. For example, some adhesives are specifically formulated for smooth surfaces, while others work better on textured walls. Furthermore, knowing the contrast ratio of your projectors can help you assess how well your setup will perform in different lighting conditions. Conducting a small adhesive test patch before full application is a practical way to evaluate performance and prevent potential damage. Performing a wall surface assessment ensures compatibility and reduces the risk of wall damage or failure. By taking these precautions, you make certain your decorations stay secure and your walls remain intact, saving you time and frustration in the long run.
How to Identify Your Wall Surface for Better Adhesive Compatibility
Knowing your wall surface type is key to choosing the right adhesive hooks and tapes. To identify your wall surface for better compatibility, consider these steps:
- Examine the wall texture—smooth, rough, or textured—since textured walls may require different adhesives. Additionally, the presence of wallpaper or wall coverings can influence the adhesive choice.
- Check the paint finish—matte, glossy, or semi-gloss—as some finishes can affect adhesion quality. Be aware that surface characteristics play a significant role in how well adhesives will bond.
- Test a small area with gentle pressure to see if the surface is delicate or prone to peeling, especially on painted walls. Using the correct application techniques can improve adhesion and minimize damage.
- Be aware that adhesive compatibility varies depending on wall material, and choosing the correct type ensures secure attachment without damage.
- Understanding wall surface identification techniques can help prevent unnecessary damage and ensure your hooks stay secure. Additionally, using appropriate testing methods can help verify adhesion strength before full application.
Understanding whether your wall has a smooth or textured surface, along with its paint finish, helps determine adhesive strength and removal ease. Correct identification guarantees your hooks stay secure without causing damage.
Preparing Your Wall for Safe, Damage-Free Testing
To guarantee you can test adhesive hooks and tapes safely without damaging your walls, start by clearing the area and removing any loose debris or dust. Proper wall preparation is essential for effective surface testing and to prevent damage. Wipe the surface gently with a damp cloth and let it dry completely. Check for smoothness and uniformity, as rough or uneven surfaces may affect adhesion. If needed, lightly sand glossy or painted walls to improve grip, but avoid harsh abrasives that could cause damage. Ensure the wall is completely clean and dry before applying any adhesive. Surface testing on a small, inconspicuous area helps confirm compatibility without risking the entire wall. Additionally, understanding the adhesive properties of your chosen hooks and tapes can help you select the most suitable option for your wall type. Considering surface compatibility and adhesive strength can further enhance the testing process, ensuring a safe, damage-free testing process. Incorporating knowledge of the wall material can also guide your choice of adhesive to optimize adhesion and minimize potential damage. Being aware of environmental conditions such as humidity or temperature can also impact adhesive performance and testing outcomes.
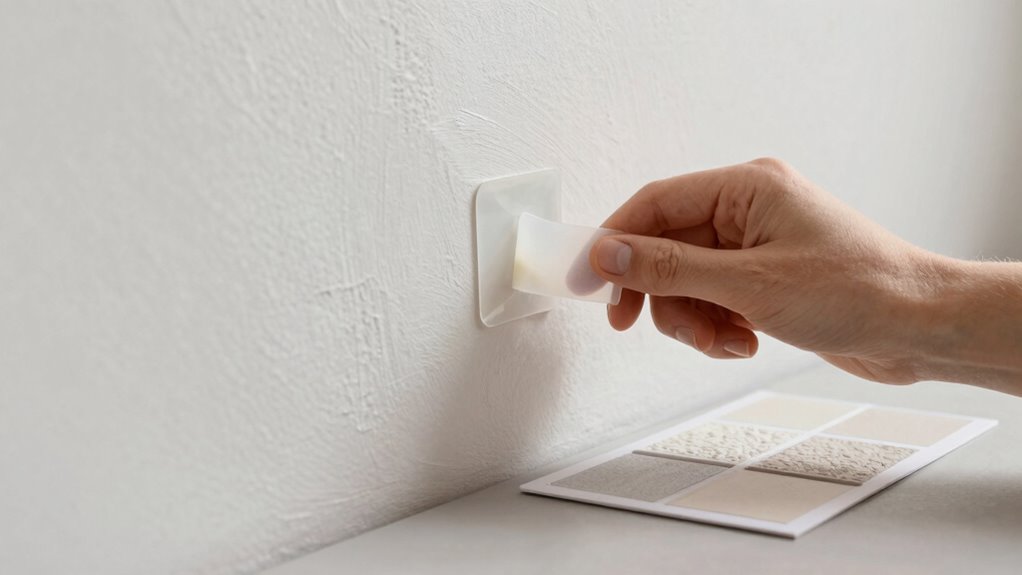
Perform a Small Patch Test to Check Adhesive Strength

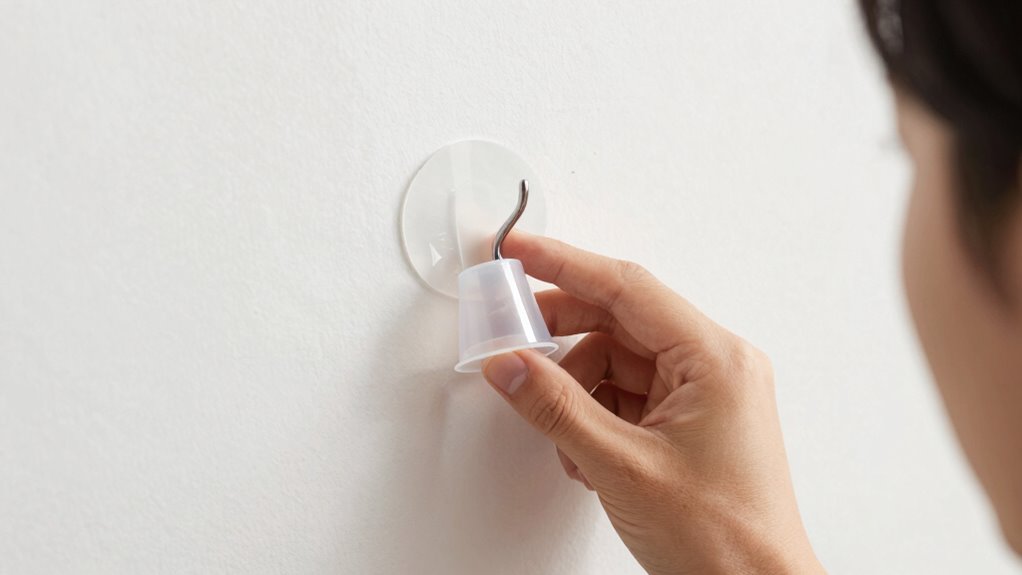
Performing a small patch test is a crucial step to guarantee the adhesive hook or tape will hold without damaging your wall. This helps you assess adhesive compatibility and determine the appropriate test duration. To do this effectively: 1. Choose a discreet area to apply the tape or hook, pressing firmly for proper contact. 2. Leave it in place for the recommended test duration—usually 24 hours—to observe how well it adheres. 3. Gently remove the tape or hook to check if any paint or wallpaper peels or if residue remains, indicating potential damage or poor adhesive compatibility. 4. Additionally, consider the surface material of your wall, as different finishes may react differently to adhesives. Understanding wall surface types can help you select the most suitable adhesive for your specific wall. It is also helpful to know your wall’s finish to predict how different adhesives will interact. Being aware of adhesive properties can further aid in choosing the right product for your needs. Moreover, testing the adhesive on a small, inconspicuous area allows you to assess its strength without risking damage to larger visible sections. This simple test ensures your wall stays intact while confirming the adhesive’s strength and suitability for your surface. Always follow these steps for damage-free testing and peace of mind.
How to Hang a Dummy Object to Simulate Your Item’s Weight
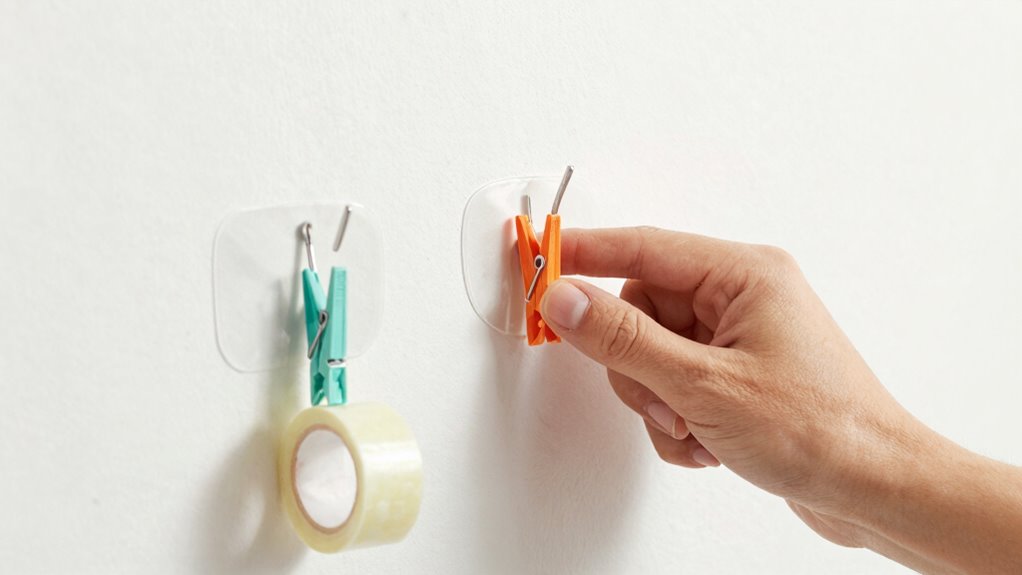
To accurately test your hook or tape, start by hanging a weighted object that mimics your item’s weight. Make sure the adhesive has a strong bond before adding the dummy. This helps you verify if the setup can handle the real load safely. Observing how the adhesive performs over time can also provide insights into its durability and strength. Using a variety of materials for testing can give a more comprehensive understanding of the adhesive’s performance across different surfaces. Additionally, monitoring the adhesive’s adhesion properties over a period can reveal its long-term reliability. Considering free floating conditions, which involve testing on surfaces without additional support, can help assess how well the adhesive performs under natural circumstances. Conducting these tests on surfaces similar to your actual wall type can further ensure the reliability of the adhesive.
Use a Weighted Object
Using a weighted object is an effective way to test how well your adhesive hooks and tapes will hold up under real conditions. It helps you assess the strength of the adhesive chemistry and how different wall textures might affect adhesion. To get accurate results, follow these steps:
- Choose a dummy object that matches the weight of your intended item.
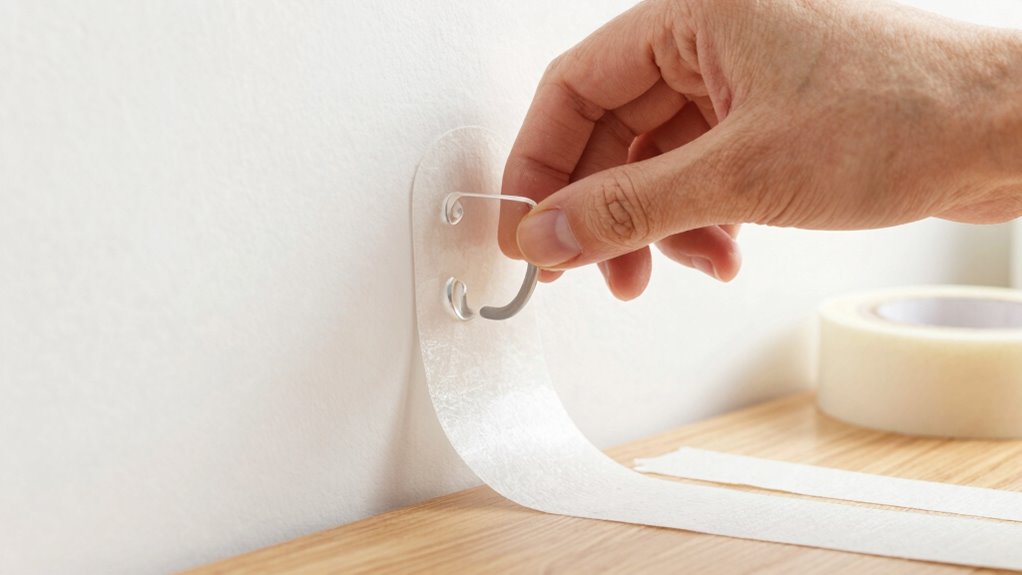
- Attach the object securely to the adhesive hook or tape, ensuring proper contact with the wall.
- Observe how the adhesive performs over time, paying attention to any signs of slipping or detachment, especially if your wall has a textured surface.
- Consider the adhesive properties and how they interact with your wall’s surface to ensure a secure hold.
This method provides a practical way to evaluate the adhesive’s capacity before hanging something valuable, saving you from potential damage.
Ensure Proper Adhesion
Ensuring proper adhesion is essential before hanging your actual item, and one effective way to do this is by using a dummy object that mimics its weight. First, consider your wall texture, as rough or textured walls may require stronger adhesive or different application techniques for better grip. Check the adhesive age; fresh adhesives tend to bond more securely, so avoid using expired tapes or hooks. Attach the dummy object and press firmly, holding it in place for the recommended time to allow the adhesive to set. Keep an eye on how well the dummy stays in place over a few hours or days, ensuring it won’t slip or fall. This test confirms that the adhesive can handle your item’s weight on your specific wall surface.
When and How to Use Adhesion Testing Devices for Accurate Results

Knowing when and how to use adhesion testing devices is essential for obtaining reliable results. By performing proper adhesion testing, you ensure your wall is compatible with the adhesive hook or tape. Here’s how to do it:
- Select an adhesion testing device suited for your wall type, considering wall compatibility and surface texture.
- Apply the device to a small, inconspicuous area and wait the recommended time before testing the adhesion strength.
- Record the results, focusing on the force needed to detach the device, ensuring the surface can handle the weight without damage.
Using adhesion testing devices correctly helps you assess whether your wall can support the adhesive’s strength, preventing mishaps and ensuring a damage-free setup.
Interpreting Test Results: Is the Adhesive Suitable for Your Needs?

Are your adhesion test results indicating that the adhesive is strong enough for your intended use? Consider how wall texture impacts results; rough or textured surfaces may require stronger adhesives, while smooth walls need less. Next, evaluate the adhesive chemistry—some formulas are designed for specific materials or conditions, affecting their performance. If the test shows the adhesive can hold your items securely without slipping or failure, it’s likely suitable. However, if it barely sticks or peels away easily, it might not be reliable for your needs. Remember, different wall textures and surface materials can influence adhesion. Always match the adhesive’s chemistry to your wall type and weight requirements to ensure a secure, damage-free hold.
Tips for Removing Adhesives Without Damaging Your Walls
When removing adhesives, you want to be gentle to avoid wall damage. Using heat tools like a hairdryer can help loosen the adhesive, making removal easier. Remember to clean the area properly afterward to guarantee your wall stays smooth and intact.
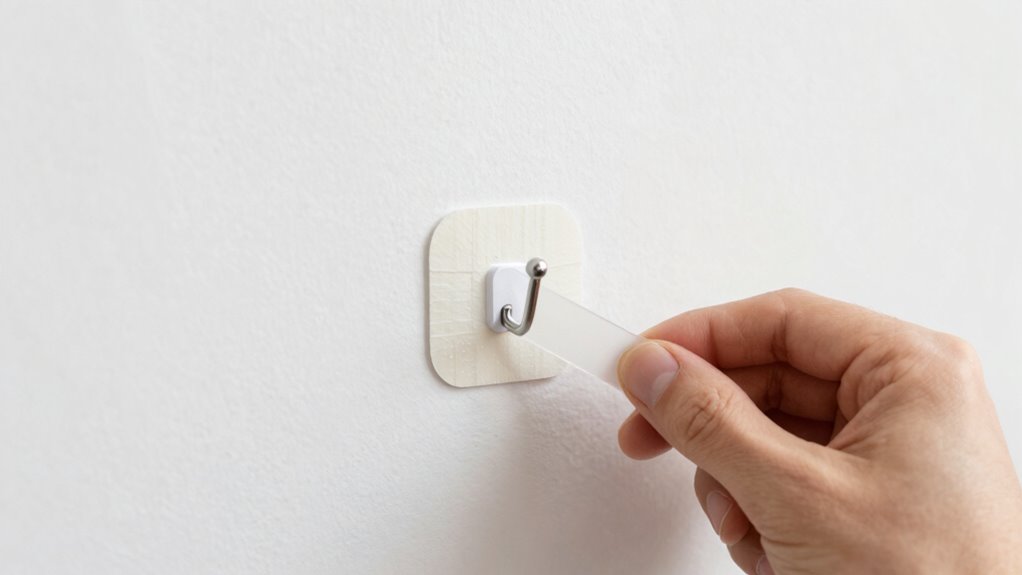
Gentle Removal Techniques
Removing adhesive hooks and tapes can be tricky, but using gentle techniques helps prevent wall damage. First, assess the wall surface to determine its sensitivity and adhesive compatibility. This analysis guides your removal approach.
Here are three effective techniques:
- Gently loosen the edges of the adhesive with a plastic card, avoiding excessive force.
- Apply a small amount of adhesive remover or rubbing alcohol around the edges to weaken the bond.
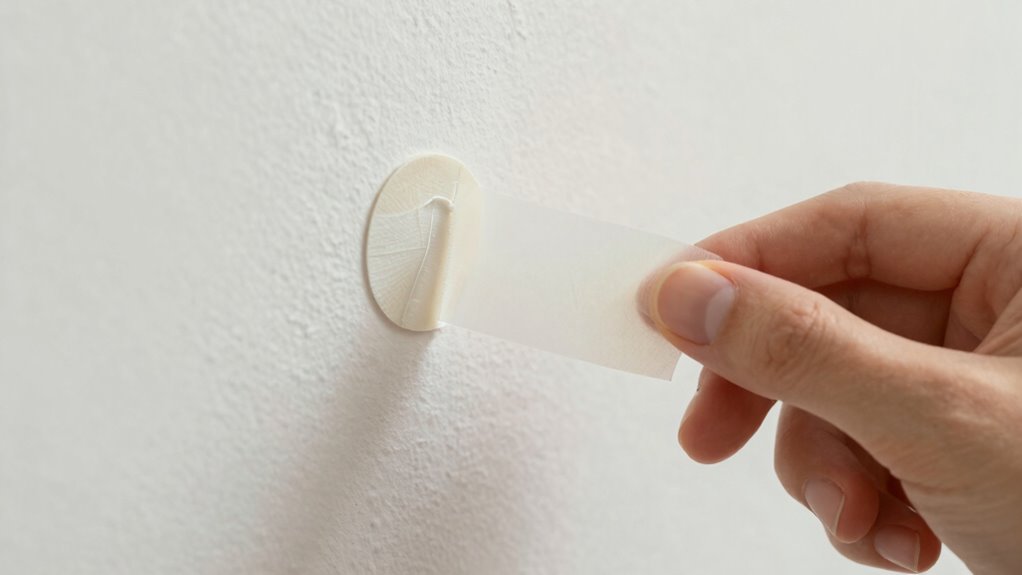
- Slowly peel the tape or hook back at a low angle, keeping the pressure even to minimize wall stress.
Always start with the least invasive method and test a small area first. Taking your time ensures your walls stay undamaged while removing adhesives safely.
Use of Heat Tools
Using heat tools can make adhesive removal easier and safer for your walls, especially when dealing with stubborn residues. Heat activation softens the adhesive, reducing the risk of wall damage. Before applying heat, perform temperature testing on a small, inconspicuous area to guarantee the tool doesn’t overheat or harm the paint or drywall. Use a heat gun or hairdryer set to a low or medium setting, and keep it a few inches from the surface. Gently move the tool back and forth to evenly distribute heat. This process loosens the adhesive, making it easier to peel away. Be patient and cautious; excessive heat can damage your wall’s finish. Proper heat application allows for a safer, cleaner removal without causing lasting damage.
Proper Cleaning Methods
To avoid damaging your walls during adhesive removal, choosing gentle cleaning methods is essential. Using appropriate cleaning solutions can loosen adhesives without harming wall textures. Here are three tips:
- Apply a mixture of warm water and mild dish soap to soften adhesives, then gently scrape with a plastic scraper.
- For stubborn residue, use rubbing alcohol or a commercial adhesive remover, testing on a small area first to prevent damage.
- Always use soft cloths or sponges to avoid scratching delicate wall textures. Avoid harsh chemicals or abrasive tools that can strip paint or damage surfaces. Patience is key—let the cleaning solutions sit briefly to loosen adhesives before gentle removal. These methods help preserve your wall’s integrity while effectively removing adhesives.
Alternative Non-Permanent Mounting Options for Your Walls
When you want to avoid damaging your walls, exploring alternative non-permanent mounting options can be a smart choice. These options provide wall protection while still letting you display your items effectively. Command strips, tension rods, and suction cups are excellent choices for lightweight decorations, picture frames, or holiday banners. They’re easy to remove without leaving residue or marks, making them ideal for renters or anyone wanting to preserve wall integrity. Using hooks that clip onto crown molding or adhesive hooks designed for temporary use also offers secure mounting without harming paint or drywall. Before installing, ensure surfaces are clean and suitable for each method. These alternative mounting options help you enjoy your space without the worry of costly repairs or permanent damage.
Troubleshooting Adhesive Failures and When to Try New Products

Adhesive failures often happen unexpectedly, leaving you frustrated and wondering what went wrong. To troubleshoot, first check the adhesive’s longevity; over time, adhesives lose their stickiness. Next, evaluate surface compatibility—some surfaces aren’t suitable for certain adhesives, causing failure. Finally, consider environmental factors like humidity or temperature, which can weaken adhesion. If your hook or tape keeps falling, try these steps:
- Clean the surface thoroughly and ensure it’s dry before reapplying.
- Switch to an adhesive that’s designed for your specific surface type.
- Replace old or worn-out adhesives with fresh products for better longevity.
Knowing when to try new products depends on surface compatibility and adhesive wear. Sometimes, upgrading to a product suited for your wall material makes all the difference.
Frequently Asked Questions
Can Temperature Changes Affect Adhesive Performance During Testing?
Yes, temperature fluctuations can affect adhesive performance during testing. When you experience changes in temperature, it impacts the adhesive durability, causing it to weaken or become more brittle. This can lead to unreliable test results, as the adhesive may not perform consistently under different conditions. To get accurate assessments, guarantee you test adhesives in a stable environment, minimizing temperature variations that could influence their true strength and durability.
How Long Should I Wait After Applying an Adhesive Before Testing?
Think of curing time as the secret recipe to perfect adhesion. You should wait at least 24 hours after applying an adhesive before testing its strength. This window allows the glue to fully develop its bond, transforming from a tentative handshake into a firm grip. Rushing the process can weaken adhesion strength, so patience guarantees your hooks hold tight when you need them most.
Are There Specific Adhesives Better for Textured or Painted Walls?
For textured surfaces, opt for adhesives designed for uneven textures, like those with flexible, silicone-based formulas, which bond better without damage. For painted walls, choose removable, painter-friendly adhesives that won’t peel paint when removed. Always check product labels for suitability on textured or painted surfaces. Testing on a small, hidden area first helps guarantee the adhesive works well without causing damage, whether on textured or painted walls.
What Safety Precautions Should I Take During Adhesive Testing?
You should wear safety gear like gloves and eye protection to prevent skin irritation and eye injury during adhesive testing. Make certain proper ventilation measures are in place to avoid inhaling fumes from adhesives, especially in enclosed spaces. Always follow manufacturer instructions carefully, and test in a small, discreet area first, to minimize risks. Taking these precautions helps protect your health while safely evaluating adhesive strength on your walls.
Can Repeated Testing Weaken the Wall Surface Over Time?
Repeated testing can weaken your wall surface integrity over time, especially if you often remove and reapply hooks. Each removal risks damaging the paint or wall material, leading to cracks or peeling. To minimize this, make sure you clean adhesive residue thoroughly after each test, which helps preserve the wall’s surface. Avoid excessive testing and use gentle removal techniques to maintain the wall’s condition and prevent long-term damage.
Conclusion
So, next time you’re eager to stick something up without a trace, remember: testing your adhesive is your wall’s best friend. It’s like a secret handshake before the real deal—saving you from surprise falls and wall tears. Ironically, the very step that seems like extra effort ensures your decorations stay put and your walls stay pristine. After all, a tiny test can save you a big mess—proof that patience really sticks.