
To guarantee support can’t ignore your bug, provide clear, detailed documentation that includes a concise summary, step-by-step reproduction instructions, and high-quality screenshots or videos highlighting the issue. Include relevant environment details like software version, hardware, and network conditions. Describe actions precisely and avoid vague language. Organize your information logically, document troubleshooting steps taken, and verify every detail is accurate. Mastering these steps increases your chances of quick resolution—discover how to make your reports stand out even more.
Key Takeaways
- Provide a clear, detailed description including error messages, affected features, and expected versus actual behavior.
- Include high-resolution, annotated screenshots and logs that visually illustrate the issue.
- Outline step-by-step reproduction instructions with labeled visuals for easy replication.
- Document environment details such as software version, hardware, network, and system configuration.
- Maintain a professional tone, organize information logically, and double-check for completeness and clarity.

ORIVISION Video Capture Card 4K HDMI Device with Loop Out, Full HD 1080P Game Capture Video Recorder for Live Streaming, Broadcasting or Video Conference,S3/PS4/Xbox One/DSLR/Camcorders
[Full 1080P] Support input max resolution 4K;Support output max resolution 1080P
As an affiliate, we earn on qualifying purchases.
As an affiliate, we earn on qualifying purchases.
Why Clear Documentation Gets Your Bug Fixed Faster

Clear documentation helps developers understand the exact nature of the bug quickly. When you include precise technical jargon and categorize the error accurately, it streamlines the troubleshooting process. Error categorization allows support teams to identify whether the issue is a UI glitch, backend malfunction, or security concern, saving valuable time. Error categorization enables support teams to quickly determine the type of issue at hand, leading to more targeted troubleshooting. Precise descriptions reduce confusion and eliminate guesswork, enabling developers to focus on fixing the problem rather than deciphering vague reports. Clear, well-structured documentation also helps prioritize bugs based on severity and impact, speeding up resolution. Additionally, incorporating standardized terminology from the relevant technical domain ensures clarity across teams and reduces misinterpretation. Using a consistent documentation format ensures that all team members can easily find the information they need, further improving efficiency. By avoiding ambiguity and providing specific details, you make it easier for support teams to replicate and diagnose the issue efficiently. Incorporating detailed content specifics ensures that all relevant information is captured upfront, further accelerating the troubleshooting process. Employing sound testing practices can help verify issues before escalation, saving time and resources. This proactive approach ultimately leads to faster fixes and improved user satisfaction.
![VideoPad Video Editor - Create Professional Videos with Transitions and Effects [Download]](https://m.media-amazon.com/images/I/91zAUcPqOhL._SL500_.png)
VideoPad Video Editor – Create Professional Videos with Transitions and Effects [Download]
Apply effects and transitions, adjust video speed and more
As an affiliate, we earn on qualifying purchases.
As an affiliate, we earn on qualifying purchases.
Understanding What Details Support Support Teams
To help support teams diagnose your defect quickly, include key technical details like error messages, logs, and steps to reproduce. Clear visual evidence, such as screenshots or videos, can often elucidate issues faster than words alone. Providing these specifics ensures your report is actionable and reduces back-and-forth questions. Incorporating smart device behaviors can also help identify whether a defect stems from hardware or software issues within your connected home environment. Additionally, documenting connected home fitness technology behaviors, such as unusual device responses or connectivity issues, can further clarify whether problems originate from your equipment or the broader system. Recognizing systematic troubleshooting steps can also streamline the support process and lead to quicker resolutions. Understanding home electrical safety principles can enable you to identify potential issues before contacting support, saving time and ensuring safety. For example, observing device performance over time can reveal patterns that help pinpoint root causes of malfunctions.
Key Technical Details
Understanding the key technical details in a defect report is crucial because these specifics directly help support teams diagnose and resolve issues efficiently. Use precise technical jargon to describe the problem accurately, avoiding vague language. Include information about the software version and how it relates to the defect, as version control helps support identify if the issue is tied to a specific release. Clearly specify the environment, such as hardware, operating system, and network setup, since these details can influence the problem. Avoid assumptions; instead, provide concrete technical facts. Properly documenting version control details ensures the support team can replicate the issue and determine if it’s a known bug or a new one. This clarity accelerates troubleshooting and increases the chances of a quick resolution. Additionally, understanding sleep environment factors can help identify external influences on the defect’s manifestation. Recognizing external variables that might affect the defect can further aid in isolating the root cause. Being aware of system logs and error messages is also vital, as they can provide immediate clues about the underlying issue, saving time during investigations. Incorporating diagnostic tools and scripts can further streamline the troubleshooting process and enhance support efficiency. Moreover, including relevant hardware specifications can be instrumental in identifying hardware-related issues that contribute to the defect.
Clear Visual Evidence
Providing visual evidence is essential because it helps support teams quickly grasp the exact nature of the defect. Visual storytelling through screenshots captures the problem vividly, reducing misunderstandings. Use clear images and add digital annotations to highlight key areas, such as error messages or malfunctioning buttons. Including a well-organized visual can make your report stand out. Here’s an example of what to include:
| Step | Description | Digital Annotations |
|---|---|---|
| 1 | Reproduce the defect | Arrow pointing to the error |
| 2 | Capture screenshot | Highlight the faulty area |
| 3 | Add notes | Brief explanation of issue |
| 4 | Save image | Use descriptive filename |
| 5 | Attach to report | Ensure clarity for support |
Effective visual storytelling and annotations streamline support’s understanding and response. Incorporating visual evidence is a crucial part of clear communication that improves the chances of a quick resolution. Additionally, understanding how home charging impacts troubleshooting can help you provide more relevant details. Recognizing common support procedures can further facilitate effective communication and expedite assistance. Including support breakfast tips can also ensure your report is clear and comprehensive. Being aware of quality assessment techniques for your visual evidence can significantly enhance the support process.

Rendrox Handheld Analyzer Diagnostic Tool Kit w/Cable Compatible with JLG Scissor Lift and Telescopic/Articulating Boom Lift 600S 340AJ 6RS R6 Program Troubleshoot, Replace 1001249695 1600244 2901443
【COMPATIBILITY1】Compatible with JLG Telescopic Boom Lift: T350 400S 600S 600SJ 660SJ 600SC 660SJC 601S 1100S 1100SJP 1200SJP 1500SJ;…
As an affiliate, we earn on qualifying purchases.
As an affiliate, we earn on qualifying purchases.
How to Reproduce the Issue Step-by-Step
Reproducing an issue accurately is essential for effective troubleshooting. To do this, clearly outline your reproduction steps so support can follow them easily. Start by describing each step precisely, including the actions you took and the expected results. Be specific about any inputs, clicks, or commands involved. Avoid vague descriptions; instead, detail exactly what happened at each stage. Consistency is key—use the same steps every time you test. Incorporate troubleshooting tips, like confirming the issue occurs under specific conditions or on certain devices. This thorough approach helps support replicate the problem quickly and understand its root cause. Remember, well-documented reproduction steps save time and increase the chances of a swift resolution. Clear documentation is an important part of effective troubleshooting and helps ensure your issue is addressed accurately.

52 Weekend Digital Photo Projects: Inspirational Projects*Camera Skills*Equipment*Imaging Techniques
As an affiliate, we earn on qualifying purchases.
As an affiliate, we earn on qualifying purchases.
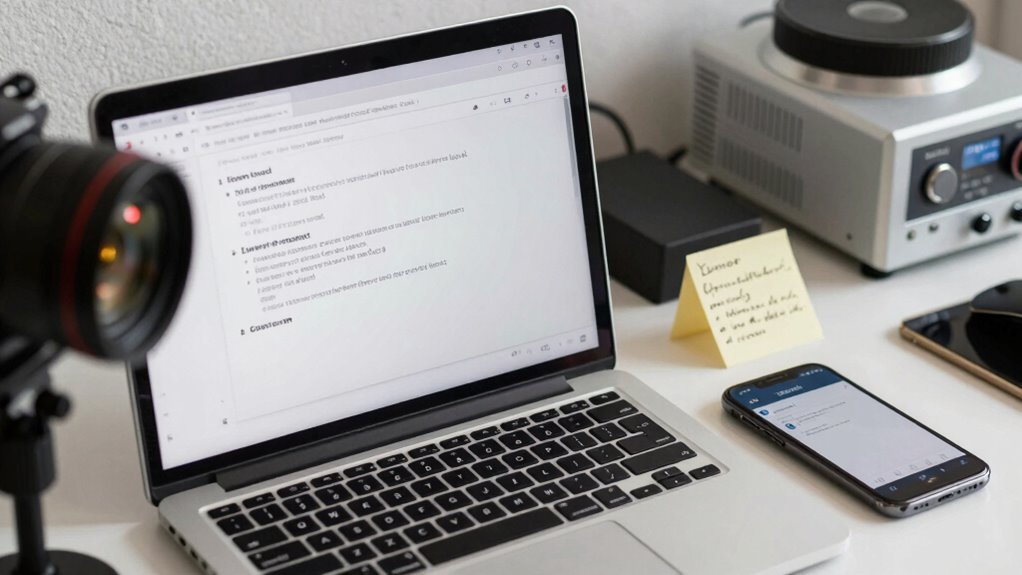
Tips for Capturing Clear Screenshots and Error Messages
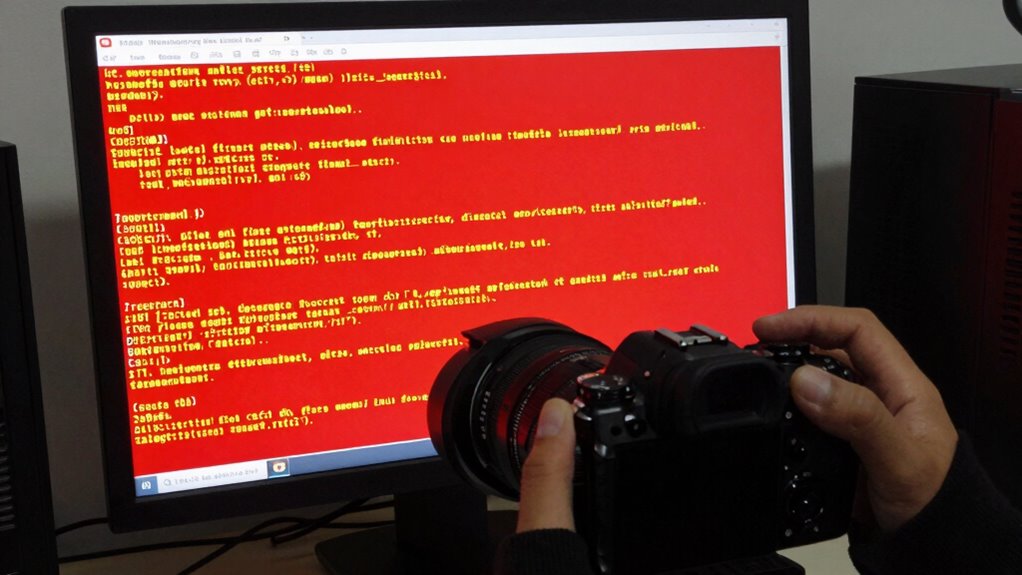
To document a defect effectively, your screenshots and error messages need to be clear and detailed. Use high-resolution images to show precise details, capture multiple angles if necessary, and include step-by-step context to help others understand the issue. This way, your documentation becomes a valuable resource for quick resolution. Additionally, detect passive voice to ensure your writing is direct and impactful. Incorporate visual clarity techniques to enhance the understanding of complex issues and avoid confusion. When addressing auditory-related challenges, consider auditory processing test components to better understand the nature of the defect and tailor your documentation accordingly. Paying attention to filtration and ensuring your capture methods highlight relevant details can improve communication with support teams. Moreover, implementing cookie categories understanding can help you manage data effectively during troubleshooting.
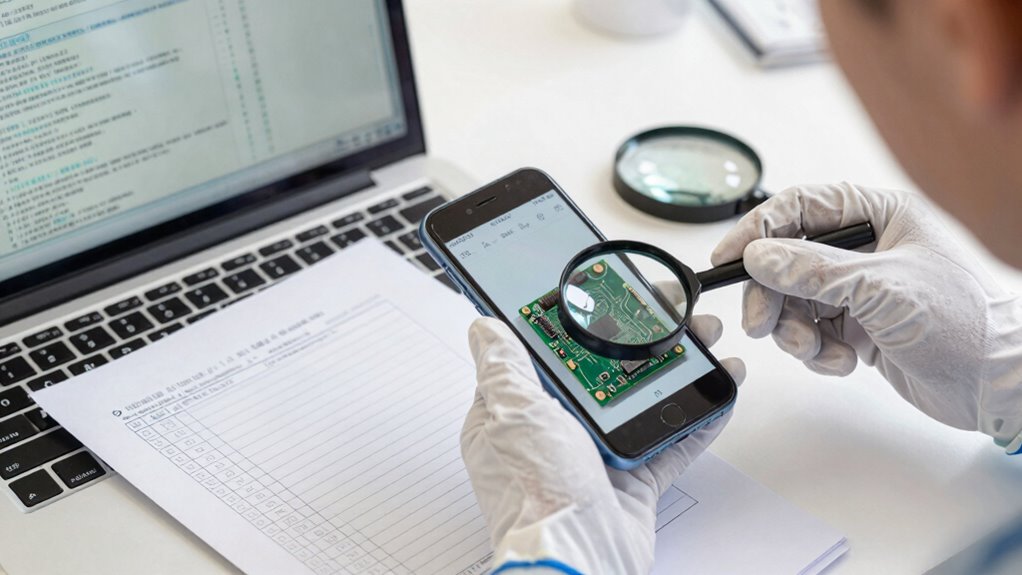
Use High-Resolution Images
Capturing high-resolution images guarantees that all details of a defect are clearly visible, making it easier for others to understand the issue. Clear visuals are essential for effective visual storytelling, especially when technical jargon is involved. Use a camera or screenshot tool that supports high DPI settings to prevent pixelation. Focus on the specific error message, UI element, or code snippet, ensuring sharpness and clarity. Consider the context and include relevant details with annotations if needed. Here’s a quick reference:
| Aspect | Tip | Benefit |
|---|---|---|
| Resolution | Use the highest quality setting | Clearer images, easier diagnosis |
| Focus | Zoom in on the issue | Highlights key details |
| Annotations | Add arrows or highlights | Directs attention to problem |
Employing these techniques enhances your technical jargon’s clarity, leading to more effective communication.
Capture Multiple Angles
Since different angles can reveal details that a single screenshot might miss, it’s essential to take multiple shots from various perspectives. Capture screenshots that show the entire screen, as well as zoomed-in views of error messages or specific issues. This approach guarantees visual consistency, so support can better understand the problem without confusion. When capturing images, prioritize clear, legible error messages and maintain language clarity—avoid clutter or unnecessary elements. Use a steady hand or screen recording tools to prevent blurry images. Take multiple angles to highlight different aspects of the defect, making it easier for support to diagnose quickly. Clear, well-framed screenshots from various perspectives help communicate the problem precisely, increasing the chances of a swift resolution.
Include Step-by-Step Context
Including step-by-step context when documenting a defect helps guarantee support can follow the problem’s progression clearly. Start by capturing screenshots or error messages at each stage of the issue, so support can see exactly what you experienced. Use your user feedback to detail what you were doing before the error occurred and any actions that trigger the problem. Clear communication strategies involve labeling each screenshot with descriptive notes, such as “clicking ‘Save’ causes crash.” This approach provides support with a logical flow, making it easier to identify the root cause. By including detailed, sequential information, you help support understand the full scope of the defect, reducing back-and-forth and speeding up resolution. Your thorough documentation makes your feedback more actionable.
Gathering Relevant Environment and Context Details
How can you guarantee you have all the necessary details to understand a defect? Start by gathering information about the system architecture—know how different components interact and what environment the issue occurs in. Document the specific hardware, software versions, network setup, and configurations involved. Pay attention to the user experience; note what the user was doing, what they expected, and what actually happened. Include details about any recent changes or updates that might influence the problem. The more precise you are about the environment and context, the easier it is for support to reproduce and diagnose the issue. Clear, detailed context prevents misunderstandings and ensures support can quickly identify the root cause of the defect.
Organizing Your Findings for Easy Review

To make your defect report easy to review, you need clear and consistent formatting that highlights key details. Prioritizing the most important evidence helps reviewers focus on critical issues quickly. Organizing your findings this way guarantees your report is both professional and effective.
Clear and Consistent Formatting
Have you ever struggled to make sense of a defect report because the information was scattered or unclear? Clear and consistent formatting helps support teams quickly grasp your findings. Focus on visual consistency by applying uniform font sizes, colors, and spacing. Use formatting standards to organize key sections, such as:
- Clear headings for each issue
- Bullet points for steps to reproduce
- Consistent numbering for observations
- Highlighted keywords for urgency
This approach makes your report easy to scan and understand at a glance. When your formatting is uniform, support staff can quickly locate critical details without confusion. Staying disciplined with visual consistency ensures your defect report stands out as well-organized and professional, increasing the likelihood of swift resolution.
Prioritize Key Evidence
Are you making it easy for others to understand the most critical aspects of your defect? Prioritizing key evidence helps streamline communication strategies and enhances the user experience. Focus on the most impactful details first, such as where the defect occurs, the steps to reproduce it, and its effect on functionality. Organize your findings logically, using clear labels and headings to highlight priority issues. This approach guarantees support teams can quickly grasp the severity and scope of the problem, reducing back-and-forth and speeding up resolution. By emphasizing the most relevant evidence, you create a narrative that’s easy to review and act upon, ultimately improving your chances of a swift, effective fix.
Writing a Concise Summary and Specific Action Request

- Identify the faulty component or feature.
- Reproduce the defect step-by-step.
- Prioritize urgent fixes if necessary.
- Confirm when the issue is resolved.
Following Up and Keeping Your Documentation Updated
To guarantee your defect documentation remains useful and accurate, you need to actively follow up on reported issues and regularly update your records. Timely updates ensure that new developments, such as changes in the defect’s status or additional observations, are captured promptly. This ongoing process helps maintain documentation accuracy, preventing gaps that could lead to misunderstandings or overlooked details. When you follow up consistently, support teams can see that you’re engaged and committed to resolving the problem efficiently. Keep records current by noting any progress, new symptoms, or related communications. This diligent approach not only strengthens your case but also streamlines the troubleshooting process, making it easier for support to understand the defect’s evolution and prioritize fixes effectively.
Common Mistakes to Avoid When Documenting Bugs
When documenting bugs, one common mistake is providing vague or incomplete descriptions that leave support teams guessing about the issue. Instead of clarity, you risk confusion and frustration. Avoid these pitfalls:
- Using technical jargon without explanation, which can alienate or overwhelm support staff.
- Failing to include step-by-step reproduction steps, making it feel like they’re chasing shadows.
- Omitting screenshots or logs that vividly illustrate the problem, creating a disconnect.
- Ignoring emotional tone—being overly casual or dismissive can diminish the urgency of your report.
These mistakes can cause delays and frustration, making your issue seem less critical. Clear, detailed, and emotionally aware documentation helps support understand and prioritize your bug effectively.
Final Checklist for Effective Support Documentation
A final checklist guarantees your support documentation is thorough, clear, and actionable. Start by applying prioritization strategies to focus on the most critical issues first, ensuring support teams address the most impactful defects promptly. Double-check that your description is precise, including step-by-step instructions, screenshots, and logs. Avoid communication pitfalls by being concise and avoiding ambiguity—clarity prevents misunderstandings. Verify all relevant details are included, such as environment specifics and error messages. Confirm that your documentation is organized logically, making it easy for support to navigate. Ultimately, review for completeness, ensuring nothing essential is missing. This final step helps prevent overlooked information and streamlines the support process, making your bug reports impossible to ignore.
Frequently Asked Questions
How Detailed Should My Bug Report Be for Maximum Effectiveness?
You should make your bug report as detailed as possible for maximum effectiveness. Include clear screenshots with good clarity to visually demonstrate the issue. Provide step-by-step instructions that precisely describe how to reproduce the problem. This helps support understand the problem quickly and reduces back-and-forth. The more specific and organized your report, the faster support can identify and fix the defect, saving everyone time.
Can I Include Personal Opinions or Assumptions in My Documentation?
They say “stick to the facts,” and that’s true when documenting a defect. Including personal opinions or assumptions can muddy the waters and make your report less credible. Focus on clear, objective details about what’s happening, when, and under what conditions. Avoid speculation or subjective comments, as support teams rely on factual evidence to diagnose issues quickly and accurately. Keep it professional and straightforward for the best results.
What Tools Are Best for Capturing and Organizing Bug Evidence?
You should use tools like Snagit or ShareX for capturing screenshots, following best practices such as clear annotations and consistent naming. To organize bug evidence effectively, adopt strategies like dedicated folders, labeled files, and detailed logs. These methods make sure your screenshots and evidence are easy to find and understand, helping support teams quickly grasp the issue without unnecessary back-and-forth. Proper tools and organization make your documentation more impactful.
How Frequently Should I Follow up on My Bug Report?
You should follow up on your bug report every few days to maintain timing consistency and stay on support’s radar. Keep your follow-up polite and concise, showing respect for their process with good follow-up etiquette. If you haven’t received a response after a week, send a gentle reminder. Regular check-ins demonstrate your commitment and help ensure your issue stays prioritized without overwhelming the support team.
What Common Language Pitfalls Should I Avoid in Support Communication?
You should avoid overly technical jargon that might confuse support staff and emotional language that can seem accusatory or unprofessional. Instead, use clear, straightforward language to describe the defect, focusing on facts and specific details. Stay calm and respectful, even if you’re frustrated, to ensure your message is taken seriously. This approach helps support comprehend your issue quickly and prevents miscommunication or ignored reports.
Conclusion
By crafting detailed, clear bug reports, you’ll guarantee support teams can’t ignore your issues—no more chasing shadows like a detective in a noir film. Remember to include step-by-step reproductions, screenshots, and relevant details, and keep your documentation fresh. Think of it as your digital Excalibur in the quest for quick fixes. With these tips, you’ll be wielding the power of effective communication, making support work smoother than a well-oiled robot.