
To set up DMX lighting properly, start by assigning each fixture a unique address to avoid conflicts and guarantee smooth control. Use high-quality cables, connect fixtures in a daisy chain, and always terminate the chain at the end to prevent signal issues. Watch out for common mistake like overlapping addresses or poor wiring, which can cause flickering or no response. Keep these tips in mind and you’ll improve your setup—more details await as you continue.
Key Takeaways
- Assign unique DMX addresses starting from 1 to prevent conflicts and ensure proper fixture control.
- Use a daisy chain setup with correct termination at the end to maintain signal integrity.
- Avoid address overlaps, branching issues, and damaged cables to prevent communication errors.
- Label and record fixture addresses clearly for easy troubleshooting and system management.
- Double-check connections, termination, and controller settings to resolve common setup and addressing mistakes.
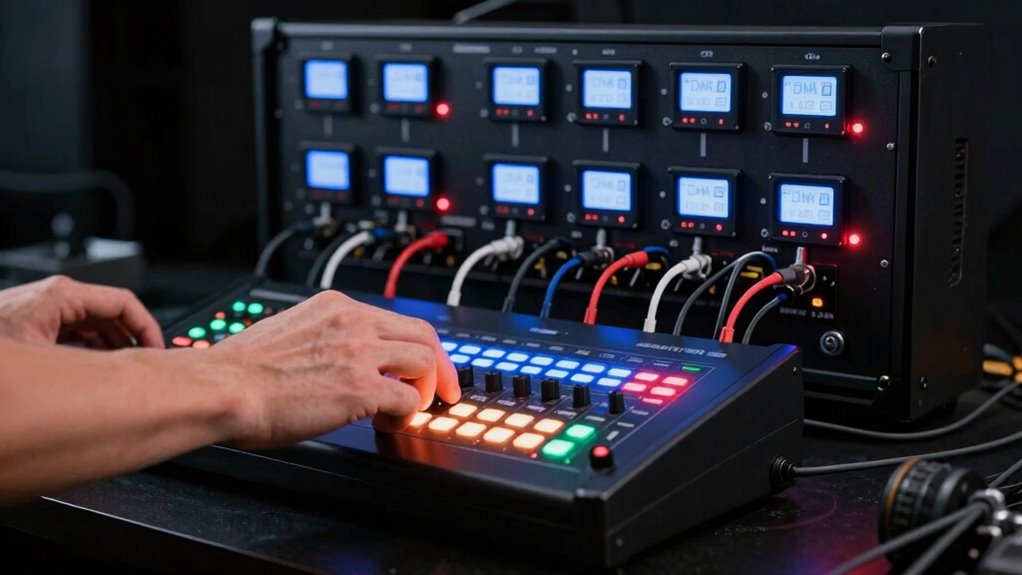
DMX lighting controller
As an affiliate, we earn on qualifying purchases.
As an affiliate, we earn on qualifying purchases.
What Is DMX Lighting, and Why Is Proper Addressing Important?
Have you ever wondered how stage lighting systems create synchronized, dynamic effects? It all comes down to the DMX protocol, which enables precise lighting control across multiple fixtures. DMX lighting involves sending data signals to control various aspects like color, intensity, and movement. Proper addressing is essential because each fixture needs a unique address to respond correctly to commands. Without correct addressing, lights may flicker, malfunction, or behave unpredictably, ruining your show. Additionally, smart lighting systems rely heavily on correct DMX addressing to achieve complex, automated lighting scenes. By understanding how the DMX protocol works and assigning addresses properly, you guarantee your lighting system runs smoothly and as intended. This foundation allows you to create seamless, mesmerizing light displays that enhance any performance or event. Correct fixture addressing is the key to ensuring reliable operation and achieving the desired visual effects in your lighting setup, especially since protocol standards ensure compatibility and interoperability among different fixtures and controllers. Consistent addressing practices also help prevent communication errors during operation. Moreover, following established industry standards can streamline troubleshooting and future upgrades.
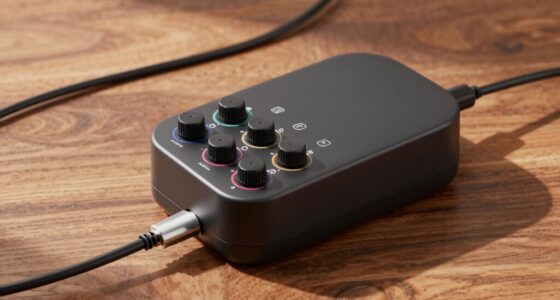
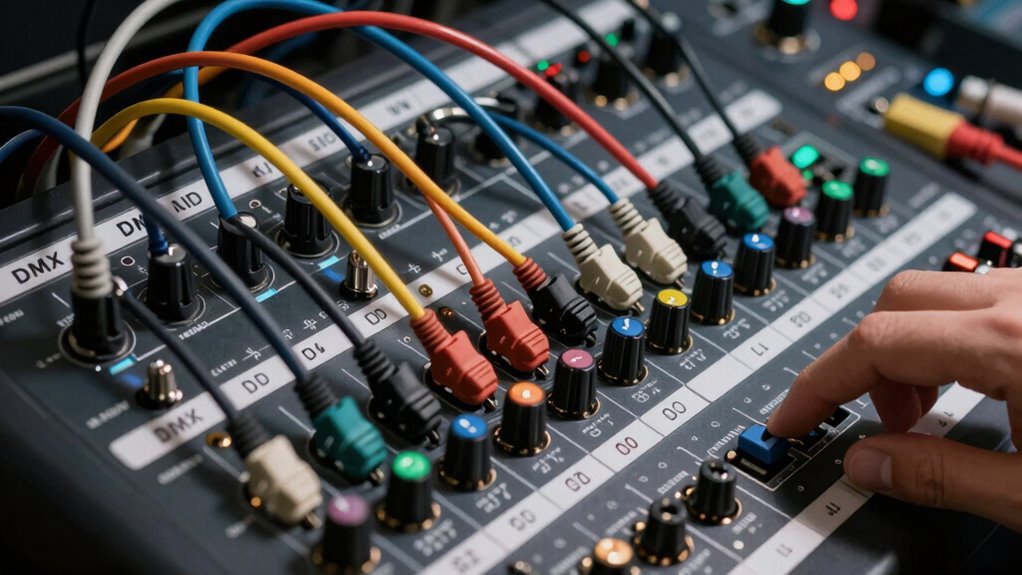
DMX fixture cables
As an affiliate, we earn on qualifying purchases.
As an affiliate, we earn on qualifying purchases.
How to Assign DMX Addresses Correctly
Assigning DMX addresses correctly is crucial for ensuring your lighting fixtures respond as intended. Use clear addressing techniques to assign each fixture a unique address, typically starting from 1. Avoid address conflicts by carefully planning your setup before assigning addresses, especially when dealing with multiple fixtures. Keep a detailed record of assigned addresses to prevent overlaps that can cause malfunction or unpredictable behavior. Remember, fixtures placed in a daisy chain must have their addresses set without overlapping with others on the same chain. Always double-check your address settings after installation to confirm accuracy. Properly assigning DMX addresses ensures smooth operation and simplifies troubleshooting, saving you time and frustration during your lighting setup. Additionally, understanding Daisy Chains and their effect on address allocation can help prevent common setup errors. The proper addressing also involves understanding how to configure fixtures in sequence to avoid signal degradation or data loss. It’s also helpful to be familiar with lighting fixture types to ensure compatibility and proper address configuration within your setup. Being aware of signal integrity can further improve your setup by preventing issues related to long cable runs or poor connections. Consulting DMX protocol standards can provide further guidance to optimize your addressing strategy and overall system reliability.
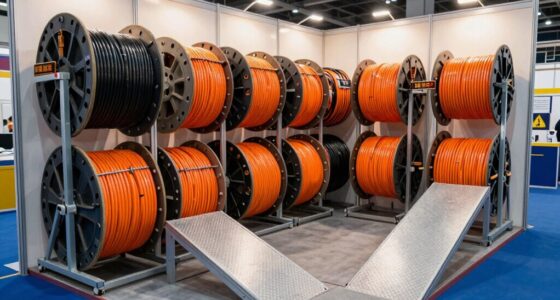
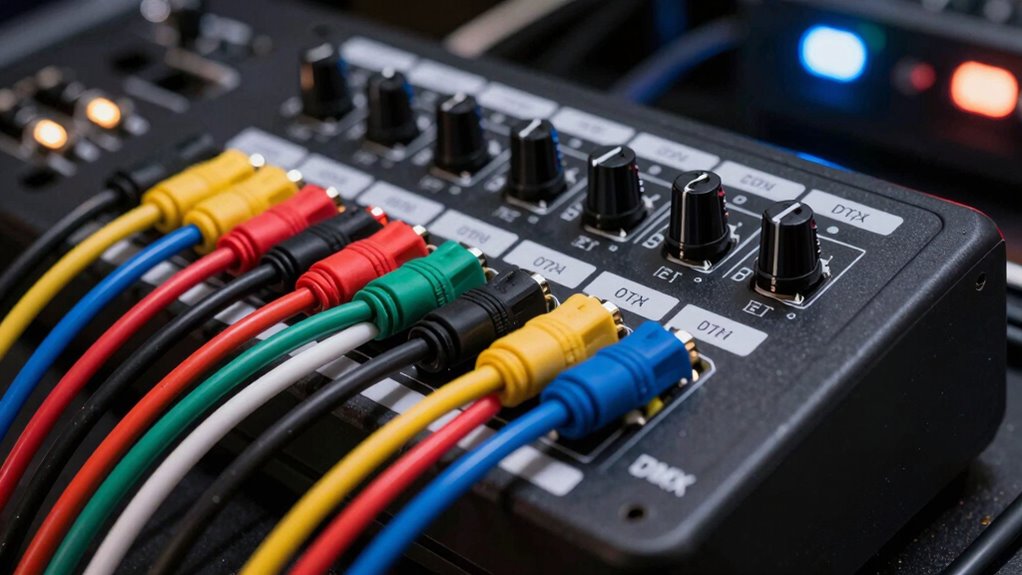
DMX terminator
As an affiliate, we earn on qualifying purchases.
As an affiliate, we earn on qualifying purchases.
Connecting DMX Lights: Best Practices for Your Setup

Connecting DMX lights properly is essential for a reliable and efficient lighting setup. To guarantee a smooth DMX signal flow, pay attention to fixture configuration and cabling. Use high-quality DMX cables, keep connections secure, and avoid daisy chaining excessively long runs. Properly terminate the DMX chain with a DMX terminator to prevent signal reflections. Always assign addresses correctly based on your fixture configuration to avoid conflicts. Maintain a logical order when connecting fixtures, starting from the controller and working outward. Keep your setup organized, label cables clearly, and test each fixture individually before running a full show. Incorporating simple systems can help streamline your setup and make ongoing maintenance easier. Additionally, following recommended cabling practices reduces the likelihood of signal degradation and troubleshooting difficulties. Ensuring proper fixture placement also enhances overall performance and minimizes interference issues. Regularly inspecting your setup and updating firmware when necessary can further improve system reliability and performance. Being aware of common mistakes such as incorrect addressing or poor wiring can save time and prevent issues during operation. Following these best practices guarantees consistent performance and reduces troubleshooting time.
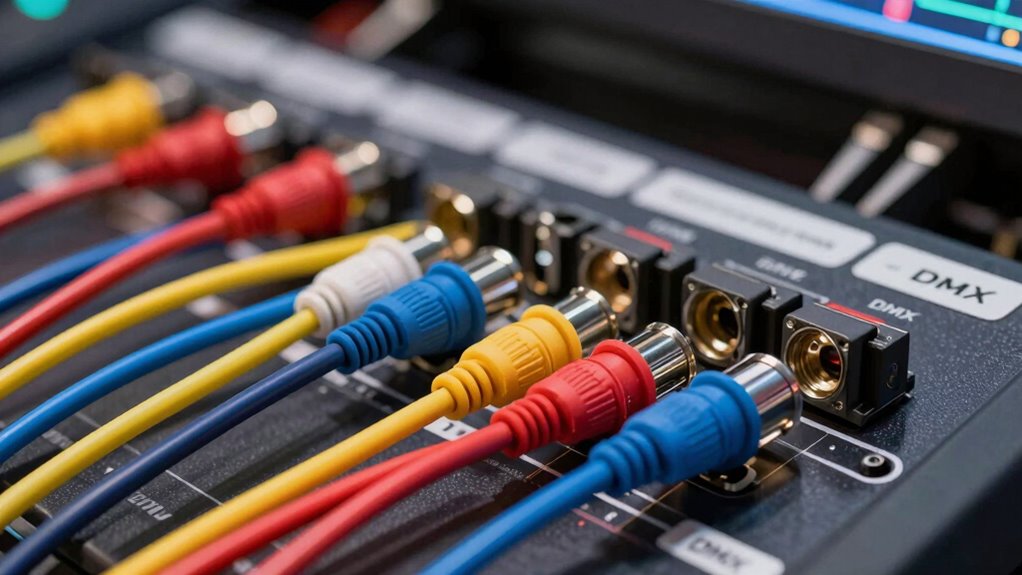
lighting fixture address labels
As an affiliate, we earn on qualifying purchases.
As an affiliate, we earn on qualifying purchases.
Common DMX Setup Mistakes and How to Avoid Them
One common mistake in DMX setup is neglecting proper addressing, which can lead to conflicting or unresponsive fixtures. Address conflicts occur when multiple fixtures share the same address, causing communication errors. Daisy chain errors are also frequent, especially when cables are not connected correctly or are damaged, disrupting data flow. To avoid these issues, double-check each fixture’s DMX address before connecting and ensure unique addresses for each device. Use proper daisy chaining techniques, such as connecting fixtures in a single chain rather than branching off multiple ports, to prevent data loss. Keep cables neat, avoid excessive lengths, and test each fixture individually. By paying close attention to addressing and daisy chain setup, you’ll minimize errors and achieve a reliable, functional DMX system.
Troubleshooting DMX Addressing and Connectivity Problems

When DMX fixtures aren’t responding as expected, addressing the root cause often involves checking their addressing and connections. A common issue is a disrupted DMX signal or address conflicts, where fixtures share the same address or are misconfigured. To troubleshoot, verify that all fixtures have unique addresses and are properly wired in a daisy chain with correct terminations. Check for loose cables or damaged connectors that could weaken the DMX signal. Ensure the controller’s start address matches each fixture’s assigned address. Also, confirm there are no address conflicts causing multiple fixtures to respond to the same command. Proper addressing and secure connections are key to resolving connectivity problems and restoring reliable DMX operation.
- Verify unique fixture addresses
- Check for proper cable connections
- Confirm correct termination at chain ends
- Inspect for damaged or loose cables
- Ensure DMX signal strength and controller settings
Frequently Asked Questions
Can I Connect Different Brands of DMX Fixtures in the Same Chain?
Yes, you can connect different brands of DMX fixtures in the same chain, but watch out for compatibility issues. Not all fixtures follow the same DMX standards or have identical protocols, which can cause brand integration problems. To guarantee smooth operation, check each fixture’s specifications and compatibility before connecting them. Testing the setup beforehand helps avoid unexpected issues during your show or installation.
What Is the Maximum Number of Fixtures I Can Connect on One DMX Chain?
You can typically connect up to 32 DMX fixtures on one chain, but for ideal DMX signal integrity and reliable fixture addressing, many professionals limit it to 16 fixtures. Exceeding this can cause signal degradation, leading to flickering or unresponsive fixtures. To guarantee proper operation, use proper DMX terminators at the end of the chain and keep cable runs short. Always check your fixtures’ specifications for exact maximums.
How Do I Reset or Reprogram a DMX Fixture’s Address?
To reset or reprogram a DMX fixture’s address, start by turning off the fixture. Then, follow the manufacturer’s instructions, which often involve pressing and holding specific buttons while powering it back on. This process performs a fixture reset or allows address reprogramming. Once reset, you can set a new address using the fixture’s control panel or an external DMX controller, ensuring it responds correctly to your DMX setup.
What Are the Signs of a Faulty DMX Cable or Connection?
Imagine you’re controlling stage lights and notice intermittent flickering or sudden loss of signal. These are clear signs of a faulty DMX cable or connection. You might see inconsistent light behavior, dimming, or complete signal loss, which point to damaged wiring or poor connections. Check for bent pins, loose connectors, or broken cables, as these issues disrupt the DMX signal, causing signal loss and flickering that can ruin your show.
Is It Necessary to Terminate DMX Cables at the End of the Chain?
Yes, you should terminate DMX cables at the end of the chain with a terminating resistor. This resistor prevents signal reflection that can cause data errors or flickering lights. By terminating the last device properly, you guarantee a clean, stable signal throughout your DMX setup. Without proper termination, you risk communication issues, so always add a resistor at the end of the chain to maintain reliable data transmission.
Conclusion
Remember, a chain is only as strong as its weakest link. By understanding DMX addressing, following best practices, and avoiding common mistakes, you guarantee your lighting setup runs smoothly. Proper connections and careful planning prevent headaches down the line. When it comes to DMX, attention to detail makes all the difference. Stay vigilant, and you’ll create stunning lighting displays that shine brilliantly—because in the world of lighting, preparation truly pays off.