
For sharp product images, studio flash offers consistent color temperature, high power, and quick recovery, helping you freeze motion and capture fine details clearly. Continuous light provides real-time visualization, making it easier to adjust exposure and see shadows live. Both have advantages, but your choice depends on whether you prefer control and sharpness (flash) or immediate feedback (continuous). To optimize your results and learn expert tips, keep exploring how different lighting setups can work together.
Key Takeaways
- Studio flash provides higher, more consistent power and shorter flash durations, which better freeze motion and enhance image sharpness.
- Continuous lights offer real-time visualization, enabling better control over shadows and details, but may require faster shutter speeds for sharpness.
- Flash units produce stable color temperature and precise exposure, ensuring consistent sharp product images; continuous lights need careful adjustments.
- Combining both lighting types can optimize workflow, with continuous for previewing and flash for capturing crisp, detailed shots.
- Proper modifiers, reflectors, and camera settings are essential regardless of light type to maximize image sharpness and detail.
Which Lighting Is Best for Sharp, Professional Product Photos?
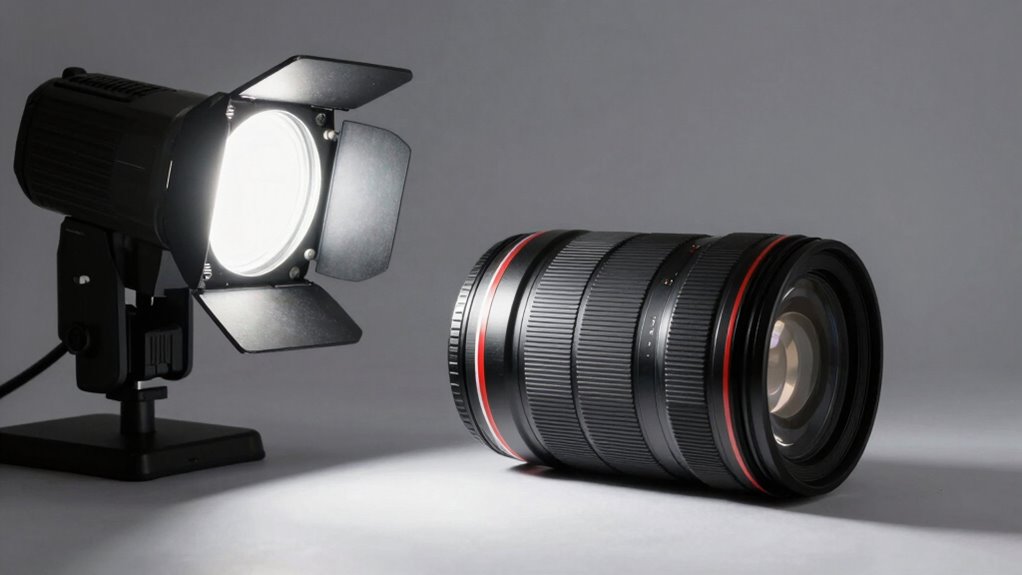
When it comes to capturing sharp, professional product photos, the choice of lighting plays a crucial role. You want lighting that delivers excellent color accuracy, ensuring your products look true to life and appealing to customers. Studio flash offers rapid recycling times, which helps you capture crisp images quickly and reduces motion blur. It also maintains consistent color output, making color accuracy easier to achieve. Additionally, flash lighting is highly power-efficient, allowing you to get more shots from a single setup without wasting energy. Color consistency is essential for professional results and is better supported by flash lighting’s stable output. Furthermore, the power efficiency of flash lighting can contribute to lower operational costs over time. Additionally, advancements in studio lighting technology continue to improve the flexibility and quality of flash systems, making them even more suitable for high-precision product imaging. For example, light modifiers such as softboxes and diffusers can help control light quality and shadow detail, further enhancing image sharpness. Ultimately, for sharp, high-quality product photos, studio flash provides the precision and efficiency you need.
How Do Studio Flash and Continuous Light Differ in Producing Clear, Sharp Images?
Studio flash and continuous light differ markedly in their ability to produce clear, sharp images. Flash units typically have a higher, more consistent power output, allowing you to freeze motion and capture fine details with precision. Their color temperature is usually more stable, resulting in consistent color reproduction across shots. The energy efficiency of studio flash systems can be advantageous for reducing power consumption and operational costs. Additionally, the rapid flash duration enables photographers to achieve sharp images even in fast-moving scenes. Because of their controlled bursts, studio flashes are especially useful in professional settings where consistency and clarity are paramount. Continuous lights, on the other hand, emit a steady light that can cause slight softness or blurriness if your camera’s shutter speed isn’t fast enough, especially at lower power settings. The color temperature of continuous lights may vary over time, affecting image clarity and color accuracy. Overall, flash provides crisper, more defined images due to its rapid, intense bursts, while continuous light’s steadiness offers convenience but may compromise sharpness slightly.
What Are the Main Benefits of Using Studio Flash for Product Photography?
Using studio flash for product photography offers significant advantages, especially when capturing sharp, detailed images. One key benefit is its consistent color temperature, which ensures your product colors remain true and uniform across shots. Unlike continuous lighting, studio flash provides a burst of high-intensity light, giving you precise control over the power output. This allows you to freeze motion and achieve crisp details effortlessly. The adjustable power output helps you balance exposure accurately, reducing the need for extensive post-processing. Additionally, studio flash recovers quickly between shots, enabling fast workflows. Understanding lighting principles can further enhance your control over image quality and consistency, ensuring professional results every time. Overall, the combination of stable color temperature and adjustable power output makes studio flash ideal for producing sharp, vibrant product images with accurate color representation.
Why Choose Continuous Light for Real-Time Product Clarity?
Continuous lighting provides steady illumination, so you see exactly how your product will look without guessing. This real-time view helps you make quick adjustments for perfect clarity. With consistent brightness, you avoid surprises and get the results you want faster. Additionally, connected equipment can enhance your product photography by allowing remote control and monitoring. Incorporating smart automation can further optimize your setup for efficiency and precision. Understanding dark psychology tactics can also help you recognize and prevent manipulation or deceptive practices during your workflow, especially when managing visual presentation and customer perception. Being aware of ethical considerations ensures your marketing remains honest and trustworthy.
Consistent Illumination Levels
Because real-time product clarity matters, continuous lighting provides steady illumination that remains consistent throughout your shoot. This ensures uniform color temperature and reliable power consistency, helping your products look sharp and true to life. Unlike flash, which can cause fluctuating brightness, continuous light keeps your lighting steady, making adjustments easier on the fly. To visualize this, consider the following:
| Aspect | Effect |
|---|---|
| Color temperature | Remains stable, ensuring consistent hues |
| Power consistency | Prevents flickering, maintains brightness |
| Illumination level | Steady, no sudden changes |
| Product clarity | Sharp, clear images with minimal editing |
This stability simplifies your workflow and guarantees accurate, vibrant product images every time.
Real-Time Viewing Advantage
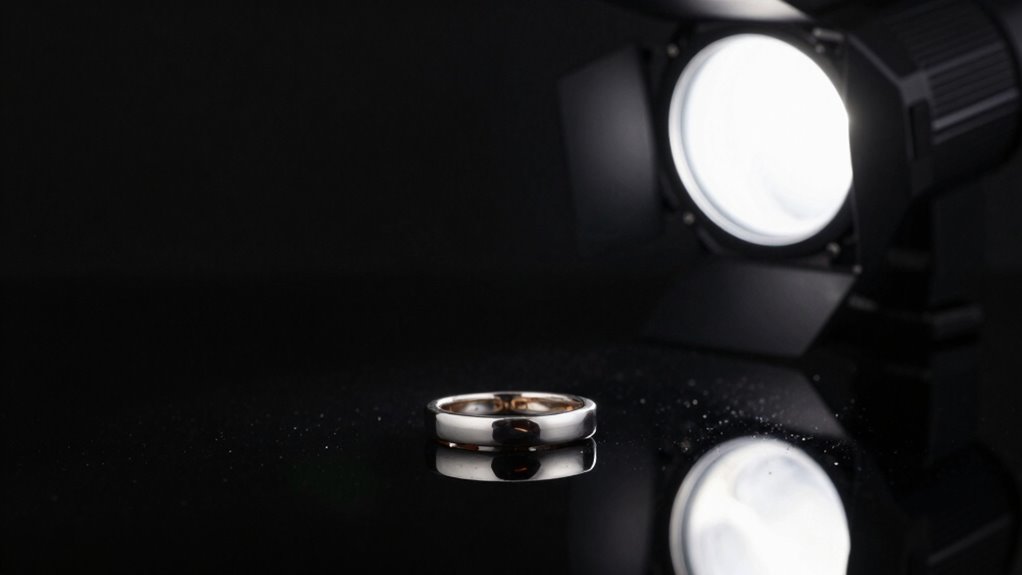
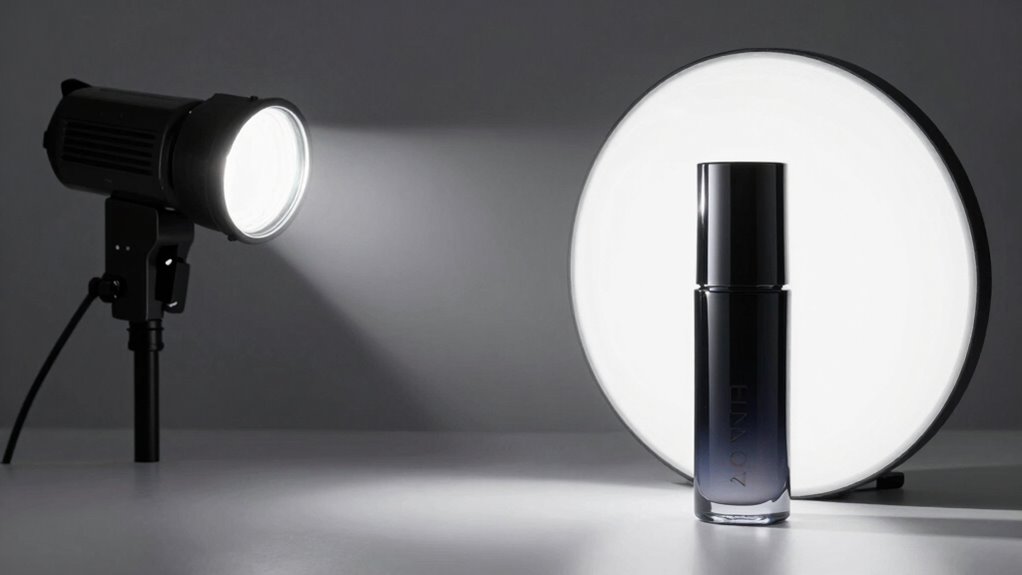
The ability to see your product clearly in real time is a key advantage of continuous lighting. Unlike flash, continuous lights let you monitor color temperature instantly, ensuring accurate color rendering without guesswork. This real-time visibility helps you make immediate adjustments to achieve the perfect shot. Additionally, continuous lighting simplifies power management, as you can control brightness levels easily and consistently. You don’t need to wait for flashes to recycle, which speeds up your workflow. This setup is especially useful when shooting products that require precise detail and color fidelity, like jewelry or cosmetics. By providing constant illumination, continuous lights help you verify product clarity on the spot, reducing the need for multiple shots and retakes, ultimately saving time and enhancing image quality. Real-time viewing is particularly beneficial for achieving optimal product presentation, especially when considering factors like lighting consistency that impact overall image quality.
How Do Flash and Continuous Lighting Affect Exposure and Detail in Photos?
When choosing between flash and continuous lighting, your options influence how sharp and detailed your photos appear. The quality of light and your ability to control exposure precisely play key roles in capturing the right mood and clarity. Understanding techniques to maintain detail ensures you get the best results with either lighting type.
Light Quality and Sharpness
Light quality and sharpness play a crucial role in how your photos turn out, especially when comparing flash and continuous lighting. With flash, the color temperature is usually consistent, providing a clean, neutral light that enhances details sharply. This consistency helps guarantee your images maintain accurate color reproduction and crispness. Continuous lighting, on the other hand, offers real-time illumination, making it easier to see how light interacts with your subject, but the color temperature can vary if the light source isn’t well-regulated. Additionally, power consistency affects sharpness; fluctuations can cause uneven exposure and softness. Using high-quality flash units or stable continuous lights helps maintain steady output, resulting in sharper images with better detail. Furthermore, light stability plays a significant role in ensuring sharpness and clarity in your photos. Also, understanding performance cookies and how consistent lighting affects camera exposure can help you optimize your setup for the best results. Recognizing the importance of lighting uniformity can help you avoid uneven shadows and highlights that diminish image sharpness. Ultimately, understanding these factors allows you to choose the right lighting for the sharp, detailed photos you want to create.
Exposure Control Precision
Adjusting exposure is key to capturing sharp, detailed photos, and the type of lighting you choose influences how precisely you can control it. With flash, you benefit from high power consistency, ensuring your exposure remains stable even after multiple shots. This stability helps maintain accurate color reproduction, boosting color accuracy across your images. Continuous lighting, on the other hand, offers more immediate control, allowing you to see exposure adjustments in real-time. However, it can be less consistent in power output, which might affect color accuracy and detail if not managed carefully. Overall, flash provides more precise exposure control due to its consistent bursts, making it ideal for achieving sharp, well-exposed photos. Continuous light offers flexibility but requires constant monitoring for optimal exposure and color fidelity.
Detail Preservation Techniques
Choosing the right lighting can considerably impact how well you preserve detail in your photos. Flash often provides sharper images with better shadow control, helping maintain fine details and contrast. Continuous light offers more flexibility for real-time adjustments, but may introduce color inaccuracies if not properly managed. To optimize detail preservation, consider these factors:
| Technique | Effect on Detail |
|---|---|
| Using flash with modifiers | Enhances shadow control, sharpens details |
| Adjusting color temperature | Improves color accuracy, reduces color cast |
| Applying reflectors or diffusers | Softens shadows, preserves subtle details |
| Fine-tuning exposure settings | Ensures proper exposure for maximum detail |
How to Set Up Studio Flash for Maximum Sharpness and Consistency
To achieve maximum sharpness and consistency with your studio flash, you need to carefully set your equipment and monitor your settings throughout the shoot. Start by adjusting the light temperature to match your desired color balance, ensuring consistent color accuracy across shots. Use your flash’s power modulation to control exposure levels precisely; keep it stable to avoid variations that can affect sharpness. Set your camera’s ISO and aperture appropriately, matching the flash output for ideal clarity. Use a light meter or test shots to confirm the correct settings before shooting. Regularly check your equipment during the session, making minor adjustments as needed to maintain consistent light quality. This disciplined approach ensures sharp, uniform product images with minimal post-processing corrections.
Tips for Using Continuous Lighting to Capture Clear, Precise Product Shots

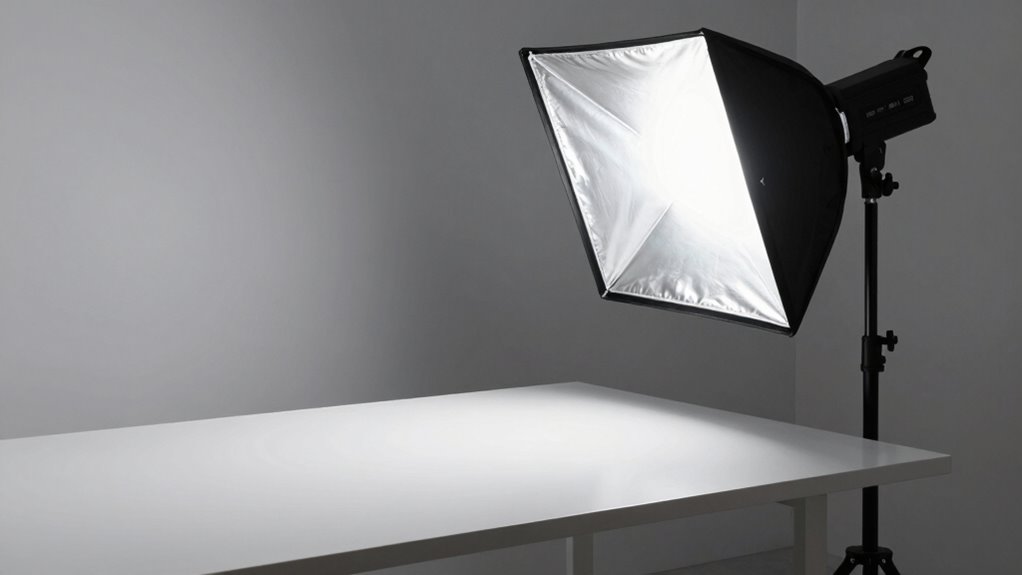
Using continuous lighting for product photography offers the advantage of seeing your setup in real-time, which helps you fine-tune your shot before capturing it. To guarantee product color accuracy, adjust your light’s color temperature and avoid mixing different light sources. Prioritize lighting setup ergonomics by positioning lights to minimize shadows and glare, making editing easier. Use diffusers or softboxes to create even, gentle illumination that highlights details without harsh reflections. A well-organized setup reduces fatigue and increases precision. Consider this table for guidance:
| Tip | Benefit | Example |
|---|---|---|
| Adjust color temperature | Accurate product colors | Use daylight-balanced bulbs |
| Position lights correctly | Minimize shadows and glare | Place lights at 45° angles |
| Use diffusers | Soft, even light | Softboxes or umbrellas |
| Maintain ergonomic setup | Better control, less fatigue | Keep lights at eye level |
Additionally, regularly checking your light setup with light meters can help ensure consistent and accurate lighting conditions throughout your shoot. Proper attention to lighting consistency is essential for achieving professional results.
Should You Combine Studio Flash and Continuous Light? Best Practices for Sharp, Flexible Photos
Combining studio flash and continuous lighting can give you the best of both worlds—sharp, detailed images along with real-time adjustments. This approach allows you to manage color temperature more precisely and guarantee power consistency across your setup. By blending these lights, you can adapt to different product surfaces and textures, achieving vibrant, true-to-life results.
Consider these best practices:
- Use continuous light to preview and fine-tune your shot before applying flash.
- Match color temperature between both lights for seamless integration.
- Leverage consistent power levels to maintain uniform brightness.
- Switch between lighting types to highlight specific product details and textures.
This combination offers flexibility, enabling you to capture sharp photos that truly stand out and resonate emotionally with your audience.
Frequently Asked Questions
How Does Ambient Light Influence Product Image Sharpness?
Ambient light can notably impact your product image sharpness by causing ambient interference, which reduces contrast and sharpness. It also creates natural shadows that may obscure details or make the product appear less defined. To maintain sharp images, you should control ambient light, using controlled studio lighting like flash or continuous lights, and minimize natural shadows. This ensures your product stays crisp and visually appealing in your photos.
Can Different Light Modifiers Improve Clarity in Product Photos?
Like a painter’s brush, light modifiers shape your product photos, making them clearer and more focused. Yes, different light modifiers can enhance product clarity by controlling shadows, reducing glare, and diffusing light evenly. Softboxes, reflectors, and diffusers help you achieve sharper details, ensuring your products look their best. Experimenting with these tools allows you to tailor your lighting setup for maximum sharpness and visual impact.
What Is the Impact of Light Color Temperature on Sharpness?
Light color temperature impacts sharpness by influencing color accuracy and contrast in your photos. Variations in color temperature can cause color casts that reduce perceived clarity, so maintaining consistent color temperature guarantees your product details stay sharp and true to life. When you control for color temperature variations and ensure light color consistency, your images will have better focus, contrast, and overall sharpness, making your products stand out clearly.
How Do Power Settings Affect Image Detail in Flash and Continuous Lighting?
Adjusting power levels directly impacts image detail by controlling light intensity, which influences sharpness. Higher power settings produce brighter, more defined highlights, enhancing detail clarity. Lower power levels reduce light intensity, potentially softening details and creating a more subtle look. Whether you’re using flash or continuous lighting, setting the right power levels guarantees your subject is well-lit without sacrificing sharpness or introducing unwanted noise, giving you better control over your image quality.
Are There Specific Camera Settings Recommended for Sharp Product Captures?
Think of your camera settings as the steady hand guiding your masterpiece. To capture sharp product images, guarantee camera stability with a tripod or stabilization. Use a focal length adjustment to frame your product perfectly, avoiding distortion. Set a narrow aperture like f/8 or higher to maximize depth of field, and keep your ISO low for clarity. These steps help you freeze every detail, turning your setup into a lens of precision.
Conclusion
Choosing between studio flash and continuous light isn’t just a technical decision—it’s about capturing your products’ true essence. Think of it like telling a story with light; each tool has its own voice. By understanding their strengths and how they work together, you’ll craft images that pop with sharpness and clarity. So, don’t just pick a side—blend them masterfully, and let your photos shine brighter than ever.