
To get a great green screen, keep your subject 3-5 feet away from the backdrop to prevent shadows and color spill. Use even, soft lighting at a 45-degree angle to create a uniform background, and make certain your subject is well-lit without harsh shadows. For a clean key, maintain proper distance, diffuse your lights, and regularly check your setup. If you follow these tips, you’ll produce a professional-looking shot—and there’s more to learn for flawless results.
Key Takeaways
- Maintain 3-5 feet distance between subject and green screen to prevent shadows and color spill.
- Use even, soft lighting at a 45-degree angle to create uniform background illumination.
- Avoid wrinkles and textured fabrics on the green screen for a clean, smooth surface.
- Keep the subject well-separated from the background to minimize shadows and spill during filming.
- In post-production, refine edges and adjust color grading to achieve a seamless, professional key.
Why Keeping the Right Distance From Your Green Screen Matters
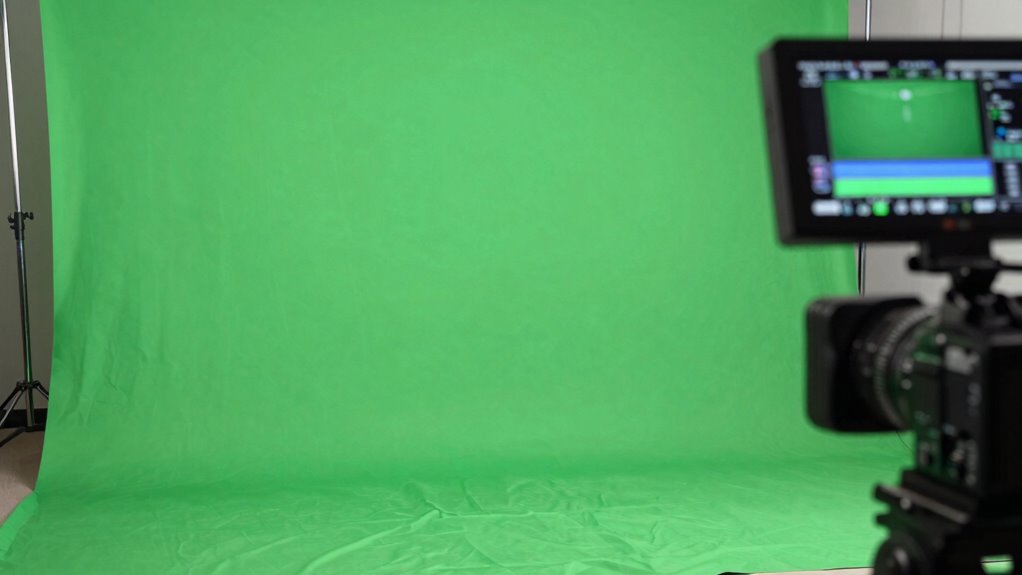
Maintaining the right distance from your green screen is essential for achieving a clean, professional key. If you’re too close, background shadows can appear, making it difficult to remove the green properly. Shadows cast by your body or props create inconsistencies that interfere with keying. Conversely, standing too far back can cause the background to appear uneven or faded, reducing the overall quality. Your camera angles also matter; shooting at close angles emphasizes shadows and uneven lighting, while wider shots help distribute light more evenly. By keeping an appropriate distance, you minimize background shadows and ensure consistent lighting. This setup allows your camera to capture a clear separation between you and the screen, making post-production keying much easier. Additionally, lighting setup plays a crucial role in achieving optimal results. Properly controlling your lighting environment helps prevent unwanted shadows and enhances the green screen’s uniformity, making your keying process even smoother. To further improve your results, consider using professional-grade equipment to ensure even lighting and color consistency across your backdrop. Being mindful of your distance from the screen can also help prevent common issues like color spill or uneven illumination, ultimately leading to a more polished final video. It’s also helpful to regularly monitor your footage during setup to make quick adjustments as needed for the best possible key.
How to Set Up Lighting for a Flawless Green Screen
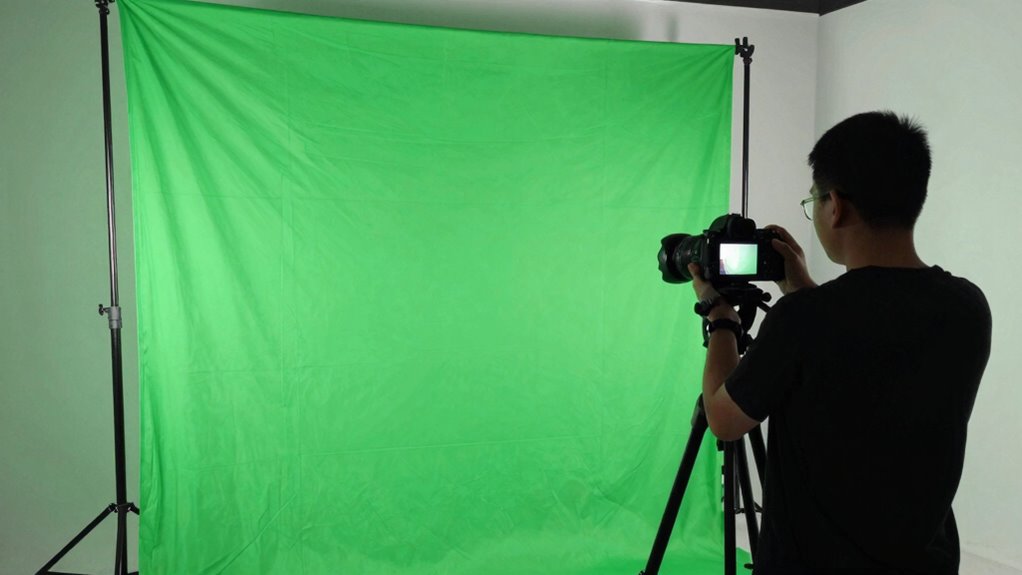
Achieving a flawless green screen starts with proper lighting setup. To eliminate shadows and ensure an even background, position your lights so they evenly illuminate the green surface. Use soft, diffused light sources to avoid harsh spots and shadows that can ruin your keying. Keep your lighting consistent across the entire screen, and avoid uneven patches. When setting up your camera angles, position your lights at a 45-degree angle to the green screen, avoiding direct front lighting that can cause reflections or shadows. Make sure your subject is lit separately from the background to prevent color spill. A well-planned lighting setup will create a smooth, uniform green surface and simplify the keying process, resulting in a clean, professional-looking composite. Proper lighting placement is essential for achieving high-quality chroma key results, and understanding the lighting principles can help you optimize your setup effectively. Additionally, utilizing connected lighting technology can help maintain consistent illumination and adjust settings remotely for optimal results. Incorporating lighting control systems can further enhance your ability to fine-tune the lighting environment for perfect keying conditions. Understanding lighting calibration techniques can also help you achieve more precise and reliable results.
Tips for Achieving a Clean, Sharp Green Screen Key
To get a clean, sharp green screen key, you need even lighting across the entire background, so there are no shadows or bright spots. Keep your subject at the right distance—too close and you risk spill; too far and the background may look uneven. Paying attention to both these points makes your keying process much smoother and cleaner. Additionally, using an air purifier can improve indoor air quality, reducing dust and particles that might interfere with your filming environment. Maintaining a dust-free environment is especially important for achieving a clean green screen, as dust and particles can cause unwanted artifacts in the final key. Proper air quality management helps ensure consistent, high-quality footage. Incorporating textile line techniques, such as using specific fabrics or materials, can also help improve the background’s uniformity and reduce reflective issues. Regularly inspecting and maintaining your lighting setup can further enhance the consistency of your green screen results.
Even Lighting Distribution
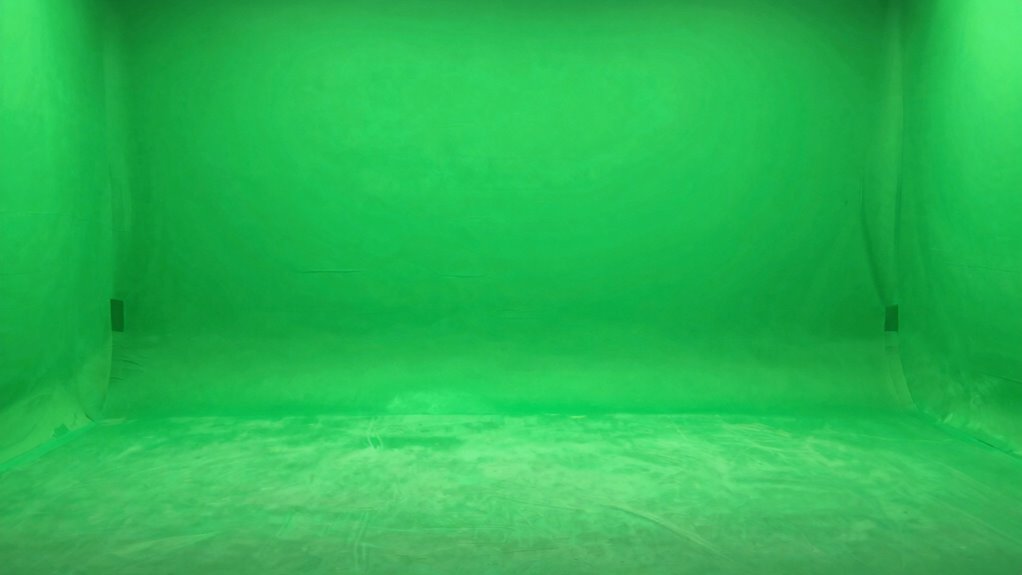
Ever wondered why your green screen footage has shadows or uneven color? The key is even lighting distribution. When your lights are inconsistent, you get patches of different brightness, making it hard to achieve color consistency. To fix this, use multiple soft lights positioned evenly around the subject and screen. Avoid hotspots or dark areas by adjusting light angles and intensities. Proper shadow management is vital—eliminate harsh shadows that can ruin the keying process. Diffuse your lights to spread illumination uniformly, preventing uneven color and shadow issues. Consistent lighting ensures a smooth, clean chroma key, making post-production easier. When your green screen is evenly lit, you’ll get sharper, more professional results with minimal editing adjustments needed. Additionally, understanding lighting principles can help you optimize your setup for the best possible keying outcome.
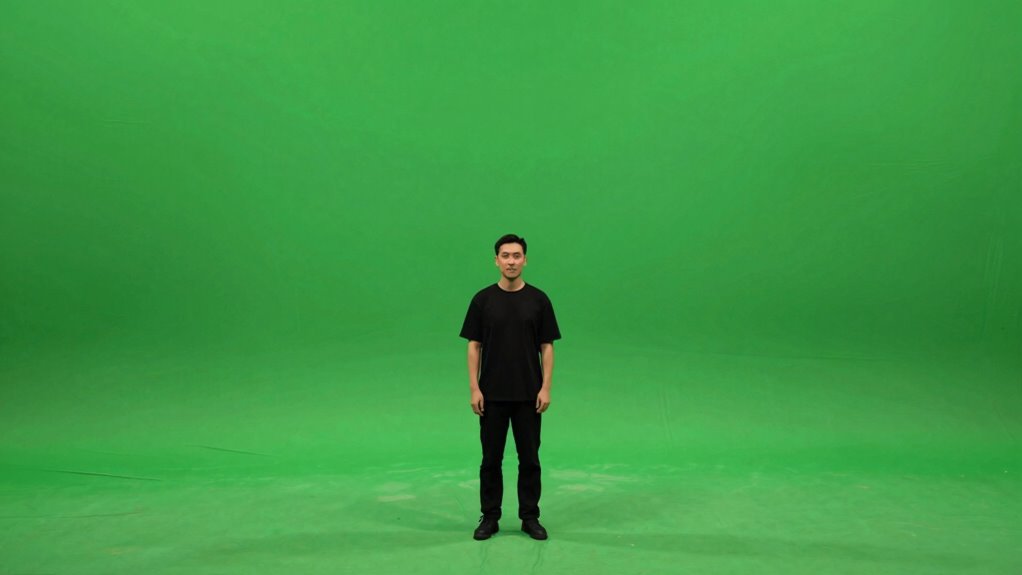
Proper Subject Distance
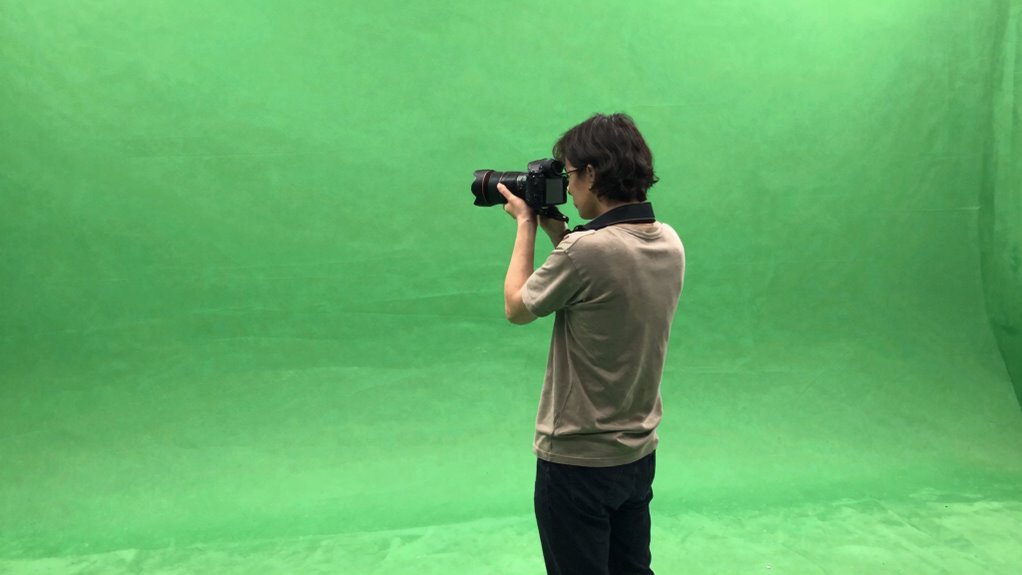
Have you ever noticed how close or far your subject is from the green screen can affect the keying quality? Proper subject distance is vital for achieving a clean, sharp green screen key. If your subject is too close to the green screen setup, shadows and spill can occur, making it harder to isolate the subject cleanly. Conversely, if it’s too far back, the green background may appear less vibrant, reducing contrast. Ideally, position your subject about 3 to 5 feet away from the green screen. This distance helps minimize shadows, spill, and uneven lighting, resulting in a more even key. Adjusting subject distance ensures your green screen setup yields crisp, professional results with minimal post-production work.
Common Green Screen Mistakes and How to Fix Them

Many green screen mistakes happen when the lighting isn’t even or the background isn’t smooth. You can fix these issues by adjusting your lighting setup and refining your camera angles. Recognizing common errors and applying effective correction techniques guarantees a cleaner, more professional result. Ensuring your lighting setup is consistent and well-planned can significantly improve the overall quality of your green screen footage. Additionally, understanding background surface qualities can help prevent unwanted shadows and reflections that compromise keying quality. Maintaining a controlled environment allows for better consistency and reduces the likelihood of errors during filming. A well-understood biography can also inform your approach to creating engaging and authentic green screen content. Incorporating seasonal checklists for setup and maintenance can further optimize your filming conditions throughout the year.
Common Green Screen Errors
What are some common mistakes that can ruin a green screen project? One major error is color spill, where green reflects onto your subject, creating unwanted color on skin or clothing. This can make keying difficult and result in a less professional look. Shadow casting is another problem; shadows on the green screen can interfere with clean separation, leading to uneven edges or transparency issues. Additionally, inconsistent lighting can cause parts of the background to appear darker or brighter, complicating the keying process. These mistakes often stem from poor setup, such as insufficient distance between subject and background or improper lighting angles. To avoid these errors, carefully control your lighting and keep your subject at a proper distance from the green screen. Proper green screen setup involves understanding how to position your subject, lighting, and background for optimal results.
Effective Correction Techniques
When green screen mistakes occur, applying targeted correction techniques can make a significant difference. To fix common issues, focus on color correction to balance hues and brightness, ensuring the green screen blends seamlessly. Edge refinement is essential for removing frayed edges or spill. Here are three effective techniques:
- Use color correction tools to adjust the green spill, brightening or toning down unwanted hues.
- Apply edge refinement filters to sharpen or smooth edges, eliminating frayed or halo effects.
- Utilize masks or matte chokes to tighten the key, reducing transparency around tricky areas. Incorporating local automation can also help dynamically adjust these corrections for more precise results.
These steps help you correct mistakes quickly, resulting in a cleaner, more professional composite. Remember, small adjustments can dramatically improve your final output.
Troubleshooting Tough Green Screen Shots
Troubleshooting tough green screen shots can be challenging, especially when shadows, wrinkles, or uneven lighting interfere with clear keying. To improve results, consider adjusting your camera angles to minimize shadows and reflections. Wardrobe choices also matter; avoid wearing green or shiny fabrics that can blend into the background. Sometimes, uneven lighting creates inconsistencies that cause spill or shadows. Use this table to troubleshoot common issues:
| Issue | Solution | Tip |
|---|---|---|
| Shadows on the green | Adjust lighting angles | Use soft, even lights |
| Wrinkles in fabric | Smooth wardrobe | Avoid shiny or textured materials |
| Uneven lighting | Increase fill lights | Balance light sources evenly |
For optimal results, understanding lighting techniques can significantly enhance your green screen setup. Additionally, paying attention to lighting placement can help reduce shadows and achieve a more uniform background. Proper background setup and consistent light diffusion are essential for a professional look. Incorporating light diffusion techniques can further soften shadows and improve overall keying quality.
Post-Production Tips to Make Your Green Screen Look Perfect

After capturing your green screen footage, the real work begins in post-production. To guarantee a flawless result, focus on these key tips.
- Fine-tune your color grading to match the background scene, adjusting hue, saturation, and contrast for a seamless blend.
- Pay close attention to audio synchronization, ensuring dialogue and sound effects align perfectly with the visuals.
- Use advanced keying tools to clean up any leftover green spill or shadows, making your subject pop naturally against the background.
Frequently Asked Questions
What Types of Green Screens Are Best for Different Projects?
For different projects, fabric backdrops work best for lightweight, flexible setups, perfect for smaller or temporary shoots. If you’re on the go or need quick setup, portable kits with integrated green screens are ideal. Choose a fabric backdrop for stationary, indoor shoots, and a portable kit when you need mobility or outdoor shooting. Both options help you achieve clean keying and professional results, tailored to your project’s specific needs.
How Does Camera Quality Affect Green Screen Results?
Your camera quality considerably influences green screen results. Higher camera resolution captures more detail, making it easier to achieve a clean key. A camera with better sensor quality reduces noise and improves color accuracy, which helps prevent green spill and artifacts. Using a good quality camera ensures sharp edges and better overall compositing, making your green screen look more professional and seamless in the final shot.
Can Green Screens Be Reused for Multiple Shoots?
Yes, you can reuse green screens for multiple shoots, but you should consider their durability and reuse considerations. Proper care, like cleaning and storing them flat or rolled, helps maintain their integrity. Avoid sharp objects and moisture to prevent tears or damage. If you handle them carefully, green screens can last through many projects, making them a cost-effective choice for repeated use in different shoots.
What Are the Environmental Conditions That Impact Green Screen Filming?
Environmental conditions greatly impact green screen filming. You need consistent lighting to avoid shadows and uneven background, which can ruin your keying. Make sure your background is uniform in color and free of wrinkles or debris. Temperature and humidity also matter; extreme conditions can cause lighting shifts or material warping. By maintaining stable environmental conditions, you’ll achieve better lighting consistency and background uniformity, resulting in cleaner, more professional-looking green screen footage.
How Do You Choose the Right Background for Green Screen Shots?
You choose the right background for green screen shots by ensuring color matching and background resolution align with your subject. Pick a background that complements your scene’s mood and maintains consistent lighting for seamless integration. Make sure the background resolution matches your shot’s quality to prevent pixelation. This way, your subject blends naturally, and the final composite looks professional and polished.
Conclusion
Mastering your green screen isn’t just about perfect lighting or distance—it’s about balancing both. When you get close enough for sharp detail but keep enough space to avoid shadows, your shots become seamless. Think of it like painting: too close, and details blur; too far, and edges fade. By understanding this delicate dance, you’ll create backgrounds so clean, viewers will forget there’s even a screen. Your effort transforms simple setups into stunning visual stories.