To make your B‑roll slider shots instantly cinematic, master seven key movement patterns like smooth push-ins, pull-outs, lateral slides, and dynamic arcs. Use controlled, deliberate motions with steady speed for a professional look. Incorporate curves and varying angles to add visual interest. Combining these moves helps create smooth, engaging shots that capture viewers’ attention. Keep practicing to perfect your technique, and you’ll discover how these patterns elevate your filmmaking effortlessly.
Key Takeaways
- Use smooth, controlled slider movements like push-ins, pull-outs, and lateral slides for cinematic depth.
- Incorporate curved or arc motions to add dynamic flow and visual interest to scenes.
- Vary slider speed gradually to create natural acceleration and deceleration, enhancing cinematic quality.
- Combine multiple patterns, such as sweeping arcs with lateral slides, for complex, engaging shots.
- Plan and mark key points for seamless transitions, ensuring fluidity and professional-looking results.
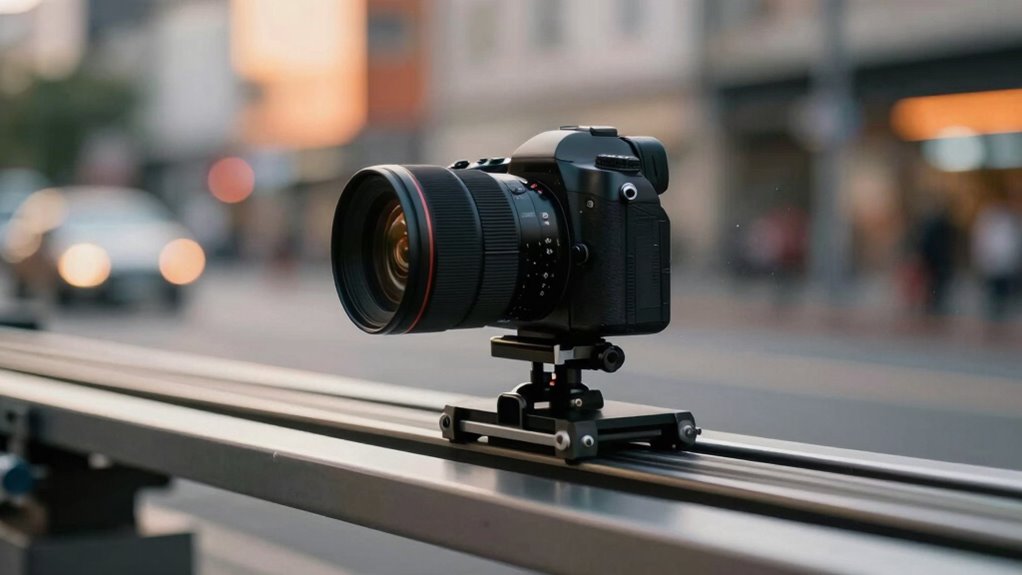
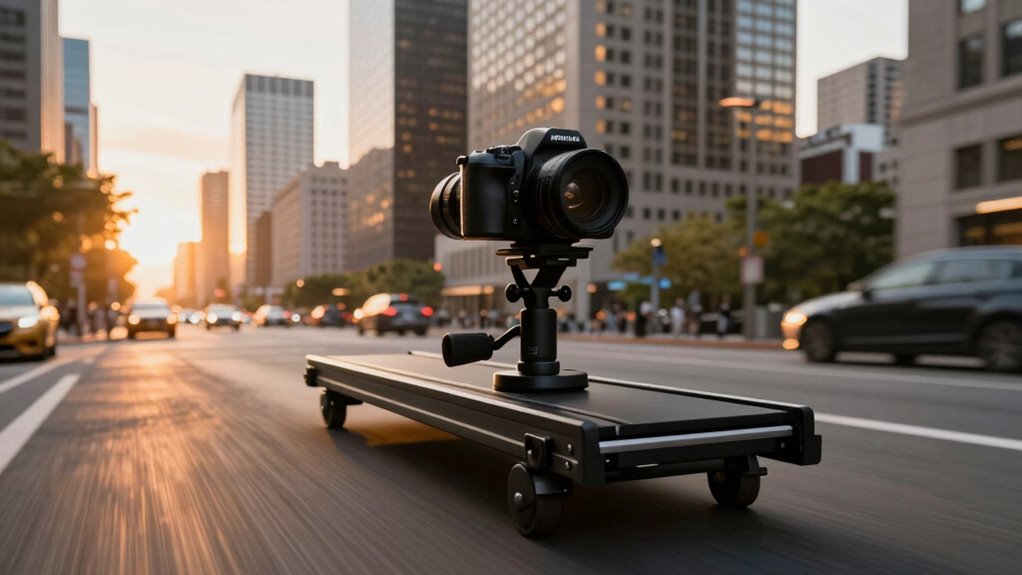
What Is a B-Roll Slider and Why It Matters
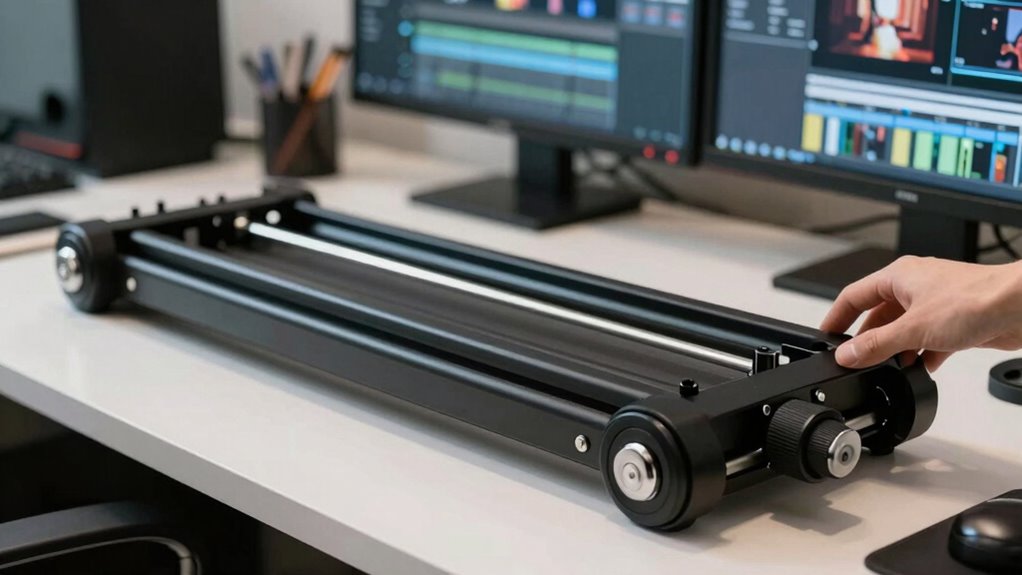
Ever wondered how filmmakers achieve smooth, professional-looking shots? A B-roll slider is a tool that helps you do just that by allowing you to move your camera smoothly along a track. It’s crucial for creating dynamic shots with precise camera angles, adding visual interest to your footage. Using a slider enhances your storytelling techniques by offering seamless movement that guides viewers’ focus and emphasizes key details. Whether you’re capturing a product, a scene, or an interview, a slider provides stability and fluidity that handheld shots can’t match. This controlled motion elevates your production quality, making your visuals more engaging and polished. Incorporating Free Floating techniques can further elevate your shot dynamics by allowing subtle, natural movements that mimic human motion. Additionally, understanding the importance of camera stabilization can help prevent unwanted jitters, resulting in smoother footage. When combined with adaptive lighting for scene consistency, your shots can achieve a more professional look. In short, a B-roll slider is an essential piece of equipment that transforms simple shots into cinematic moments, especially when combined with precision engineering for optimal performance.
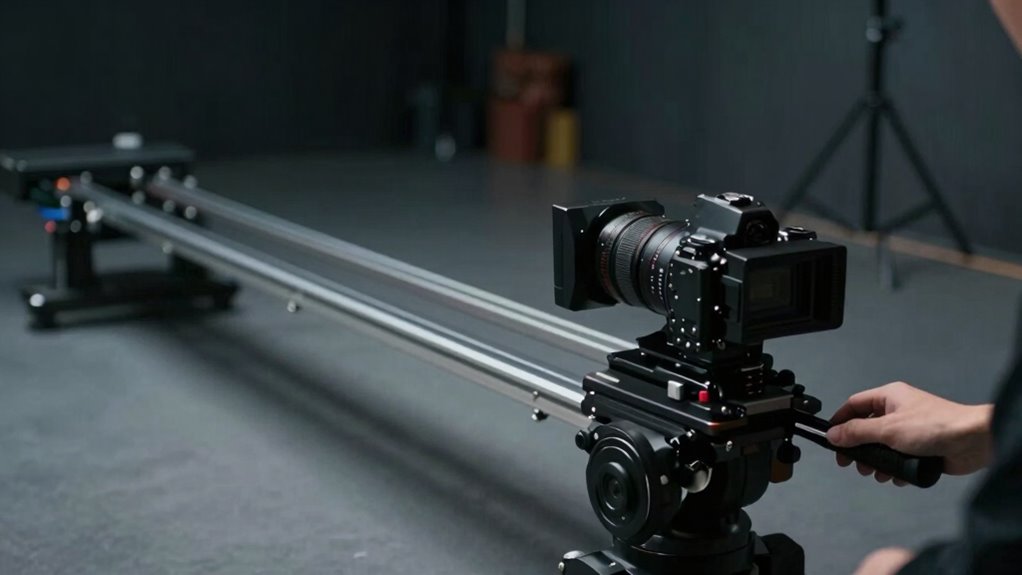
How to Set Up Your Slider for Smooth, Cinematic Shots
To get smooth, cinematic shots with your slider, start by using a tripod or stabilizer to keep your camera steady. Plan your shot path ahead of time to make certain of fluid movement and composition. Then, adjust the slider speed to match the mood and flow of your scene for professional results. Additionally, maintaining a calm and organized setup can help reduce distractions and ensure a smoother filming process. Incorporating a high-quality projector can also enhance your review process by providing clear, detailed images to evaluate your footage during editing. Being mindful of proper setup techniques can further improve overall shot quality and consistency. Furthermore, understanding sound wave influence can help you optimize your camera’s environment to minimize noise and vibrations that might affect your footage, especially when working in outdoor or noisy settings.
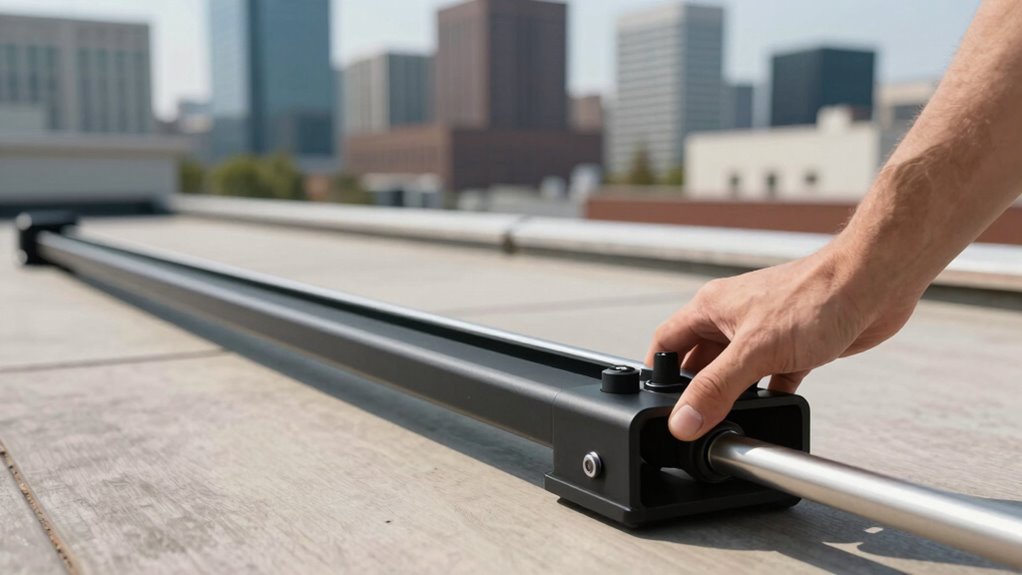
Use a Tripod or Stabilizer
Setting up your slider for smooth, cinematic shots starts with choosing the right stabilization equipment. Tripod stability is essential; a sturdy tripod prevents unwanted wobble and keeps your slider steady. Make sure the tripod is level to avoid skewed footage. If you need more flexibility, stabilizer options like gimbals or handheld rigs can help maintain smooth movement while reducing jitters. For static shots, a tripod is your best bet, providing a solid base and consistent motion. For dynamic shots, consider a stabilizer to keep your camera steady during movement. Whichever you choose, double-check that your setup is secure before filming. Proper stabilization minimizes shake and creates professional‑looking, cinematic footage. Investing in quality equipment enhances overall shot stability and helps you achieve the smooth, polished look your shots deserve. Additionally, understanding camera movement techniques can elevate the cinematic quality of your footage, especially when combined with proper setup practices. Incorporating knowledge of stabilization methods can further optimize your setup and improve your filming results, especially as technology advances in connected home fitness equipment that ensures more precise movements.
Plan Your Shot Path
How you plan your shot path can make all the difference in achieving smooth, cinematic footage with your slider. Start by visualizing your scene and considering lighting techniques that enhance mood and depth along the path. Think about how light falloff, shadows, and color temperature will interact with your movement. Equally important is planning your sound design; knowing where sound cues or ambient noise will occur helps align your shot to match the audio experience. Mark key points along your route to guarantee fluid transitions and avoid abrupt stops. By carefully plotting your shot path, you create a seamless visual story that feels intentional. Proper planning reduces the need for constant adjustments, resulting in more professional, cinematic results. Additionally, understanding camera stabilization techniques can help maintain smoothness and reduce jitter during your shot. Being aware of networking hardware options can also be useful if your filming setup involves remote control or monitoring devices. Incorporating shot planning tools can further streamline your setup process and improve overall shot consistency. Considering budgeting concepts can also aid in allocating resources effectively, ensuring your equipment and production costs are managed within your means.
Adjust Slider Speed
Adjusting the slider speed is crucial for capturing smooth, cinematic footage. Proper slider calibration ensures your shots move seamlessly without jitters or abrupt stops. Before filming, set your slider to a slow, steady pace, matching your desired motion style. This allows you to fine-tune the speed for consistent movement throughout your shot. Adjust the motion blur to enhance the cinematic look—too little blur can make footage feel choppy, while too much may seem unnatural. Use your camera’s settings or post-production tools to refine this effect. Remember, the goal is fluid motion that feels natural. Experiment with different speeds and blur adjustments to find the perfect balance for your scene. Accurate slider calibration combined with precise motion blur adjustment elevates your footage’s cinematic quality.
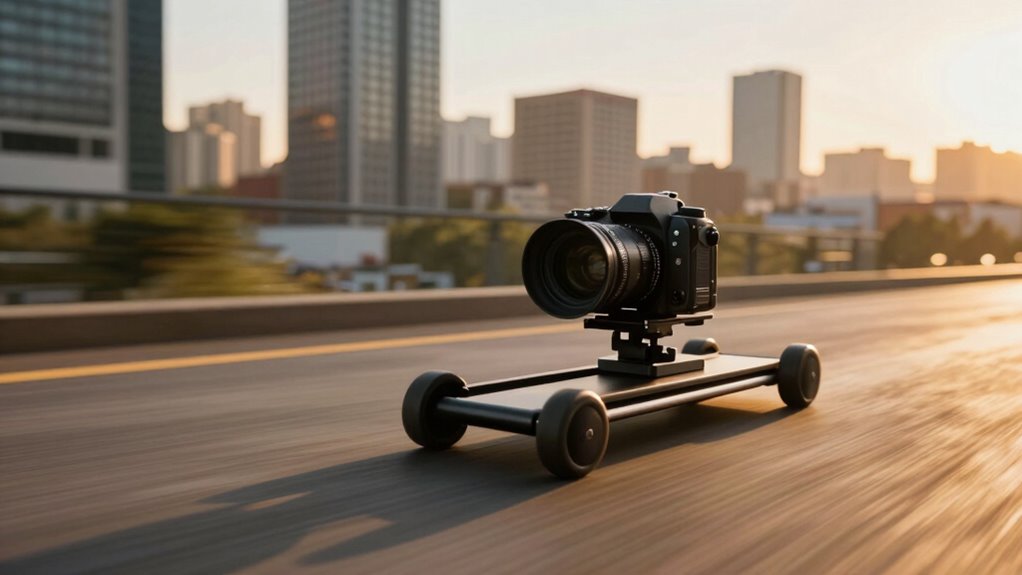
Basic Slider Moves Every Filmmaker Should Master
Mastering smooth motion techniques will make your shots look polished and professional. Incorporate dynamic composition tips to add visual interest and storytelling power. With these fundamental moves, you’ll elevate your filmmaking and create more engaging B-roll footage. Understanding basic camera movement concepts, such as slider techniques, helps ensure your footage appears seamless and cinematic. Practicing steady handling of your equipment can significantly improve the quality of your shots and reduce unwanted jitters. Developing a keen sense of shot planning can further refine your ability to execute these moves confidently and creatively.
Smooth Motion Techniques
To achieve smooth, professional-looking shots with your slider, mastering basic motion techniques is essential. Focus on camera stabilization to keep your footage steady and avoid unwanted jitters. Use slow, deliberate movements to facilitate fluid transitions, avoiding sudden jerks or quick starts. Maintain consistent shot framing by planning your move beforehand, which helps keep your subject in focus and well-composed throughout the slide. Practice smooth acceleration and deceleration to create natural motion, rather than abrupt stops or starts. Keep your hands steady or use a tripod grip for additional stability. Combining these techniques will elevate your slider shots, giving them a polished, cinematic quality that captures viewers’ attention and enhances your storytelling.
Dynamic Composition Tips
Ever wondered how to make your slider shots more engaging and visually dynamic? Start by mastering your composition. Use lighting techniques to highlight your subject and create mood, guiding viewers’ focus effortlessly. Experiment with framing, rule of thirds, and movement to add depth and interest. Incorporate sound design thoughtfully—sync sound effects or ambient noise to complement your visuals and enhance immersion. Keep your camera movements intentional; avoid jitter or unnecessary shifts that distract. Dynamic shots often involve shifting perspectives, so vary your angles and speeds to maintain viewer curiosity. Remember, lighting and sound aren’t just background elements—they’re essential tools to elevate your slider moves and make every shot feel intentional and cinematic. Understanding visual storytelling principles can further help craft compelling sequences that resonate with viewers. Additionally, analyzing your performance metrics allows you to refine your techniques for even more cinematic results. Incorporating camera movement techniques can also bring more energy and professionalism to your sequences, especially when combined with vintage-inspired gear to add a unique aesthetic.
How to Use Arc and Curve Movements to Add Visual Interest
Using arc and curve movements with your B-roll slider can instantly elevate your footage by adding smooth, dynamic motion that guides the viewer’s eye. These arc motions and curve techniques create a natural flow, making shots more engaging and cinematic. To effectively execute these moves, vary your speed and direction, emphasizing the curve’s shape. Practice gentle, sweeping arcs or tighter curves depending on the scene’s mood. Consider this table for better understanding:
| Arc Type | Motion Description | Best Use Case |
|---|---|---|
| Wide Arc | Large sweeping curve | Landscape or scene reveal |
| Tight Curve | Small, sharp bend | Focus on details or subjects |
| Rising Arc | Ascending movement | Building tension or anticipation |
| Descending Arc | Moving downward or back | Transitioning to a different scene |
| Complex Curve | Multiple curves combined | Creating cinematic complexity |
Adding these techniques can help you achieve a more professional and polished look, especially by understanding how content flow impacts viewer engagement.
Combining Slider Moves for Dynamic, Professional Shots
Combining different slider moves can create more dynamic and professional-looking shots that capture viewers’ attention. By blending techniques like push-ins, pull-outs, and lateral slides, you achieve seamless creative progressions that elevate your footage. Experimenting with these combinations adds depth and visual interest, making your shots feel more cinematic. To enhance this effect, use color grading techniques to unify the different moves and create a cohesive mood. Adjust contrast, saturation, and color tones to emphasize motion and draw focus where you want it. This synergy between movement and color grading helps your shots look polished and intentional. Remember, the key is to plan your movements thoughtfully, ensuring each transition feels smooth and natural for a truly professional result.
Practice Tips to Improve Your Slider Skills Quickly
Practicing regularly is the fastest way to sharpen your slider skills and execute smooth, professional moves. Focus on experimenting with lighting techniques to guarantee your shots are well-lit and visually appealing, which makes your slider work stand out. Adjust your camera settings to optimize motion smoothness—use a higher frame rate for fluidity and manual focus to prevent shifts during movement. Break down complex moves into smaller segments, practicing each until it feels natural before combining them. Record your sessions to identify areas for improvement, and analyze your footage to refine your technique. Consistent practice with varied lighting setups and camera configurations will boost your confidence and help you develop a steady, cinematic slider style efficiently.
Troubleshooting Common Slider Challenges and How to Fix Them
Even the most experienced slider operators encounter issues that can disrupt smooth footage. Common challenges include camera instability, which results in shaky shots, and gear compatibility problems, like incompatible mounts or weights causing uneven movement. To fix camera stability issues, verify your tripod or support system is sturdy and level before mounting the slider. Use counterweights or balance the camera properly to prevent wobbling. For gear compatibility, double-check that your camera, slider, and mounting hardware are compatible and secure. If parts don’t fit, consider adapters or different gear. Regular maintenance, like tightening screws and cleaning rails, also helps avoid mechanical hiccups. Addressing these issues promptly keeps your footage smooth and professional-looking.
Frequently Asked Questions
What Types of Cameras Are Compatible With B-Roll Sliders?
You can use most cameras with b-roll sliders, as compatibility depends on slider types and mounting options. DSLR and mirrorless cameras are popular choices due to their lightweight design and versatile mounting capabilities. Confirm your camera has a standard tripod mount for easy attachment. Check the slider’s weight capacity and mounting compatibility to guarantee smooth operation. Whether you have a compact camcorder or a professional cinema camera, many sliders support various camera compatibility needs.
How Do Lighting Conditions Affect Slider Shot Quality?
Lighting conditions greatly impact your slider shot quality. If lighting is inconsistent, your footage may look flickering or uneven, breaking the cinematic feel. Natural light offers soft, dynamic illumination but can change quickly, so plan your shots accordingly. To guarantee smooth, professional results, maintain lighting consistency by using diffusers or reflectors, and shoot during ideal natural light hours for the best cinematic look.
Can Slider Moves Be Combined With Drone Footage Seamlessly?
Combining slider moves with drone footage is like blending two different worlds seamlessly. You can match camera stabilization and shot composition by planning your angles and movements carefully. Use similar framing and pacing to create a smooth progression. When done right, it looks natural and cinematic, enhancing your storytelling. Keep your camera settings consistent and think ahead about how each shot complements the other for a polished, professional result.
What Are Some Budget-Friendly Slider Options for Beginners?
If you’re looking for budget-friendly options, consider manual sliders like the Neewer or Zomei models—they’re affordable and easy to use. For beginner slider tips, focus on smooth, steady movements and plan your shots in advance. You don’t need expensive gear; a simple slider can still deliver cinematic results. Just practice, keep your movements consistent, and you’ll create professional-looking footage without breaking the bank.
How Do I Prevent Jitter During Complex Slider Movements?
A stitch in time saves nine, so start with your camera stability. To prevent jitter during complex slider moves, make sure your slider is on a level surface and tighten all connections. Use smooth, deliberate motions and avoid sudden jerks. Enable motion smoothing if your camera has that feature, and consider adding a tripod or stabilizer if needed. Practicing steady control will make your shots look professional and cinematic.
Conclusion
Mastering b-roll slider moves transforms simple footage into cinematic art. While perfecting smooth, dynamic shots takes practice, your creativity open doors to endless storytelling possibilities. Just as a steady hand crafts compelling visuals, a keen eye for movement adds depth and emotion. Remember, even the most polished shots stem from experimentation and patience. So, embrace the process, push your limits, and watch your scenes come alive—turning technical skill into captivating storytelling.