
To avoid wobble and blurry floors in your virtual tours with 360 cameras, focus on choosing a stable, high-quality camera with good stabilization features. Mount your camera securely on a sturdy, level tripod or mount, and keep all components tight. Maintain consistent lighting and camera settings, and use slow, deliberate movements during filming. Post-production tools can help smooth out any remaining wobble or blur, and following proper techniques will guarantee your virtual tours appear professional and seamless—keep exploring for more tips.
Key Takeaways
- Use stable mounts like tripods with secure, level footing to prevent wobble during filming.
- Enable camera stabilization features and vibration reduction technology for smoother footage.
- Keep camera handling steady with proper grip or utilize remote controls to avoid shaking.
- Ensure all mounting components are tight and secure before shooting to prevent shifts.
- Post-process footage with stabilization software to correct minor wobble and enhance clarity.
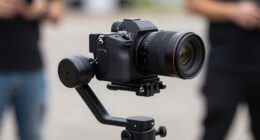
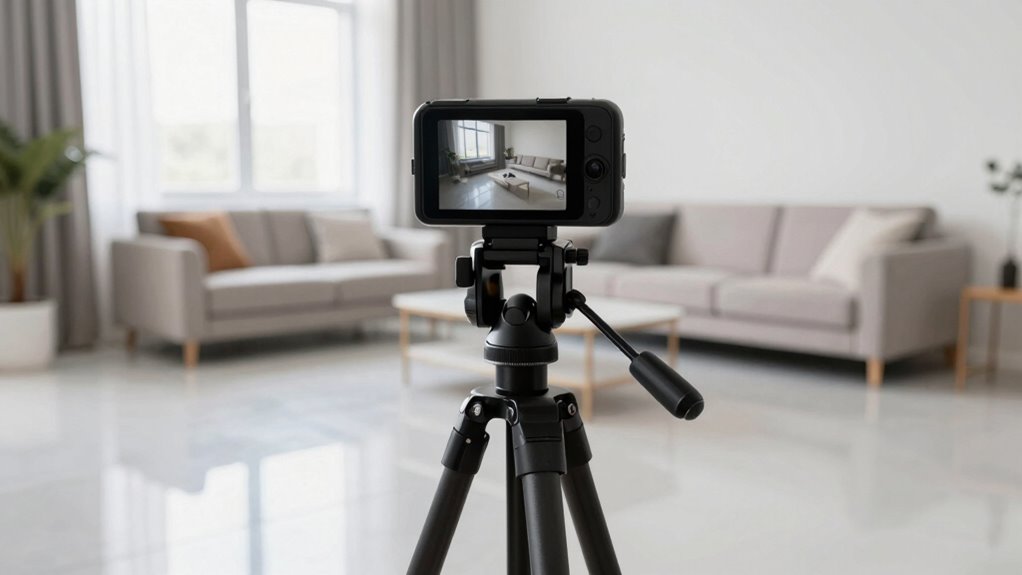
360 camera stabilization gimbal
As an affiliate, we earn on qualifying purchases.
As an affiliate, we earn on qualifying purchases.
Why Wobbling and Blurry Floors Ruin Your Virtual Tours
Wobbling and blurry floors can considerably detract from the quality of your virtual tours, making viewers feel uneasy and distracted. Poor camera ergonomics often cause shaky footage, disrupting the viewer’s experience and undermining the professionalism of your tour. When floors appear blurry or unstable, it’s harder for viewers to focus on the property’s features, reducing engagement. Additionally, if you’re using virtual staging, shaky footage can hide details or give an unpolished look, diminishing the appeal of your presentation. Consistent, steady footage ensures viewers stay immersed and confident in what they see. To avoid this, prioritize ergonomic camera setups and stabilization techniques, creating smooth, clear visuals that highlight your property’s best features without distracting wobble or blur. Incorporating smart stabilization tools and techniques can further enhance your footage quality, ensuring a professional presentation every time. Using camera accessories such as gimbals or stabilizers can also help achieve this goal effortlessly, reducing camera shake and improving overall image clarity. Employing ergonomic equipment designed specifically for virtual tours can further reduce fatigue and enhance camera control, leading to more stable footage. Additionally, understanding load calculations and proper setup can prevent unintended vibrations or instability during filming, resulting in cleaner shots.
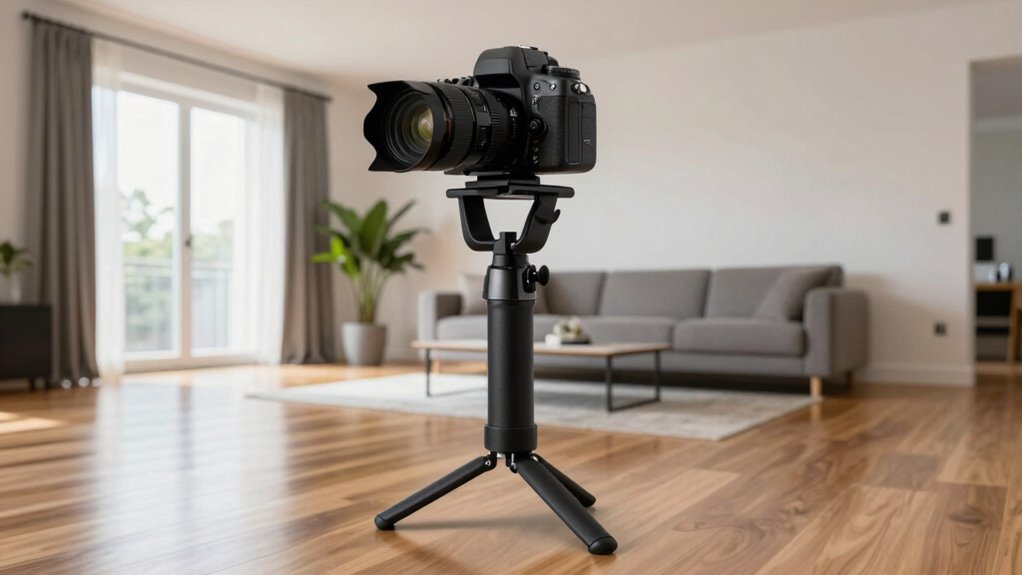
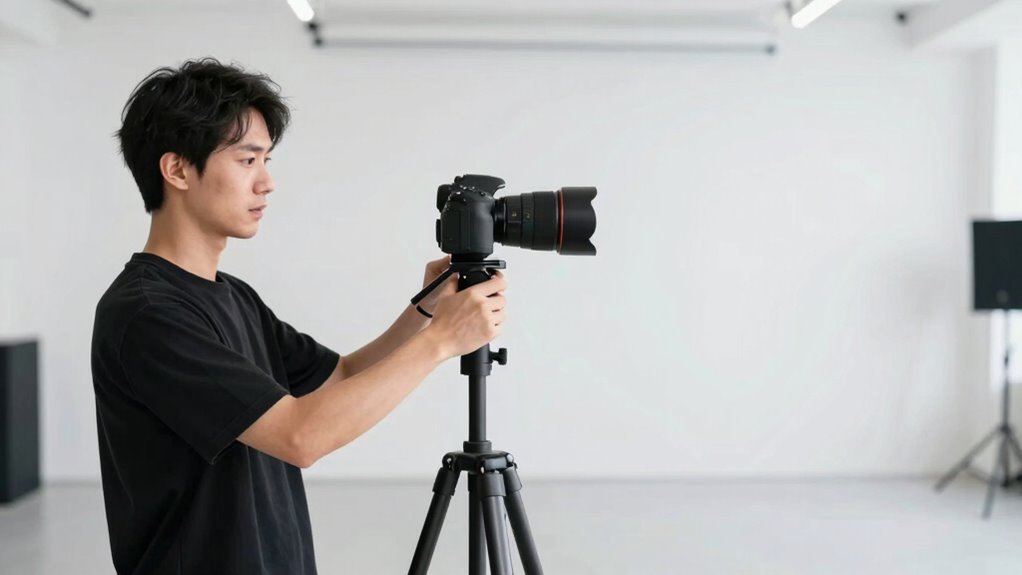
virtual tour camera tripod
As an affiliate, we earn on qualifying purchases.
As an affiliate, we earn on qualifying purchases.
How to Choose a Camera That Stays Steady and Sharp
Choosing the right camera is key to capturing steady, sharp virtual tours. Focus on camera ergonomics to ensure comfortable handling during extended shoots, reducing fatigue that can cause wobble. High sensor resolution enhances image clarity, making details crisp and floors less blurry. Look for models with balanced weight and intuitive controls for stability. Consider the following options:
| Feature | Benefit | Ideal For |
|---|---|---|
| Ergonomic Design | Comfortable grip, less fatigue | Long shoots |
| High Sensor Resolution | Clear, detailed images | Sharp virtual tours |
| Stabilization Tech | Minimize wobble during movement | Smooth, steady footage |
| Lightweight Build | Easy to maneuver | Dynamic shooting environments |
| Battery Life | Longer recording sessions | Extended virtual tours |
Additionally, choosing a camera with advanced stabilization technology can significantly improve the steadiness and overall quality of your virtual tours. Incorporating professional-grade accessories can further enhance stability and camera control during complex shots. To ensure optimal results, selecting a camera with effective vibration reduction features is also highly recommended. Furthermore, paying attention to camera ergonomics can make a substantial difference in reducing hand shake and maintaining consistent shot quality throughout your virtual tour sessions. Being aware of camera handling techniques can also help you achieve more stable footage in challenging environments.
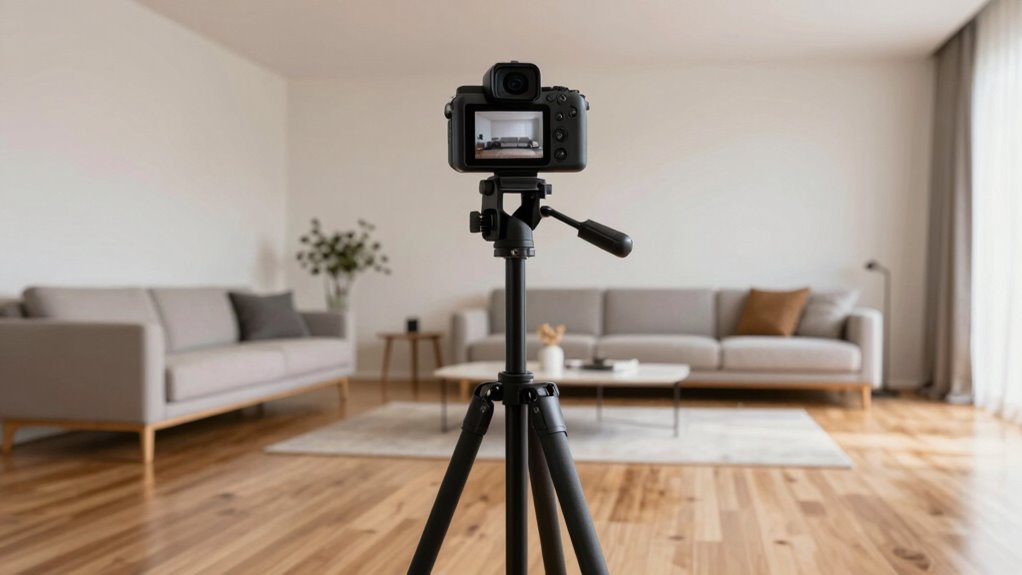
camera stabilization software
As an affiliate, we earn on qualifying purchases.
As an affiliate, we earn on qualifying purchases.
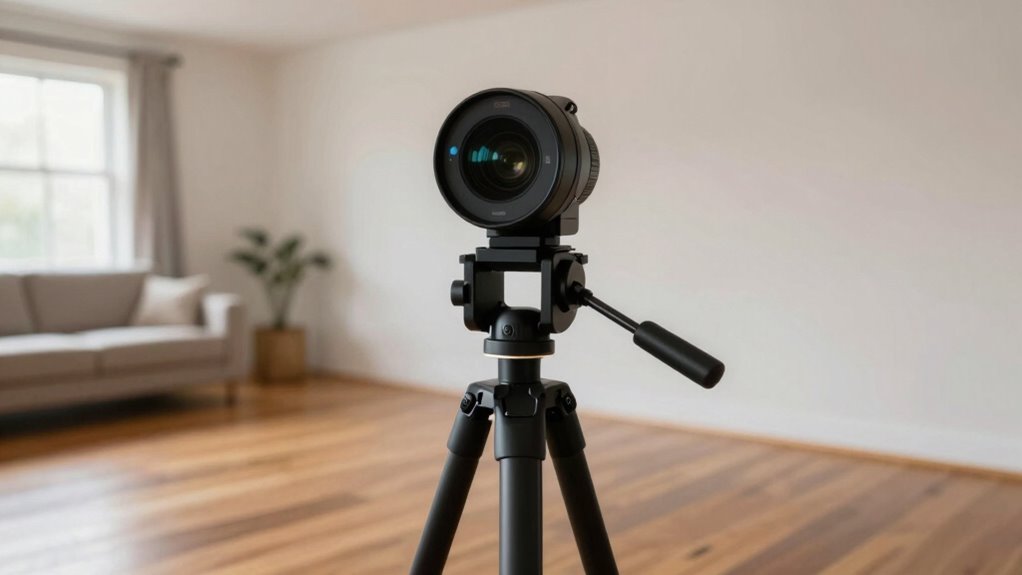
How to Mount Your 360 Camera for Maximum Stability

To guarantee your 360 camera captures smooth, stable footage, proper mounting is essential. Start by using the right mounting accessories, such as tripods, monopods, or specialized mounts, to secure your camera firmly. Confirm your mounting surface is stable and level, as uneven surfaces can introduce wobble. Pay close attention to camera positioning; keep the lens pointed straight ahead and avoid angles that create unnecessary movement. Tighten all mounting components securely to prevent shifts during filming. For added stability, consider using mounts with shock absorption or vibration dampening features. Additionally, choosing equipment designed for professional-grade recording can further enhance footage stability. Ensuring proper camera placement helps maintain consistent framing and reduces the risk of blurry floors. Using stability testing methods can help identify and correct any remaining issues with wobble or blurriness. Consistent camera positioning and a sturdy mount will minimize wobble and blurry floors, resulting in professional-looking virtual tours. Proper mounting sets the foundation for smooth, high-quality footage.
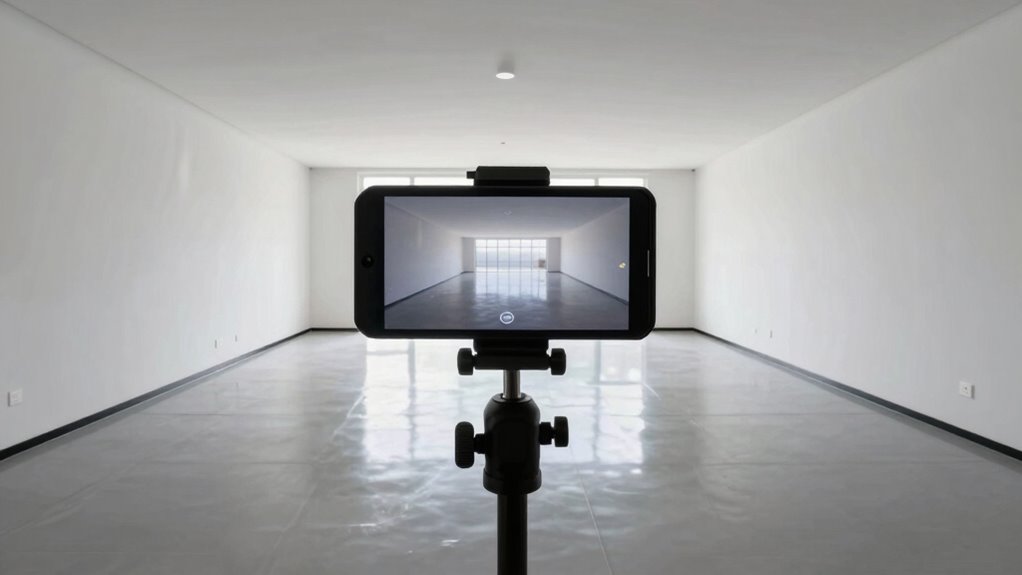
ergonomic 360 camera mount
As an affiliate, we earn on qualifying purchases.
As an affiliate, we earn on qualifying purchases.
Tips to Keep Exposure and Focus Consistent During Shooting
To keep your shots consistent, start by using manual settings on your camera to control exposure and focus precisely. Make sure the lighting stays steady throughout your shoot, so your images remain balanced and clear. These simple adjustments will help your virtual tour look professional and seamless. Additionally, maintaining consistent lighting conditions ensures that your images stay uniform, reducing the risk of wobble and blurry floors.
Use Manual Settings
When capturing 360-degree virtual tours, maintaining consistent exposure and focus is essential for professional-quality images. Using manual settings gives you full control over exposure control and focus, preventing unwanted shifts during shooting. Set your camera to manual focus to avoid autofocus hunting that causes wobble. Adjust exposure settings beforehand to match lighting conditions, ensuring brightness remains steady throughout. Consider locking these settings once you find the right balance. This way, you avoid variations that can make floors blurry or images inconsistent. Additionally, being aware of lighting stability helps in achieving uniform results across your tour. To further improve image quality, selecting a camera with a dedicated manual mode can provide more precise control during shooting. Understanding how to manage camera settings effectively is crucial for achieving smooth, clear virtual tours. Moreover, practicing consistent camera positioning ensures a seamless viewing experience for your audience. Paying attention to camera stability techniques, such as using a tripod or stabilizer, can also significantly reduce wobble and improve overall image clarity.
Maintain Consistent Lighting
Maintaining consistent lighting during your virtual tour captures is essential for producing seamless, professional-looking images. When lighting varies, it disrupts the flow and makes editing more challenging. To guarantee lighting consistency and proper color balancing, consider these tips:
- Shoot in the same lighting conditions whenever possible, ideally during daylight hours.
- Use manual exposure settings to keep brightness levels uniform across shots.
- Avoid changing light sources or turning lights on and off during the shoot.
- Adjust white balance settings to maintain accurate color balancing, preventing color shifts that can distract viewers.
- Be mindful of lighting conditions, as changes in ambient light can affect the overall quality of your images.
- Understanding your camera’s capabilities can help you better manage exposure and focus for consistent results.
- Regularly review your shots during the shoot to ensure consistent lighting, making adjustments as needed to maintain quality.
- Familiarizing yourself with camera settings can further enhance your ability to control exposure and focus during different lighting scenarios.
- Recognizing the relationship between lighting and camera settings can help you achieve more reliable and professional results.
How to Capture Smooth Panoramas Without Wobble

To capture smooth panoramas without wobble, start by keeping your hands steady with proper technique or, better yet, use a tripod for stability. Maintaining a steady grip prevents unnecessary movement and guarantees consistent framing. Using a tripod is especially helpful for achieving professional-looking, wobble-free results. Additionally, utilizing stabilization technology features available on some 360 cameras can further enhance the smoothness of your panoramas.
Steady Hands Technique
Achieving smooth panoramas with a 360 camera requires a steady hand and deliberate technique. Your camera ergonomics play a crucial role—ensure you grip your device comfortably and maintain a relaxed posture. To improve stability, consider these tips:
- Keep your elbows close to your body to minimize shake.
- Use slow, deliberate movements when panning or rotating.
- Find a stable surface or anchor yourself against a sturdy object.
- Select a tripod suited for your camera, which helps reduce hand fatigue and provides consistent stability.
- Incorporate simple routines to develop a steady hand and improve your overall control when capturing images. Regular practice, along with proper technique, can significantly enhance your results.
While tripod selection isn’t the focus here, choosing a lightweight, ergonomic model can make a big difference. Practice controlled movements, stay calm, and your panoramas will turn out smoothly and clear.
Use Tripod Stability
Using a tripod is one of the most effective ways to guarantee your panoramas stay smooth and steady. Making certain tripod stability minimizes wobble and keeps your camera grip firm during the shot. Before starting, double-check that your tripod legs are fully extended and locked, providing a solid base. Keep the camera centered on the tripod head, and avoid touching it during the rotation to prevent vibrations. Use a remote shutter release or timer to avoid camera shake when pressing the capture button. A stable tripod combined with a firm camera grip ensures your camera doesn’t shift unexpectedly, resulting in crisp, seamless panoramas. Remember, the more stable your setup, the more professional your virtual tours will look.
How to Fix Wobbly Footage and Blurry Floors in Post-Production

Wobbly footage and blurry floors can substantially detract from the professionalism of your virtual tour, but luckily, you can fix these issues in post-production. To do this effectively, focus on camera stabilization and post-processing techniques. Here are four strategies:
Fix shaky footage and blurry floors easily with stabilization, cropping, masking, and sharpening techniques.
- Use software with built-in stabilization tools to smooth out shaky footage.
- Apply cropping and warping adjustments to correct small wobble movements.
- Use masking techniques to hide blurry or distorted floor sections.
- Enhance clarity by sharpening the footage, reducing blurriness.
Common Mistakes That Cause Blurry Floors and How to Avoid Them

Blurry floors in virtual tours often result from common filming mistakes that can easily be overlooked. One key mistake is poor camera ergonomics, which can cause unintentional movements and wobble, leading to blurry floors. Make sure you maintain a steady hand or use a tripod designed for 360 cameras to keep the footage sharp. Additionally, ignore floor reflections, which can create false impressions of blurriness. Bright reflections or shiny surfaces can confuse the camera’s auto-focus, resulting in unclear images. To avoid this, adjust your shooting angle or lighting to minimize reflections on the floor. Paying attention to your camera ergonomics and controlling floor reflections are essential steps in producing crisp, professional-looking virtual tours with clear, sharp floors.
Make a Shooting Checklist to Prevent Wobble and Blur
Creating a shooting checklist is essential to prevent wobble and blur in your virtual tours. This helps guarantee you cover all necessary steps for a professional result. First, verify your camera accessories are secure, including mounts and stabilizers. Next, plan your shooting angles carefully to avoid awkward positions that can cause wobble. Third, check your camera’s battery and storage to prevent interruptions. Finally, set your camera on a stable surface or tripod, making sure it’s level. By following this checklist, you reduce risks of shaky footage and blurry floors. Remember, a well-prepared shot list saves time and assures consistency across your virtual tour. Staying organized with these key points keeps your filming smooth and your virtual tours impressive.
Final Tips for Delivering Smooth, Professional Virtual Tours
To guarantee your virtual tours look professional and captivating, focus on smooth camera movements and consistent exposure throughout your shoot. Use a stable mount or tripod and practice steady panning to avoid wobble. Incorporate drone photography techniques for dynamic aerial shots, but ensure transitions are seamless. When editing, optimize exposure and color balance to maintain uniformity, especially for viewers using a VR headset, which enhances immersion. Pay attention to lighting to prevent blurry floors or dark spots that distract viewers. Test your tour on different devices, including VR headsets, to ensure quality remains consistent. Clear, stable visuals keep viewers engaged and convey a polished, professional experience. These final touches make a significant difference in delivering virtual tours that impress.
Frequently Asked Questions
What Are the Best Accessories to Stabilize a 360 Camera?
To stabilize your 360 camera, use a sturdy tripod with excellent tripod stability, which minimizes wobble during shoots. Additionally, mounting accessories like gimbals or quick-release plates can help secure your camera firmly. These tools prevent blurriness and wobbling, ensuring your virtual tour is sharp and smooth. Always check the stability of your setup before capturing to avoid shaky footage and achieve professional results.
How Does Lighting Affect Floor Clarity in Virtual Tours?
Ever notice that uneven lighting makes floors blurry or wobbly in virtual tours? You’ll want to guarantee lighting consistency across all areas, preventing shadows that distort floor clarity. Good lighting reduces glare and highlights floor details, making surfaces appear sharper. By managing shadows and maintaining even brightness, you help your virtual tour display floors clearly, creating a more professional, immersive experience that keeps viewers engaged and confident in what they see.
Can Software Improve Footage Stability After Shooting?
Yes, software can improve footage stability after shooting. Post processing stabilization tools analyze your footage and apply software correction to reduce wobble and shakiness. Many editing programs and dedicated stabilization software can smooth out camera movements, making your virtual tour look more professional. You just need to upload your footage and let the software handle the stabilization, ensuring clear, steady visuals without the need for extra equipment during filming.
What Are Common Mistakes When Mounting a 360 Camera?
You often make the mistake of ignoring the mounting angle, causing shaky footage, or overlook the camera weight, leading to wobble. Imagine the camera tilting slightly, creating a distorted view, or wobbling like a boat on rough seas. To avoid this, make certain your mounting angle is level and your mount can support the camera’s weight securely. Properly balanced and steady setups result in crisp, professional virtual tours.
How Long Should I Shoot to Ensure Smooth Panoramas?
You should shoot for at least 10-15 seconds per scene to ensure smooth panoramas. Proper camera positioning, such as keeping the camera steady and at eye level, is vital. Longer shooting durations help eliminate wobble and blurry floors by allowing you to capture more stable footage. Avoid rushing the process; patience guarantees higher quality virtual tours. Remember, consistent shooting duration and steady positioning make a significant difference in your final results.
Conclusion
To wrap it up, avoiding wobble and blurry floors is all about preparation and steady hands—think of it as your own personal quest like in “The Lord of the Rings.” Use the right gear, mount it securely, and stay mindful of your settings. With these tips, you’ll create virtual tours so smooth, viewers might forget they’re not actually there. Remember, even the best camera can’t fix bad habits—so keep it steady, and you’ll be golden!