To safely remove sticker residue from most surfaces, start by gently peeling off loose bits and testing a small hidden area with household options like vinegar, rubbing alcohol, or cooking oil. Use soft tools and avoid harsh chemicals or scrapers that can damage surfaces. For stubborn residue, applying heat or natural solvents can help. If you want expert tips and safety advice to guarantee the job’s done right, keep exploring.
Key Takeaways
- Use gentle, household solutions like vinegar or cooking oil to loosen residue without damaging surfaces.
- Test a small, hidden area first to ensure the chosen method won’t harm the material.
- Remove loose residue carefully with plastic scrapers or soft cloths before applying solvents.
- Apply natural or commercial adhesive removers following manufacturer instructions and proper safety precautions.
- For stubborn residue, soften with heat and repeat gentle cleaning to achieve safe, effective removal.

Goo Gone Spray Adhesive Remover Gel 12 Oz with Scraper, Removes Glue, Stickers, Tape Residue, Grease, Gum & Wax, Adhesive Spray with Citrus Cleaning Power for Hard Surfaces, Carpets & Fabrics
Thick Spray Gel for adhesives: Goo Gone Adhesive Remover Spray Gel, which won a 2026 Good Housekeeping Cleaning…
As an affiliate, we earn on qualifying purchases.
As an affiliate, we earn on qualifying purchases.
Why Sticker Residue Is Hard to Remove and Why It Matters
Sticker residue is tough to remove because the adhesive bonds strongly to surfaces, often creating a sticky, stubborn film. This is due to adhesive chemistry, where the glue’s molecules form tight bonds with the surface, making it resistant to simple wiping. Surface texture plays a role too; smooth surfaces might let residue come off more easily, while rough or porous textures trap adhesive particles, complicating removal. The chemical composition of the adhesive determines its strength, with some formulas designed to create a lasting bond. Over time, residue can become harder and more embedded, increasing the challenge. Surface properties influence how firmly the residue adheres and how easily it can be removed. Why it matters is because leftover glue can damage surfaces, attract dirt, or ruin the appearance of your item. Understanding these factors helps you choose the right removal method and protect your surfaces, especially when considering adhesive characteristics that impact how stubborn the residue will be. Additionally, surface chemistry plays a crucial role in how adhesives interact with different materials, affecting removal strategies. Recognizing the bond strength of adhesives can guide you toward more effective and safer removal techniques.
A better understanding of adhesive chemistry can also help you select the most appropriate removal products, ensuring surface safety.
Goo Gone Spray Adhesive Remover Gel 12 Oz with Scraper, Removes Glue, Stickers, Tape Residue, Grease, Gum & Wax, Adhesive Spray with Citrus Cleaning Power for Hard Surfaces, Carpets & Fabrics
Thick Spray Gel for adhesives: Goo Gone Adhesive Remover Spray Gel, which won a 2026 Good Housekeeping Cleaning…
As an affiliate, we earn on qualifying purchases.
As an affiliate, we earn on qualifying purchases.
Preparing Your Surface to Safely Remove Sticker Residue
Before removing sticker residue, make sure to clean the surface thoroughly to prevent damage. Test a small, hidden area first to guarantee your removal method won’t harm the material. Also, gently remove any loose residue to make the process smoother and safer. Engaging in consistent feedback can help refine your technique for more effective residue removal. Ensuring proper surface preparation can significantly improve the results of your removal efforts. Additionally, understanding the types of surfaces you’re working with can help select the safest and most effective removal method. Being aware of water-related surfaces can guide you in choosing methods that won’t cause water damage. Considering the properties of Free Floating surfaces can also assist in selecting the best removal techniques to avoid unintended harm.
Clean Surface Thoroughly
Making sure your surface is thoroughly cleaned is essential for safely removing sticker residue. A clean surface helps you avoid damaging the material and guarantees removal techniques work effectively. Use gentle cleaning solutions suited for your surface type, and remove any dust, grease, or dirt. Recognizing that different adhesive types require specific removal methods, so understanding the adhesive can make your task easier and safer. Additionally, knowing the resale value of items like electric dirt bikes can motivate proper care and cleaning during maintenance. Ensuring your cleaning process is properly executed will help prevent accidental damage and ensure the longevity of your items. Being aware of common hazards associated with cleaning methods can help you avoid safety risks during the process. Incorporating professional services when necessary can also help achieve optimal results without risking surface damage. Being informed about surface compatibility can further assist in selecting the safest cleaning approach.
Test Small Area
Ever wonder how to prevent damage when removing sticker residue? The key is testing a small area first. Different adhesive types and residue patterns react uniquely, so a quick patch test helps avoid surprises. You are trained on data up to October 2023. Piercing care and hygiene This step confirms your method’s safety and effectiveness. Remember, some adhesives bond strongly or leave stubborn residue patterns, so testing guarantees you don’t damage delicate surfaces. Taking these precautions helps you remove residue safely and efficiently, protecting your surface while achieving a clean finish.
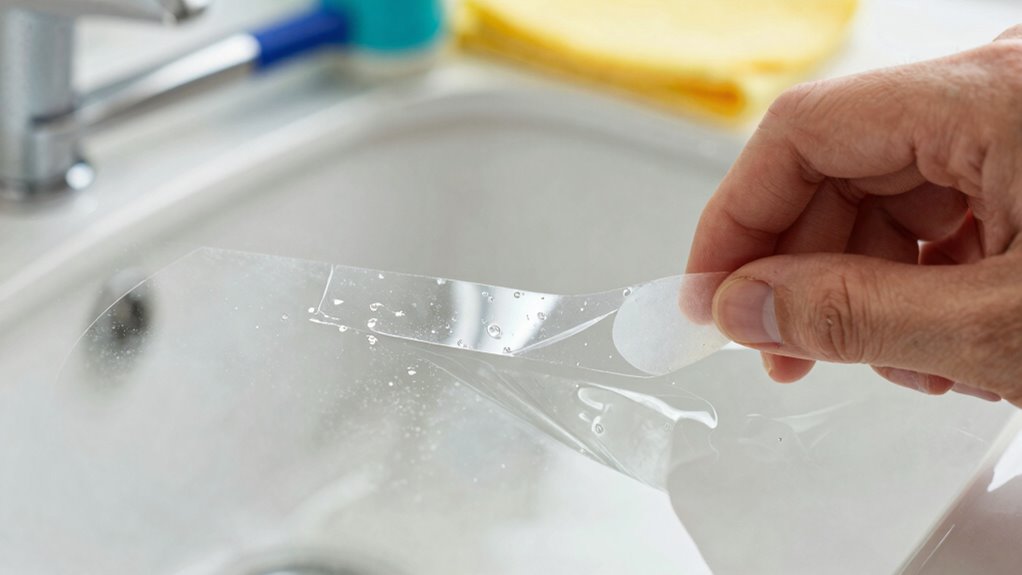
Remove Loose Residue
To effectively remove sticker residue, start by removing any loose or flaky bits first. Gently lift or peel away the larger pieces to prevent spreading adhesive or causing residue staining on the surface. Knowing the adhesive types involved helps determine how to proceed; some adhesives are more stubborn and require specific treatments. Removing loose residue reduces the risk of scratching or damaging delicate surfaces during cleaning. By clearing these bits, you create a safer, cleaner surface for the next removal steps. This initial step ensures you won’t smear sticky residue or push it deeper into the material. Taking your time here helps you avoid unnecessary residue staining and preserves the integrity of the surface, making the overall removal process more effective and safer. Being aware of adhesive properties can guide you in selecting the most effective removal techniques for different residues, and understanding surface compatibility ensures you choose methods that won’t damage your materials. Additionally, understanding the types of surfaces involved can help you choose appropriate cleaning agents that won’t cause discoloration or deterioration. Recognizing the adhesive strength of the residue can also help you determine whether a gentle solvent or more vigorous method is needed to loosen the adhesive effectively.
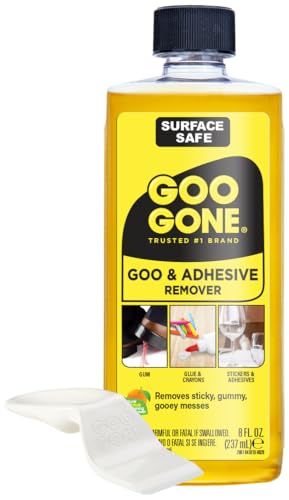
Goo Gone Original Liquid – 8 Ounce – Surface Safe Adhesive Remover Safely Removes Stickers Labels Decals Residue Tape Chewing Gum Grease Tar Crayon Glue
#1 TRUSTED BRAND FOR REMOVING GOOEY MESSES: Try it on stickers, wax, markers, crayons, glue, tar, window decals,…
As an affiliate, we earn on qualifying purchases.
As an affiliate, we earn on qualifying purchases.
Which Household Items Can Help Remove Sticker Residue?
Looking for simple household items to remove stubborn sticker residue? Many common household tools can do the trick, making DIY hacks accessible and affordable. Before reaching for harsh chemicals, try these items:
Discover easy household remedies to effortlessly remove stubborn sticker residue.
- White Vinegar – Soak a cloth in vinegar and apply it to the residue, loosening it without damage.
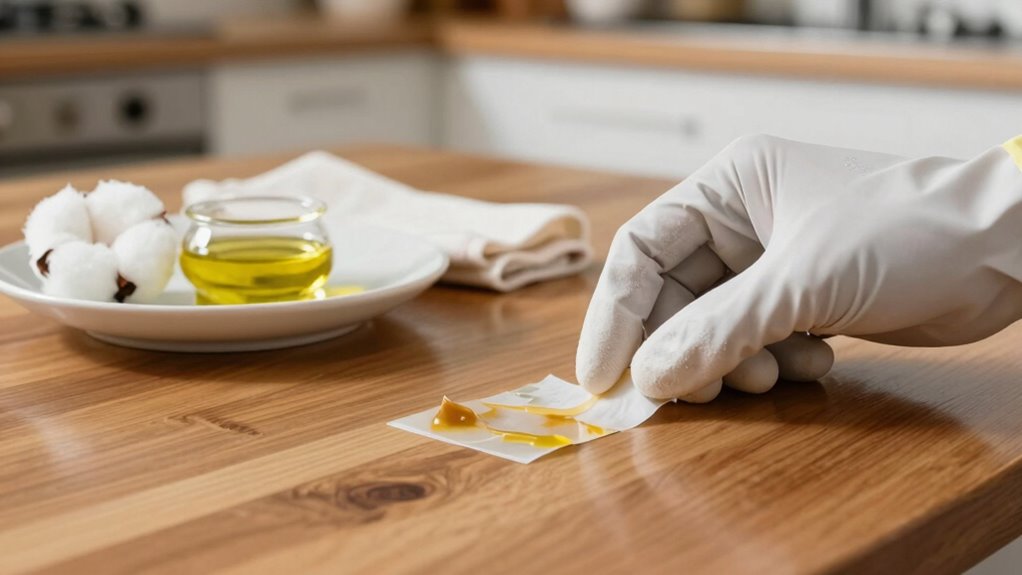
- Cooking Oil or Peanut Butter – The oils break down adhesive properties gently.
- Rubbing Alcohol – Dampen a cloth and gently rub the sticky area.
- Baking Soda Paste – Mix baking soda with a little water for a mild abrasive to scrub away residue.
These household tools are safe, effective, and easy to use, helping you remove sticker residue without risking surface damage.

EHDIS 1.5" Plastic Razor Scraper with 10pcs Double Edged Plastic Blades for Removing Labels Stickers Decals on Glass Windows
1 Razor Scraper with 10 Double Edged Plastic Blades
As an affiliate, we earn on qualifying purchases.
As an affiliate, we earn on qualifying purchases.
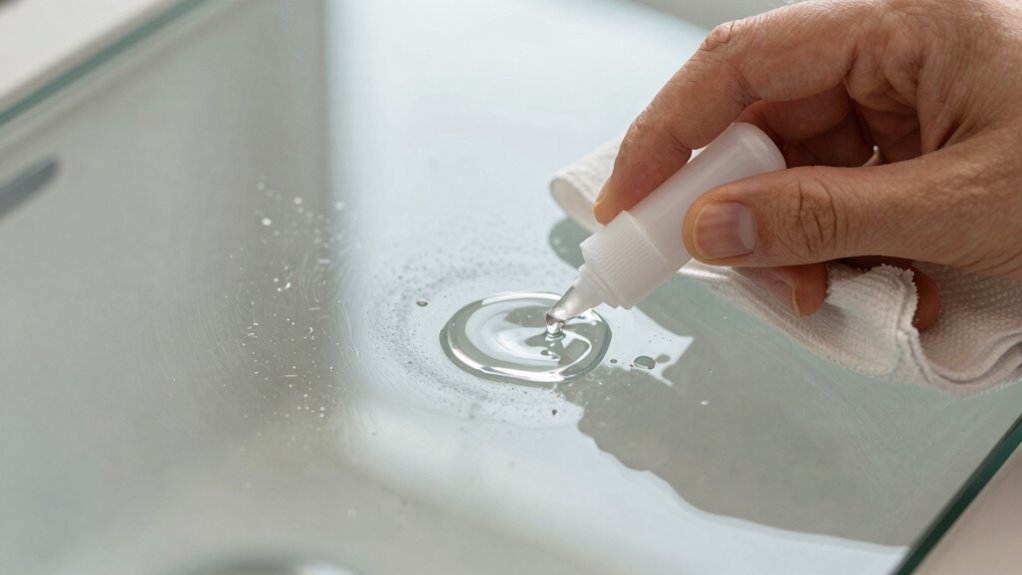
Natural Solutions That Effectively Take Off Sticky Residue
Natural solutions can be just as effective as household items in removing sticky residue, often without the use of chemicals. Eco-friendly adhesives and biodegradable solvents are excellent options for gentle, environmentally safe removal. For example, plant-based oils like coconut or olive oil loosen adhesive bonds naturally. These alternatives work by breaking down the sticky residue without harsh chemicals. To deepen your understanding, consider this table:
| Solution | Benefits | Ideal Use Case |
|---|---|---|
| Coconut Oil | Natural, moisturizing | Delicate surfaces, skin residue |
| Vinegar | Non-toxic, versatile | Glass, plastic, metal |
| Biodegradable Solvents | Eco-friendly, effective | Larger sticky areas |
| Lemon Juice | Natural degreaser | Glass, painted surfaces |
| Baking Soda Paste | Gentle abrasive cleaning | Textured or stubborn residue |
These solutions are safe, effective, and eco-conscious choices for sticky residue removal. Understanding eco-friendly solutions can help you choose the safest method for your specific needs.
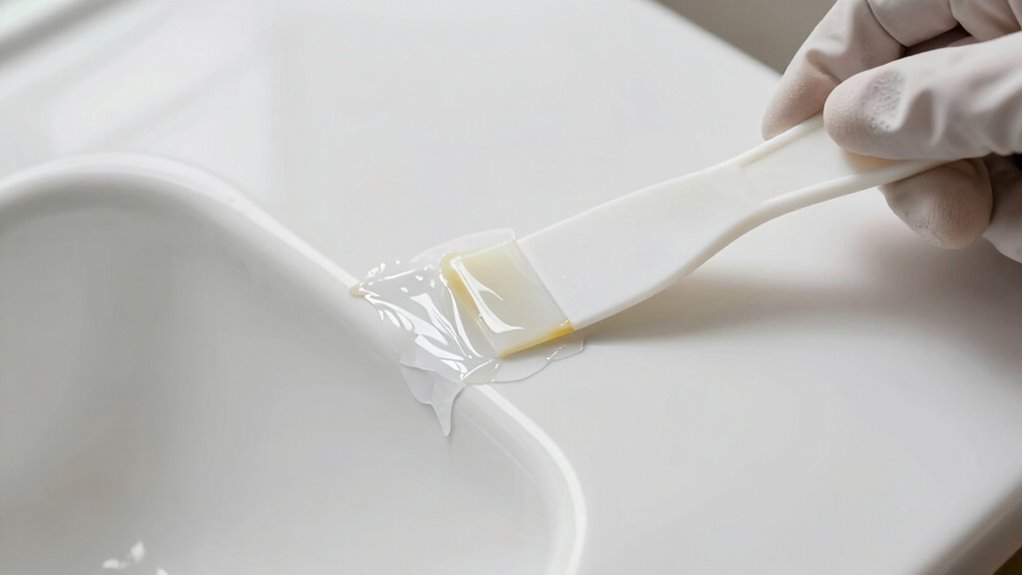
Applying Commercial Adhesive Removers Safely and Correctly
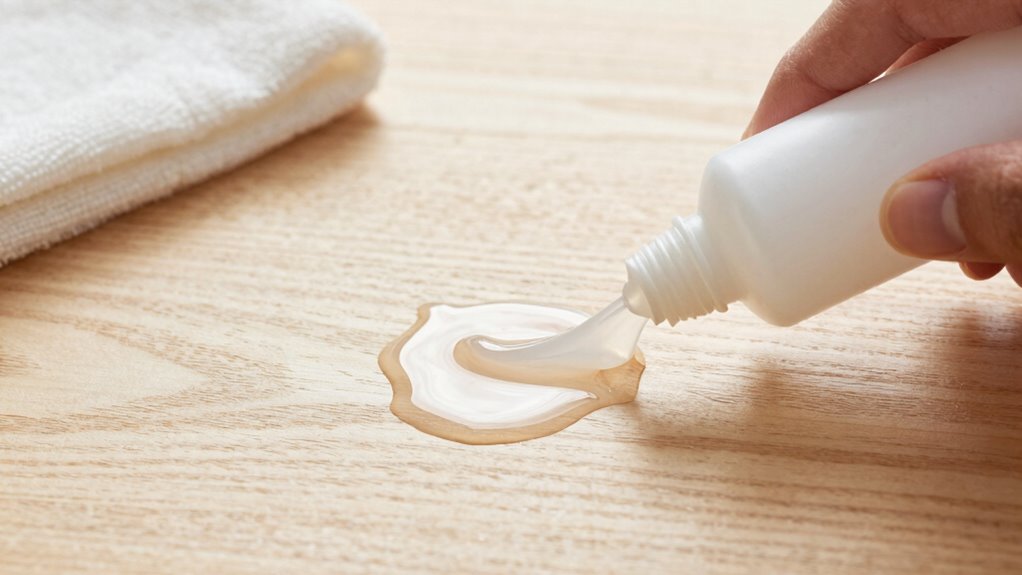
When using commercial adhesive removers, it’s essential to follow safety guidelines to prevent accidents or damage. Proper remover safety depends on understanding adhesive chemistry and applying the product correctly. First, always read the label and follow manufacturer instructions carefully. Second, work in a well-ventilated area to avoid inhaling fumes. Third, wear gloves and eye protection to prevent skin and eye irritation. Fourth, test a small area first to ensure the remover won’t damage the surface. Remember, different adhesives react differently to removers, so knowing the adhesive chemistry helps you choose the right product. Additionally, selecting the appropriate wood type can influence how well a surface tolerates cleaning agents. Applying removers safely and correctly minimizes risks, preserves your surfaces, and ensures effective residue removal.
How to Remove Residue From Glass, Wood, and Painted Walls
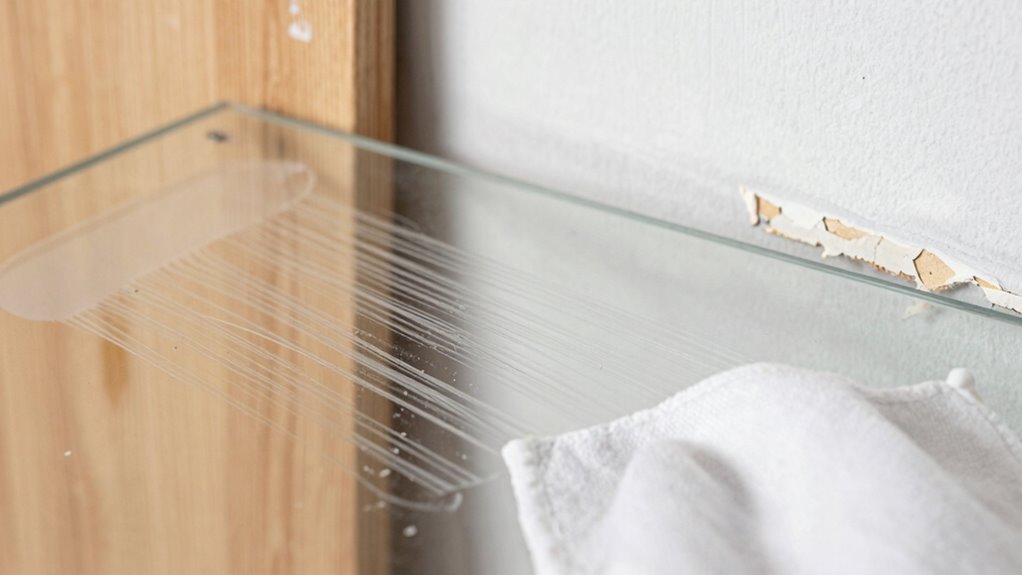
When removing residue from glass, wood, or painted walls, start with gentle scraping to avoid damage. Choose effective solvents like rubbing alcohol or vinegar, and always test in a small area first. Protect your surfaces with painter’s tape or plastic to prevent any unintended harm during the process.
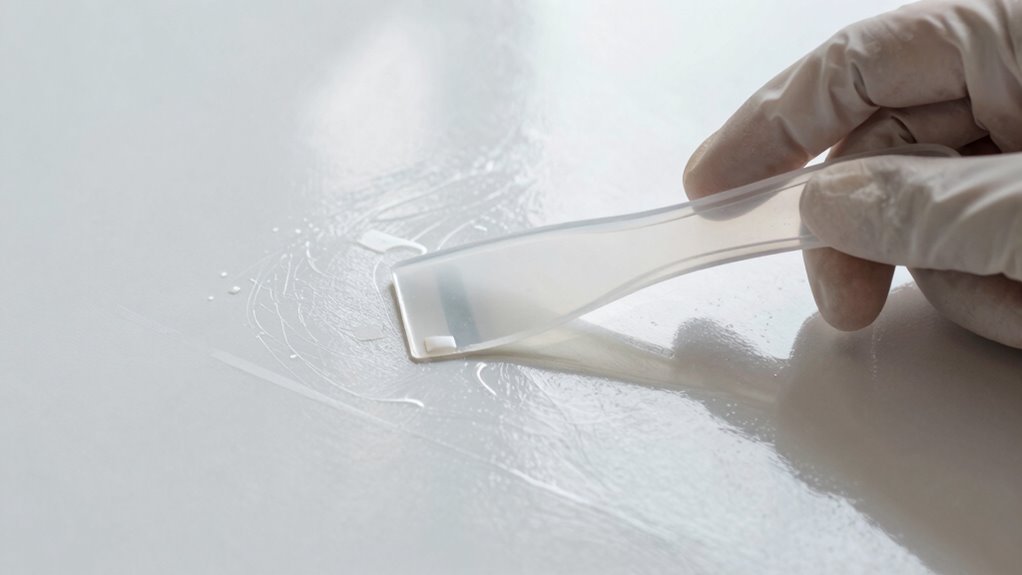
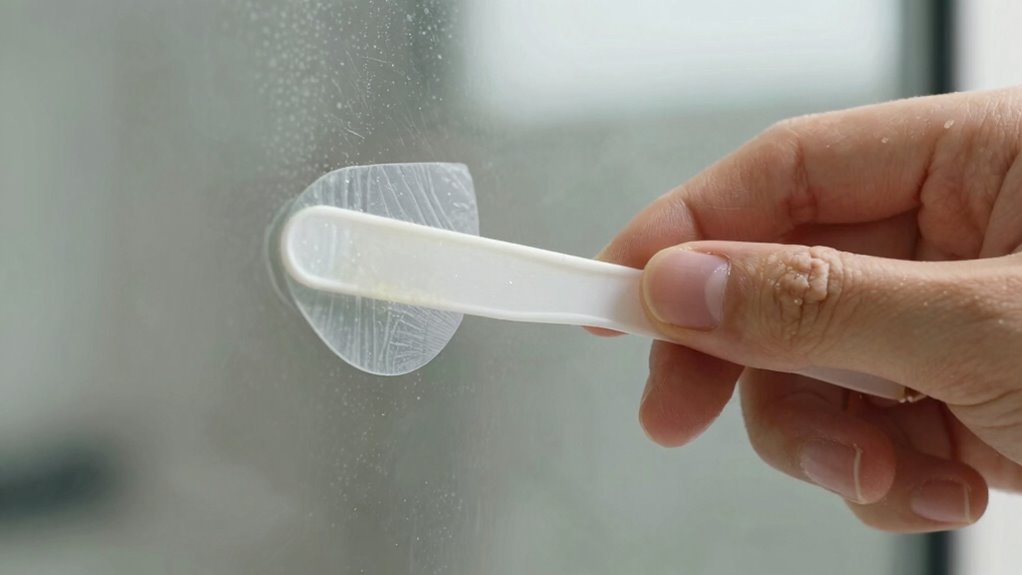
Gentle Scraping Techniques
Gentle scraping is often the safest way to remove sticker residue from delicate surfaces like glass, wood, and painted walls. Understanding adhesive chemistry helps you choose the right method, avoiding damage. Recognizing sticker history reveals how residues bond over time, making gentle removal essential. To scrape safely:
- Use a plastic scraper or credit card to prevent scratching.
- Keep the surface damp with warm water or mild soapy solution.
- Work slowly, applying light pressure to lift the residue.
- Avoid metal tools that can damage surfaces or remove paint.
- Being aware of the bonding process of adhesives enables more effective and damage-free removal.
This technique minimizes risk while leveraging knowledge of adhesive properties. By respecting each surface’s sensitivity and understanding how adhesives bond, you can remove residue effectively without harm. Patience and gentle tools are your best allies for damage-free cleanup.
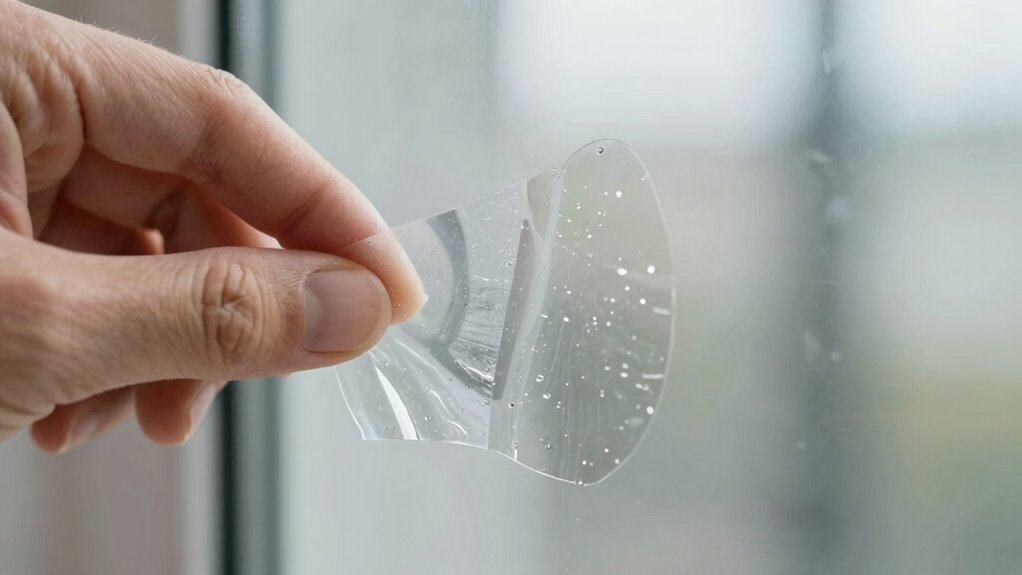
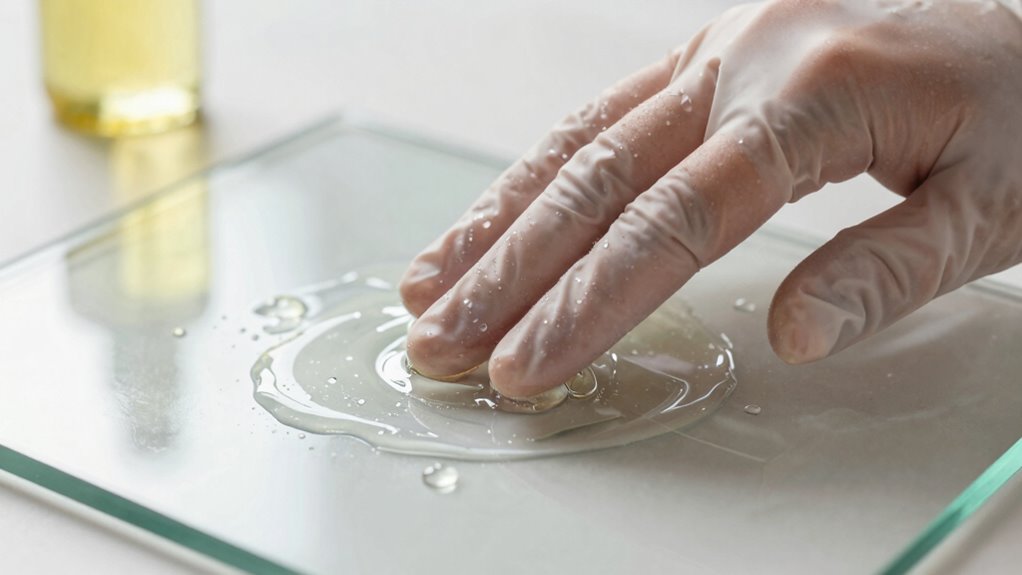
Effective Solvent Options
After using gentle scraping techniques to loosen sticker residue, applying the right solvents can effectively dissolve remaining adhesive without damaging delicate surfaces. Many adhesive myths suggest harsh chemicals are necessary, but gentle solvents work well on glass, wood, and painted walls. For glass, isopropyl alcohol or a mixture of vinegar and water can break down residue patterns without scratches. On painted walls and wood, use commercial adhesive removers or a mild dish soap solution, testing first to prevent damage. Keep in mind, residue patterns vary, so adjust your approach accordingly. Avoid abrasive products that can scratch or discolor surfaces. Patience and proper solvent choice are key to removing sticker residue safely and effectively, ensuring your surfaces stay pristine. Additionally, understanding the surface material helps determine the most suitable removal method for optimal results.
Surface Protection Tips
To safeguard your surfaces while removing sticker residue, it’s *essential* to use the right techniques and materials. Different adhesive types affect surface durability, so choose methods accordingly. For glass, avoid abrasive tools that can scratch; instead, use a plastic scraper and gentle solvents. On wood, test a small area first, as some adhesives may damage the finish; consider oil-based removers. Painted walls are delicate—use minimal liquid and soft cloths to prevent peeling or discoloration. Here are some tips:
- Always identify the adhesive type before choosing a removal method.
- Use gentle, non-abrasive tools to prevent surface scratches.
- Test solvents on a small, hidden area first.
- Apply minimal liquid to avoid damaging sensitive surfaces.
What If the Residue Won’t Come Off? Troubleshooting Tips
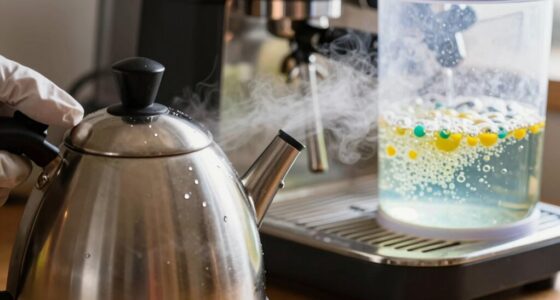
Sometimes, stubborn sticker residue refuses to budge despite your best efforts. If the adhesive strength is especially high or the residue texture is particularly tough, usual methods might fall short. First, try applying a bit more heat with a hairdryer to soften the residue further. If that doesn’t work, consider using a gentle solvent like rubbing alcohol or vinegar, which can break down stubborn adhesives. Be cautious with delicate surfaces—test a small area first. Scraping lightly with a plastic scraper can also help, but avoid gouging the surface. Patience is key; give the solvent time to work before trying again. If residue still won’t come off, repeat the process or combine methods for better results. Remember, gentle persistence often wins the battle against stubborn residue. Understanding adhesive properties can help you choose the most effective removal method.
Cleaning and Finishing Your Surface After Residue Removal
Once you’ve successfully removed the sticker residue, it’s important to clean the surface thoroughly to eliminate any remaining adhesive traces and prevent damage. Different surface textures can influence how you finish the job; smooth surfaces are easier to clean, while textured ones might trap residues. Understanding adhesive chemistry helps you choose the right cleaning method, ensuring no residue affects the surface’s appearance or integrity. To finish effectively, consider these steps:
Proper cleaning after removing stickers prevents damage and restores surface appearance.
- Use a gentle cleaner suited to your surface type.
- Wipe with a soft cloth to avoid scratches.
- Rinse with clean water if necessary.
- Dry thoroughly to prevent streaks or water spots.
This process restores the surface, maintains its appearance, and prepares it for further use or finishing.
How to Identify the Best Method for Your Surface Type
After removing the sticker residue, it’s important to recognize that different surfaces respond differently to cleaning methods. Your choice depends on the surface materials, such as glass, wood, plastic, or painted surfaces. Some materials are more delicate and need gentle approaches, while others can handle stronger solvents. Additionally, consider the adhesive types involved—whether they’re water-based, rubber, or industrial adhesives. For example, plastic surfaces may tolerate alcohol-based removers, but painted wood might require milder solutions like soapy water or vinegar. Always test a small, hidden area first to prevent damage. Knowing your surface materials and adhesive types helps you select the safest, most effective removal method, ensuring your surface stays intact and undamaged.
When to Call a Professional for Difficult Sticker Residue
Despite your best efforts, stubborn sticker residue can sometimes resist all DIY hacks, signaling it’s time to seek professional help. If you’ve tried multiple methods and still can’t remove the residue without risking damage, consider calling a professional. They have specialized tools and expertise for tough spots. Also, if the surface is delicate or valuable, safety precautions become even more critical. You don’t want to cause more harm or injury. Here are four signs to know it’s time to call in the pros:
- Residue persists after multiple DIY attempts
- Surface shows signs of damage or discoloration
- You lack the proper tools or safety equipment
- The residue is in hard-to-reach or sensitive areas
When in doubt, consulting a professional ensures safe, effective removal.
Frequently Asked Questions
Can Sticker Residue Damage Delicate or Antique Surfaces?
Yes, sticker residue can damage delicate or antique surfaces if you’re not careful. You need to contemplate antique preservation and surface sensitivity, as harsh removal methods might cause scratches or loss of finish. To protect these items, use gentle, safe removal techniques like applying heat or a mild solvent, and test on a small area first. This approach helps preserve the integrity and value of your delicate or antique surfaces.
How Long Should I Let Natural Remedies Sit Before Removal?
Like patience in a delicate dance, you should wait about 10-15 minutes before removing sticker residue with natural remedies. This waiting time allows the ingredients—such as vinegar or oil—to work their magic, breaking down the adhesive. Rushing it might leave residue behind or damage surfaces. So, give your natural remedies a gentle pause, then gently wipe away, and enjoy a clean, damage-free finish.
Are There Eco-Friendly Commercial Adhesive Removers Available?
Yes, eco-friendly commercial adhesive removers are available. Look for products containing biodegradable solvents and plant-based solutions, which are gentle on surfaces and better for the environment. These removers effectively dissolve adhesive residue without harsh chemicals. Always check labels for eco-certifications and follow usage instructions carefully to guarantee safe and effective removal. Using such products helps protect your surfaces and supports sustainable practices.
What Safety Precautions Should I Take When Using Chemical Removers?
When using chemical removers, you should always wear protective gear like gloves and goggles to shield your skin and eyes. Make certain proper ventilation by opening windows or using fans to avoid inhaling fumes. Follow the manufacturer’s instructions carefully, and keep the area well-ventilated during and after application. Taking these precautions helps keep you safe while effectively removing sticker residue without risking health issues.
How Do I Prevent Residue From Reappearing After Cleaning?
Like a knight guarding a treasure, you can prevent residue from reappearing by applying a residue repellent after cleaning. Make sure to thoroughly clean and dry the surface first. Once dry, seal the surface with a suitable surface sealer, creating a barrier that prevents sticky residue from returning. Regular maintenance and avoiding harsh chemicals also help keep your surfaces clean and residue-free.
Conclusion
Think of sticker residue as a stubborn stain on the canvas of your space. With patience and the right tools, you can restore its clarity and beauty. Remember, each method is a gentle brushstroke, not a harsh slash. When in doubt, don’t force it; sometimes, calling in a professional is like bringing in an expert painter. Your surface’s story deserves a careful touch—like a masterpiece waiting to be revealed.