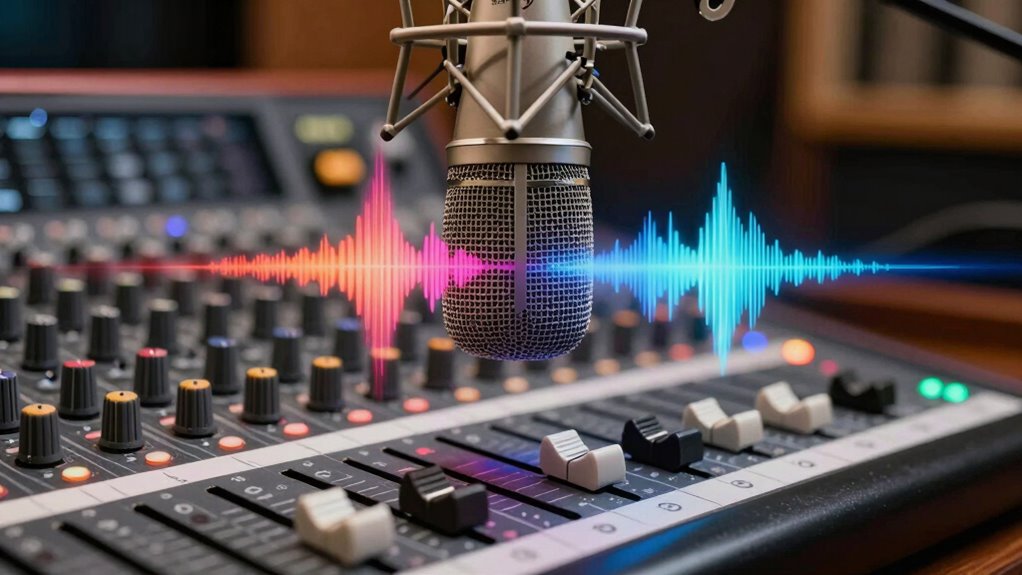

To stop microphone feedback, focus on proper placement: position your mic away from speakers, angle it away from sound sources, and keep it above or below ear level. Use directional mics to prevent sound from bouncing back. Adjust the EQ by cutting only the problematic frequencies with narrow, precise cuts. These steps help break the feedback loop. Keep exploring how to fine-tune your setup for clearer, feedback-free sound, and find more tips below.
Key Takeaways
- Place microphones away from speakers and monitor speakers above or below ear level to prevent sound from looping back.
- Use directional microphones (like cardioid) to focus on sound sources and reduce pickup of speaker noise.
- Apply narrow EQ cuts at feedback-prone frequencies during sound check, avoiding broad adjustments that dull sound.
- Keep microphone gain levels balanced, not too high, to prevent amplifying feedback loops.
- Regularly test and adjust microphone placement and EQ settings during setup to maintain clear sound and avoid feedback.

HHQ Commercial Floor Scrubber Machine, Heavy Duty Orbital Floor Cleaner, Multi-Functional Floor Buffer Polisher Machine- Deep Cleaning Tile and Grout, Hardwood Floors and Carpets with Ease, Orb-5
Complete Accessory Kit Included: Comes with Heavy/ Medium/ Soft brushes and 3 types of cleaning pads for multiple...
As an affiliate, we earn on qualifying purchases.
Understanding Microphone Feedback and How to Stop It
Microphone feedback occurs when the microphone picks up sound from the speakers and amplifies it repeatedly, creating a loud screeching or howling noise. This happens because of issues in the signal chain, especially related to audio phase. When your microphone and speakers are out of sync, the sound waves can clash, causing certain frequencies to reinforce each other unintentionally. Understanding how the signal chain works helps you identify where the problem begins—whether it’s a misaligned microphone placement, incorrect EQ settings, or unintentional phase cancellation. By ensuring the proper audio phase and adjusting your setup, you prevent the sound from looping back and causing feedback. Recognizing these elements allows you to troubleshoot effectively and keep your sound clear and feedback-free. Additionally, proper luggage & bags organization can help minimize disruptions and ensure your equipment remains safe and functional during setup and transport. Paying attention to sound environment factors, such as room acoustics and background noise, can further reduce the likelihood of feedback issues. To better understand and prevent feedback, it’s helpful to learn about audio phase and how it impacts sound clarity. Being aware of phase alignment strategies can also significantly improve your overall sound quality and reduce feedback risks.

HHQ Commercial Floor Scrubber Machine with Brushes and Pads, Heavy Duty Floor Cleaner Polisher and Buffer- Deep Cleaning Tile and Grout, Hardwood Floors and Carpets without Getting on Hands and Knees
Kit Included: 1 Orbital Floor Buffer & Scrubber Machine, 2 Polishing/ Stripping Pads, 3 Scrub Brushes, 1 Microfiber...
As an affiliate, we earn on qualifying purchases.
Identify Where Feedback Usually Starts in Your Setup
Start by checking common hotspots like microphones, monitors, and speakers, where feedback often begins. Pay attention to how your equipment interacts—like mic placement and volume levels—that can trigger feedback. Also, consider your audience’s position, since their location relative to speakers influences where feedback might start. Additionally, being aware of feedback triggers such as improper mic proximity or high gain settings can help you prevent issues before they occur. Recognizing audio system components that are most prone to feedback can further aid in effective troubleshooting, especially when understanding sound dynamics within your setup. Moreover, understanding the Gold IRA markets and the various providers can be beneficial if you’re considering diversifying your investments for better financial security, similar to managing an audio setup for optimal performance.
Common Hotspots to Check
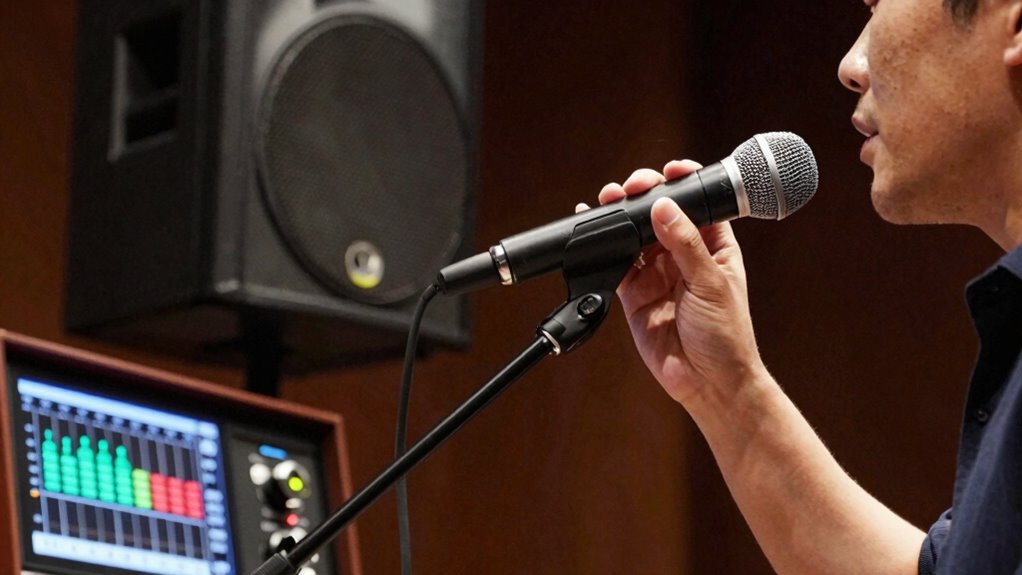
Feedback often begins at specific points in your setup where the sound system is most vulnerable. One common hotspot is microphone placement; if you place mics too close to speakers or monitors, feedback is more likely. Keep microphones away from loudspeakers and avoid pointing them directly at each other. Additionally, EQ adjustments can create feedback loops if bass frequencies or midrange boosts are too high. Check your EQ settings to remove problematic frequencies, especially those that cause howling. Pay close attention to areas where sound paths intersect and where monitors or speakers are aimed toward microphones. Proper speaker placement can significantly reduce feedback issues by preventing sound waves from bouncing directly back into microphones. Using feedback eliminators or sound processors can also help identify and cut problematic frequencies in real-time. Being aware of acoustic environments and their impact on sound dispersion can further help in minimizing feedback problems. Incorporating soundproofing measures and acoustic treatments can enhance overall sound clarity and reduce reflections that contribute to feedback. By addressing these common hotspots, you drastically reduce the chances of feedback disrupting your performance.
Typical Equipment Interactions
Many feedback issues originate from how your equipment interacts within the sound system. High microphone sensitivity can make your mic pick up sound from nearby speakers, creating a loop that feeds back. If your microphone is too sensitive, it’s more prone to picking up unwanted sound. Additionally, mismatched speaker impedance can cause instability; if your speakers have low impedance, they draw more power and can produce stronger, more prone-to-feedback sound waves. These interactions often start when the microphone’s output level isn’t properly balanced with the speaker’s input. Ensuring your microphone sensitivity isn’t excessive and matching your speaker impedance to your amplifier helps prevent feedback loops. Recognizing these equipment interactions is key to maintaining clear sound without feedback interruptions. Proper setup and careful placement are essential in preventing feedback from occurring in the first place. Understanding sound system interactions and how audio equipment compatibility impacts feedback can help you identify and correct issues before they cause feedback, especially when considering system setup and configuration.
Listener’s Position Impact
Your position relative to the speakers and microphone plays a crucial role in where feedback begins. From the listener’s perspective, being too close or directly in front of a speaker can cause your voice to re-enter the microphone, creating a feedback loop. When you’re engaged with the audience, avoid positioning yourself in a way that blocks sound paths or amplifies your voice back into the mic. Audience engagement often leads to moving around, which can inadvertently change your distance and angle to the speakers, increasing feedback risk. To minimize this, stand slightly to the side of the speakers and maintain a consistent distance. Being aware of your position helps prevent feedback and ensures clear sound, keeping both you and your audience focused on the message. Additionally, understanding feedback loops and how sound amplification works can help you identify and adjust problematic setups before feedback occurs. Recognizing speaker placement and how it influences sound paths is essential for effective feedback prevention. Knowing how sound reflections can cause unintended feedback is also vital in managing your setup effectively. Moreover, paying attention to room acoustics can further help in reducing potential feedback issues by managing sound reflections and reverberations. Being mindful of these factors and monitoring sound levels can make a significant difference in maintaining clear audio during your presentation.
KARHDIR Walk-behind Floor Scrubber Machine, 22" Cleaning Width, 31.5" Suction Width, 18.5-gal Sewage Tank, 15.9-Clear water tank, 32000 Sqft/h, Complete Set of Parts
Efficient Cleaning Coverage: 22" cleaning width and 31.5" squeegee suction width for comprehensive floor coverage in a single...
As an affiliate, we earn on qualifying purchases.
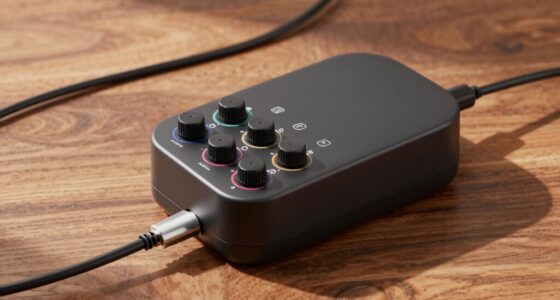
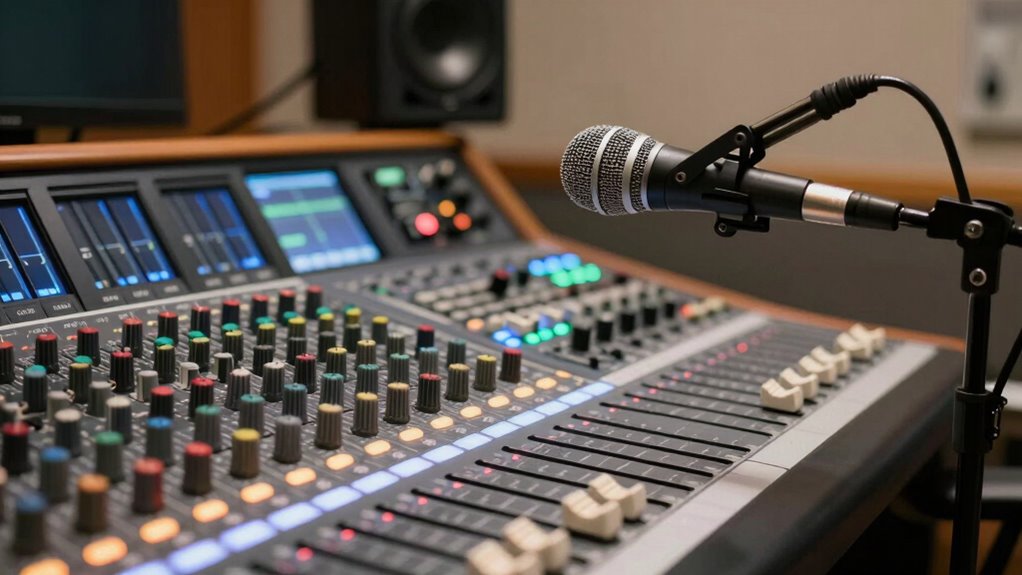
How to Position Your Microphones to Prevent Feedback
Proper microphone placement is key to preventing feedback. Keep microphones away from speakers and other sound sources that can cause sound looping. Adjust their positions until you find a clear, feedback-free sound. Using simple systems can help you set up your microphones more effectively and avoid common issues. Additionally, understanding audio signal flow can assist in optimizing your setup for better sound quality. Being aware of sound source placement within the space is also crucial for minimizing feedback and achieving clear audio. Considering room acoustics can further improve microphone performance by reducing echoes and unwanted reflections. Monitoring market trends and adjusting your setup accordingly can help you anticipate and prevent feedback issues caused by environmental changes.
Microphone Placement Tips
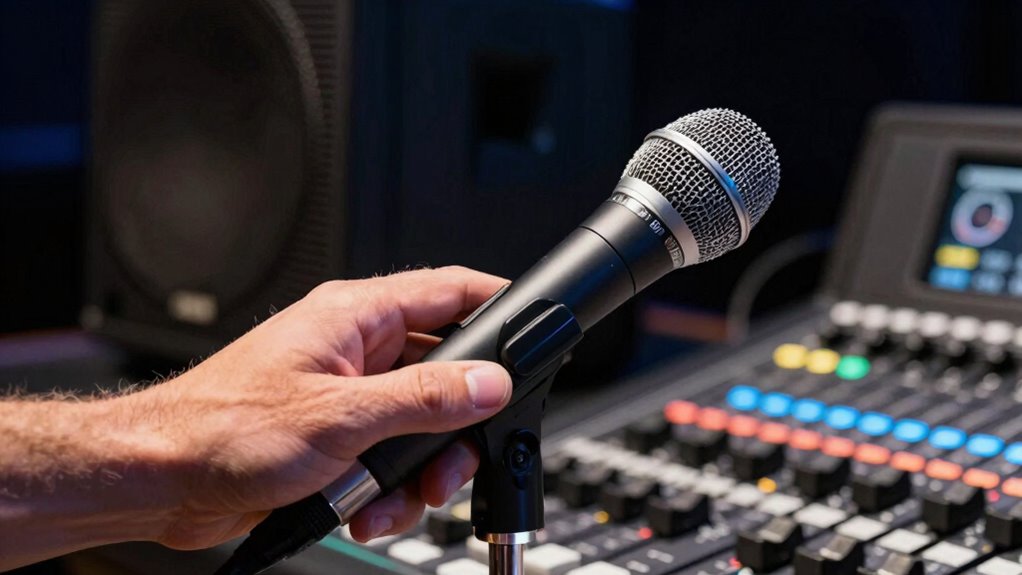
Positioning your microphones correctly is essential for preventing feedback during a sound setup. Proper microphone placement minimizes the chance of picking up speaker output, reducing feedback risk. Keep your microphones pointed away from speakers and avoid placing them directly in front of loud sources. Adjust the height so they are above or below the speaker’s main sound path. Use the following table to guide your positioning:
| Microphone Placement | Speaker Positioning | Tips |
|---|---|---|
| Angled away from speakers | Speakers behind microphones | Avoid aiming directly at speakers |
| Close to sound source | Speakers at a distance | Keep microphones close for clarity |
| Above or below speakers | Speakers at ear level | Minimize sound bouncing back |
| Directional mics only | Speakers not in line | Use cardioid or hypercardioid mics |
These tips help optimize microphone placement and speaker positioning for clear sound without feedback.
Avoiding Sound Looping
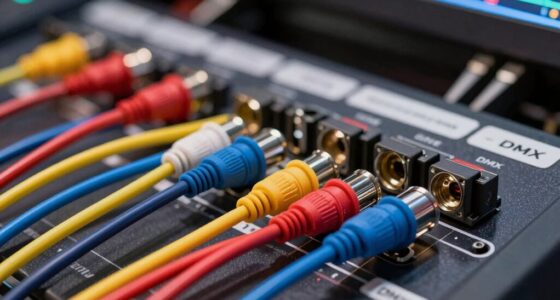
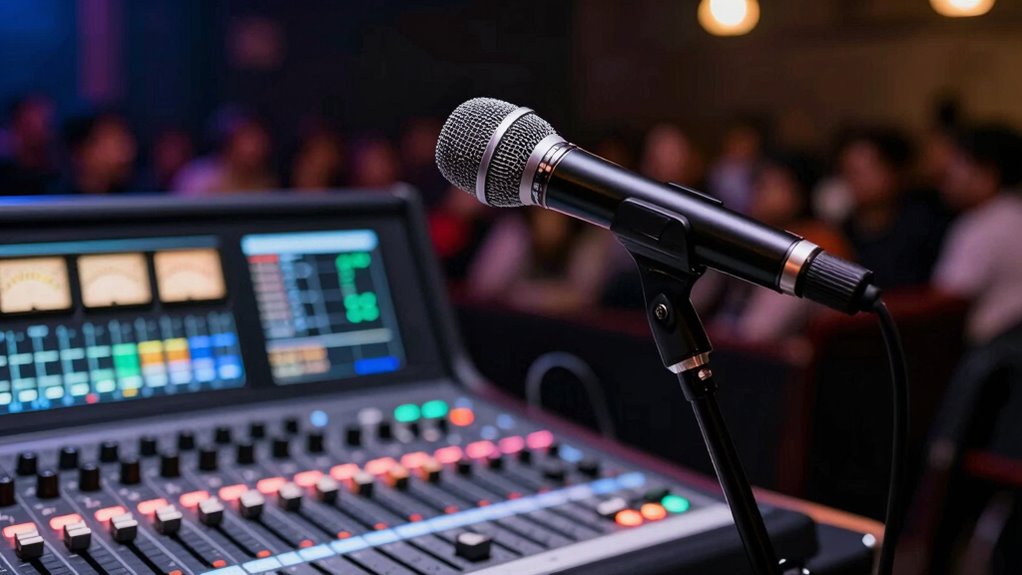
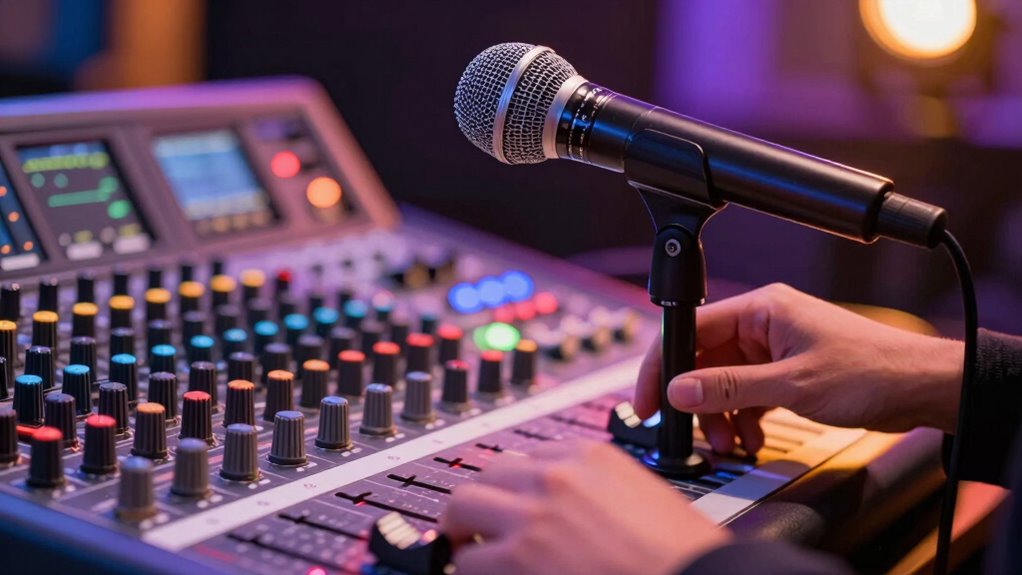
To prevent sound looping and the resulting feedback, it’s essential to carefully arrange your microphones so they don’t pick up sound from speakers or other microphones. This means considering placement and soundproofing techniques to minimize unwanted audio paths. First, position microphones away from loudspeakers and avoid pointing them directly at each other. Second, use directional microphones to focus on the desired sound source and reduce pickup of ambient noise. Third, keep wireless microphone issues in mind by regularly checking for interference and maintaining proper frequency coordination. Fourth, implement soundproofing techniques around the stage or microphone area to block reflections and prevent sound from bouncing back into mics. These steps help create a feedback-free environment and ensure clear, professional sound.

Oreck Commercial Orbiter Hard Floor Cleaner Machine, Multi-Purpose Floor Cleaning, Random Orbital Drive, Wide Cleaning Path, 50-Foot Long Cord, ORB550MC, Gray/Red
MULTI-PURPOSE CLEANING: Commercial grade cleaner and effective on all types of flooring surfaces. Sand, refinish, strip, scrub, wax,...
As an affiliate, we earn on qualifying purchases.
Use EQ to Cut Feedback Frequencies Effectively

Using EQ to cut feedback frequencies is one of the most effective techniques for managing microphone squeal. Equalization techniques allow you to target specific problem frequencies that cause feedback, reducing their impact without sacrificing overall sound quality. Start by identifying the feedback frequencies through a sound check or by listening carefully during your performance. Once pinpointed, apply narrow cuts with your EQ to suppress these trouble spots. This process enhances feedback suppression by preventing those frequencies from feeding back repeatedly. Be cautious not to cut too broadly, as you risk dulling your sound. Regularly monitor and adjust your EQ settings to adapt to different environments and setups. Proper use of EQ ensures cleaner sound and minimizes feedback, keeping your performance clear and feedback-free.
Test and Tweak Your Sound Setup for Feedback-Free Performance
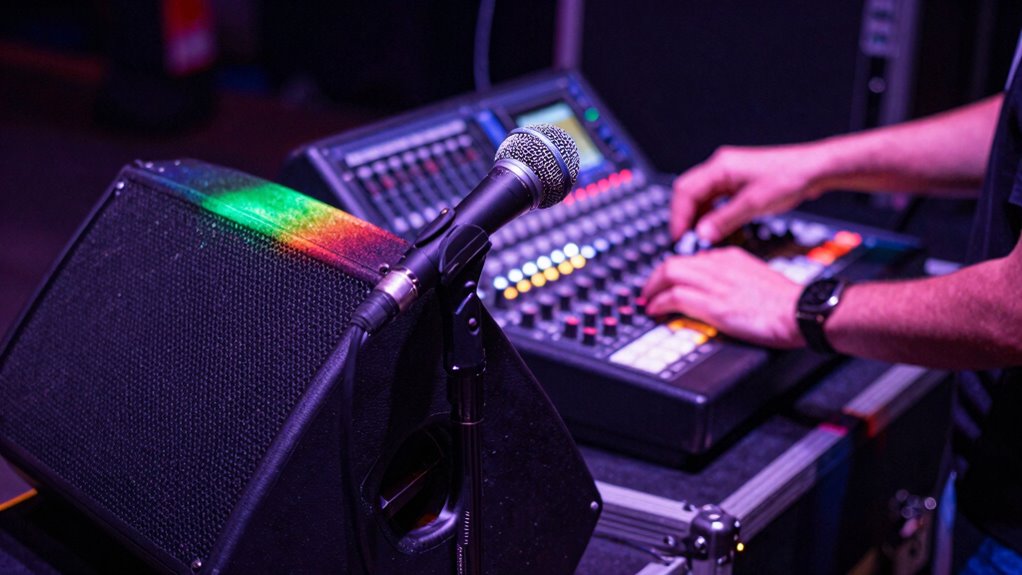
After applying EQ adjustments to target feedback frequencies, it’s important to test your sound setup in the actual environment. Start by adjusting your gain staging to ensure levels aren’t too high, which can cause feedback issues. Next, evaluate your acoustic environment: adding acoustic treatment like panels or diffusers can absorb or scatter problematic frequencies. Then, walk around with your microphone and listen for feedback points, making small tweaks to mic placement if needed. Finally, recheck your gain staging after adjustments to maintain a balanced sound without risking feedback. This process helps you fine-tune your setup for a feedback-free performance, ensuring your equipment and environment work harmoniously. Proper testing and tweaking are essential for clear, reliable sound.
Common Mistakes That Cause Feedback and How to Avoid Them
One of the most common mistakes that lead to feedback is placing the microphone too close to speakers or monitors. When microphones are too near sound sources, they pick up more of the amplified sound, creating a loop that causes feedback. Additionally, improper microphone placement can make it harder to control feedback. Another mistake is neglecting proper EQ adjustments; failing to cut problematic frequencies or boosting certain ranges can amplify feedback issues. Instead, position your microphone correctly—away from speakers—and adjust your EQ to remove feedback-prone frequencies. Avoid boosting bass or treble excessively, as these can increase the likelihood of feedback. By paying attention to placement and making thoughtful EQ adjustments, you markedly reduce the chances of feedback during your performance.
Extra Tips for Clear, Feedback-Free Sound During Live Events
To guarantee your live sound remains clear and free of feedback, it’s essential to implement a few practical tips during your performance. First, position wireless mics carefully, avoiding direct line-of-sight with speakers or sound barriers that can cause reflections. Second, always keep the gain levels low enough to prevent excess amplification. Third, use directional microphones to focus on vocals and minimize pickup of unwanted sounds. Fourth, consider placing sound barriers or acoustic panels around the stage to reduce sound reflections and feedback loops. These steps help contain sound and improve clarity. Additionally, monitor your sound constantly and adjust as needed. Combining proper mic placement with strategic use of sound barriers ensures your live mix stays clear and feedback-free.
Frequently Asked Questions
Can Different Microphone Types Affect Feedback Risk?
Yes, different microphone types can affect feedback risk. For example, microphones with cardioid polar patterns focus on sound in front of them, reducing pickup of surrounding noise and minimizing feedback. Conversely, omnidirectional mics pick up sound from all directions, increasing feedback chances. Additionally, microphones with a narrow frequency response help avoid problematic frequencies that cause feedback, making the right choice essential for controlling feedback in various environments.
How Does Room Acoustics Influence Feedback Issues?
Ever wonder why some rooms cause more feedback? Your room’s acoustics play a big role—room reflections can amplify sound and create feedback loops, while sound absorption reduces unwanted echoes. By managing these elements, you can minimize feedback issues. Think about adding sound-absorbing panels or adjusting your microphone placement to better control room reflection. Isn’t it worth optimizing your space for clearer sound and fewer interruptions?
What Are the Best Microphone Placements for Outdoor Events?
For outdoor events, position your microphone close to the sound source to reduce pickup of ambient noise, which helps with standby techniques and feedback prevention. Keep it away from reflective surfaces like walls or metal objects that can cause echoes. Use directional mics to focus on the sound source, and avoid pointing the mic toward speakers. Regularly check levels to prevent feedback, especially when adjusting sound during the event.
How Often Should I Adjust EQ During a Live Performance?
During a live performance, you should adjust EQ as needed, typically every 15-30 minutes or whenever feedback occurs. For example, if a singer’s mic causes feedback, you might reduce the gain on the problematic frequency to prevent feedback while maintaining clarity. Regular frequency adjustments help with feedback prevention and optimize sound quality. Stay attentive to monitor feedback and make quick tweaks, ensuring a smooth, frustration-free show.
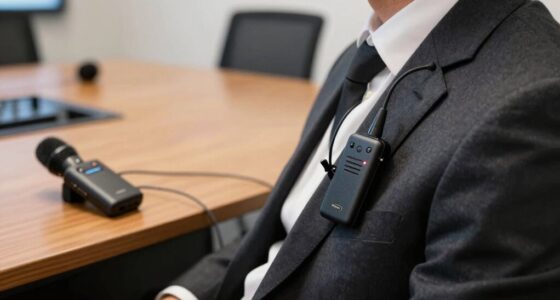
Are Wireless Microphones More Prone to Feedback Problems?
Yes, wireless microphones can be more prone to feedback problems because of wireless interference and battery issues. Wireless interference from other devices can cause signal disruptions, making it harder to control feedback. Low batteries can weaken the signal, increasing the chance of feedback or dropouts. To minimize these issues, regularly check your batteries, avoid crowded wireless environments, and use interference-resistant equipment for smoother performances.
Conclusion
By understanding feedback, positioning your microphones wisely, and using EQ effectively, you set the stage for clear sound. By avoiding common mistakes, adjusting your setup, and testing your system regularly, you create a feedback-free environment. Because clarity depends on awareness, control depends on technique, and success depends on practice, your best performance comes from mastering each step. Focus on these principles, and you’ll enjoy crisp, feedback-free sound every time.